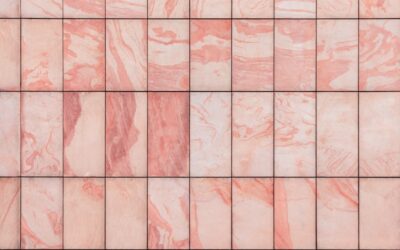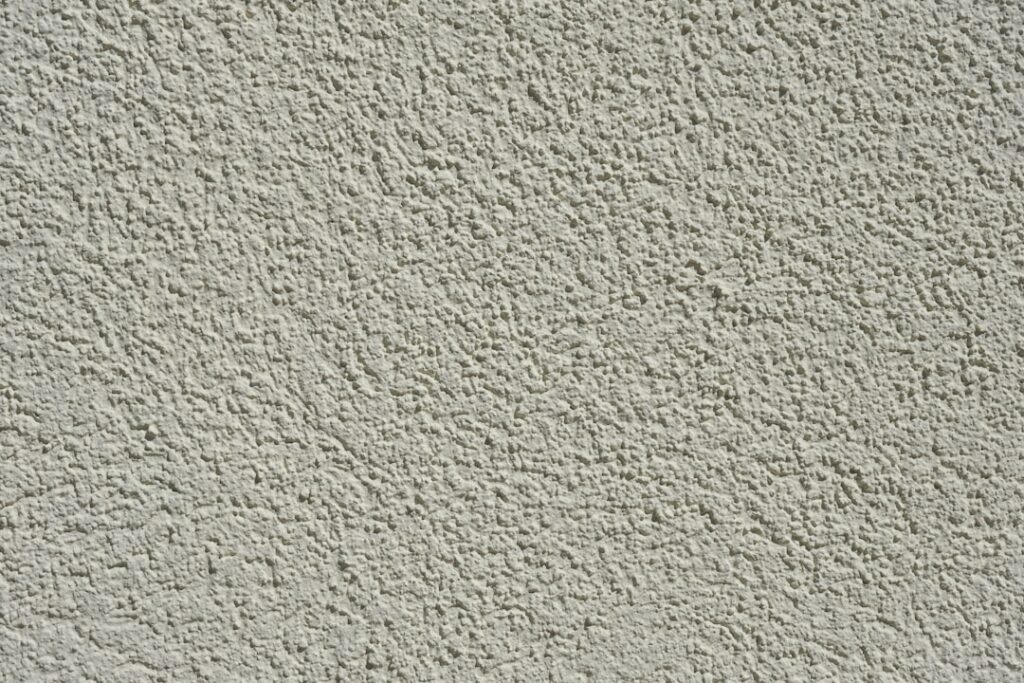
Paint changes a wall’s color, but texture changes how light moves across it, and that’s what makes a room feel designed rather than merely decorated. A textured accent wall adds shadow, depth, and tactile interest that a flat painted surface simply can’t match, turning an ordinary room into one with a genuine focal point. From warm wood slats to sculptural plaster, this guide covers the most popular textured wall treatments, what each costs, and how hard they are to pull off yourself.
- Why Texture Beats Flat Color
- Wood Slat Accent Walls
- Board-and-Batten and Shiplap
- Plaster and Limewash Texture
- 3D Panels and Geometric Treatments
- Textured Paint and Simple DIY Options
- Choosing the Right Wall and Placement
- Matching Texture to Your Home's Style
- Installation Tips for a Clean Result
- Lighting a Textured Wall
- Cost and Effort at a Glance
Why Texture Beats Flat Color
A single accent color can feel a bit dated on its own now that bold paint is everywhere. Texture reads as more intentional and high-end because it plays with light throughout the day, casting soft shadows at some hours and catching highlights at others. That living quality is why designers reach for texture when a room feels flat despite good furniture and color.
Texture also hides imperfections. On an older wall with minor dents and patches, a textured treatment camouflages flaws that fresh paint would only highlight. It’s function and beauty at once.
Wood Slat Accent Walls
Vertical wood slats are the defining textured-wall look of the moment, and for good reason. Thin strips of wood, often mounted over a dark backing board, create rhythmic vertical lines that make ceilings feel taller and add instant warmth to a modern room.
You can build a slat wall from individual strips of poplar, oak, or pine, or install prefabricated acoustic slat panels that come pre-mounted on felt backing. The prefab panels are faster and add sound absorption, a bonus in media rooms and offices. Expect to spend roughly $10 to $25 per square foot for panels, less if you rip your own slats from lumber.
Board-and-Batten and Shiplap
For a classic, architectural texture, milled trim treatments are hard to beat. They suit traditional, farmhouse, and transitional homes especially well.
Board-and-Batten
Board-and-batten adds a grid of vertical (and sometimes horizontal) wood strips over the wall, painted to match or contrast. It brings structure and a tailored, custom-built feel. A DIYer with a level, a nail gun, and patience can complete a wall in a weekend for $75 to $200 in materials.
Shiplap
Shiplap’s horizontal planks with subtle gaps between boards create a clean, cottage-inspired texture. It can run horizontally for a relaxed look or vertically to lift the ceiling. Painted white it’s airy; stained it’s rustic.
Plaster and Limewash Texture
For an organic, old-world feel, troweled plaster and limewash finishes are surging in popularity. Venetian plaster, microcement, and Roman clay build up in thin, hand-applied layers that leave soft, cloud-like variation and a subtle sheen. Limewash produces a chalky, matte, mottled look that’s especially striking in deep colors.
These finishes read as expensive and artisanal because each one is unique to the hand that applied it. They’re more forgiving of an amateur than you’d expect, minor irregularities are part of the charm, but achieving a refined result takes practice. Budget more time than money if you DIY, or hire a specialist for a flawless finish.
3D Panels and Geometric Treatments
For a bold, contemporary statement, three-dimensional wall panels add sculptural relief that changes dramatically with the lighting. Options include:
- MDF or PVC 3D panels: Molded geometric patterns that install like tile and paint over cleanly.
- Fluted or reeded panels: Vertical half-round ridges for a soft, tactile, modern look.
- Geometric molding: Applied trim arranged in diamonds, grids, or arches for a custom paneled effect.
These treatments make an especially strong impression behind a bed, a sofa, or a media console where the eye naturally rests. Under raking light from a nearby lamp, the shadows do the decorating for you.
Textured Paint and Simple DIY Options
If you want texture on a tight budget, several techniques rely mostly on paint and drywall compound. Limewash paint (the brush-on product, not true limewash) creates soft movement with just two coats. A skim-coat of joint compound applied with a trowel and knocked down produces a subtle hand-troweled texture. Even a strie or color-wash technique with a dragging brush adds visible movement.
These are the most beginner-friendly routes and cost little more than paint and tools. They won’t give the dramatic relief of slats or 3D panels, but they add the light-catching quality that flat paint lacks.
Choosing the Right Wall and Placement
Texture belongs on the wall the eye already goes to, behind the headboard in a bedroom, behind the sofa or TV in a living room, or the first wall you see entering a room. Committing to one wall keeps the effect a focal point rather than an overwhelming pattern that shrinks the space.
Consider the room’s lighting before you choose a treatment. Texture needs light raking across it to reveal its depth, so a wall near a window or lit by wall sconces will show off slats or plaster far better than a dim corner. Position lighting to graze the surface for maximum drama.
Matching Texture to Your Home’s Style
The most successful textured walls feel like they belong, echoing the architecture and furnishings already in the room rather than fighting them. In a modern or contemporary space, vertical wood slats, fluted panels, and smooth microcement read as sleek and current. A traditional or farmhouse home leans naturally toward board-and-batten, shiplap, and picture-frame molding, treatments with a milled, tailored character.
For a warm, organic, or Mediterranean feel, limewash and troweled plaster capture that hand-made, old-world softness better than anything else. Industrial spaces suit exposed brick veneer or a raw concrete-look finish. Before you choose, look at the room’s existing lines, furniture, and materials, then pick a texture that extends that language. A slat wall in a rustic cottage or heavy plaster in a minimalist loft can feel jarring, while the right match makes the whole room feel considered and complete.
Installation Tips for a Clean Result
Whatever treatment you choose, a few habits separate a professional-looking wall from an obviously amateur one. Start with a flat, clean, primed surface, since texture treatments telegraph bumps, grease, and loose paint underneath, especially peel-and-stick materials and thin panels. Find and mark your studs, because slats, board-and-batten, and heavier panels need to anchor into framing, not just drywall.
Use a level obsessively. Vertical slats and battens amplify even a slight lean, so plumb every piece and check your spacing with a story stick or spacer block to keep gaps uniform. For wood treatments, acclimate the material in the room for a day or two before installing so it doesn’t shrink or cup afterward, and fill nail holes and caulk seams before painting for a seamless, built-in look. Patience during layout, dry-fitting a section before committing, prevents the crooked lines and uneven gaps that make a DIY texture wall look rushed.
Lighting a Textured Wall
Texture only reveals itself when light rakes across it, so lighting is not an afterthought, it’s half the effect. Light hitting a textured wall straight on flattens the relief and wastes all that shadow-play, while light skimming along the surface at a shallow angle dramatizes every ridge, slat, and trowel mark. This is why the same wall can look stunning in the evening under a wall sconce and dull under a central ceiling fixture at noon.
To make the most of a slat, plaster, or 3D panel wall, position light to graze it. Wall-washing or wall-grazing fixtures mounted close to the surface, picture lights, adjustable recessed trims aimed along the wall, or a floor lamp set beside it all pull the texture forward. Warm, dimmable light tends to flatter natural materials like wood and plaster, so plan a dimmer if you can. In a room where the accent wall is the star, treating its lighting as deliberately as the material itself is what elevates the result from nice to genuinely impressive.
Cost and Effort at a Glance
To help you plan, here’s how the options stack up:
- Textured paint / skim coat: Cheapest, easiest; under $50 for one wall.
- Board-and-batten / shiplap: Moderate cost and skill; $75 to $250 DIY.
- Wood slat panels: Mid to high cost; $10 to $25 per square foot.
- Plaster / limewash: Low material cost, high skill; often worth hiring out.
- 3D panels: Varies widely; dramatic impact, moderate install effort.
Whichever route fits your budget and skill, a well-placed textured accent wall delivers the biggest design payoff per dollar in the room, adding the depth, warmth, and light-play that turn a plain box into a space with real character. Pick the treatment that matches your style, put it where the eye lands, and light it well, the result will look far more expensive than it was.