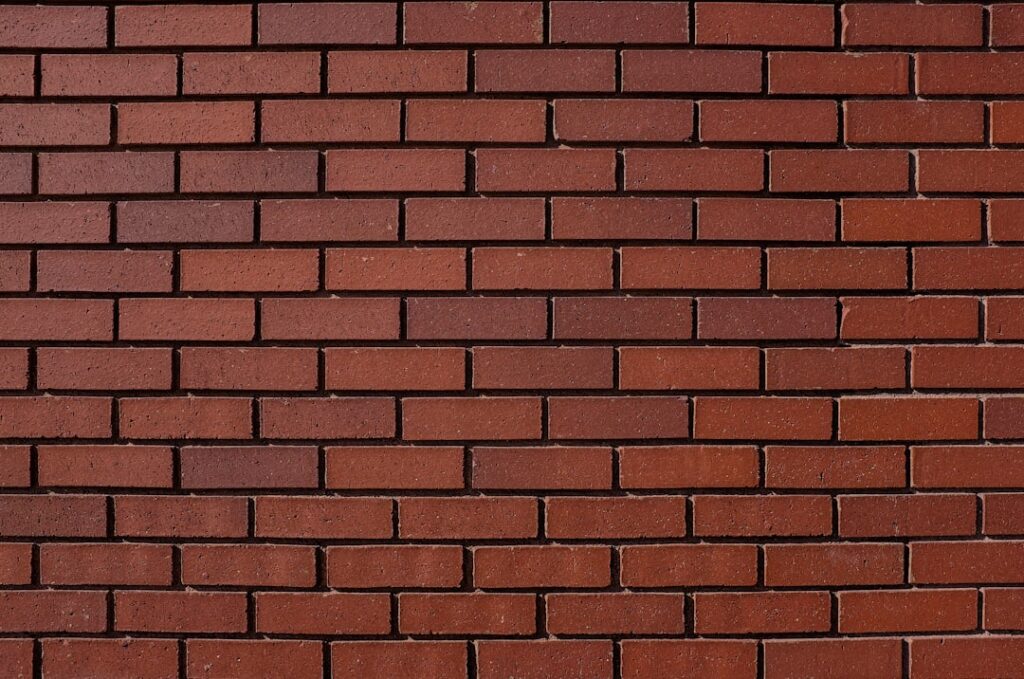
The warmth and character of an exposed brick wall is hard to beat, but full brick is heavy, thick, and impractical for most interior remodels. Thin brick tile solves that problem by delivering the genuine look of brick in a slim, lightweight format that installs much like ceramic tile. Cut from real fired clay or molded from cement, these slices are usually about half an inch thick, so they add brick texture to accent walls, backsplashes, fireplaces, and even floors without the structural demands of solid masonry. This guide covers the types, costs, and installation basics.
What Thin Brick Tile Is
Thin brick tile, sometimes called brick veneer tile, is essentially the face of a brick sliced into a thin tile. Authentic clay versions are kiln-fired the same way full bricks are, so they carry real color variation, texture, and durability. Manufactured versions are made from cement or concrete molded to look like brick, often at a lower price. Both come in standard brick dimensions, roughly 2 1/4 inches tall by 7 5/8 inches long, and in corner pieces that wrap outside edges so the finished result looks like solid brick.
Where to Use Thin Brick Tile
This material is remarkably versatile around the home:
- Accent walls: A classic loft or farmhouse look in living rooms and bedrooms.
- Kitchen backsplashes: Warm, textured brick behind the range or sink.
- Fireplace surrounds: Traditional brick character without rebuilding the firebox face.
- Entryways and mudrooms: Durable brick-look flooring that hides dirt.
- Exterior accents: Suitable for covered porches and facades when rated for outdoor use.
How Much Thin Brick Tile Costs
Pricing depends on whether you choose real clay or manufactured brick. As a general guide:
- Manufactured cement thin brick: $3 to $8 per square foot.
- Authentic fired-clay thin brick: $6 to $15 per square foot.
- Specialty reclaimed or tumbled styles: $12 to $20 and up per square foot.
Installation labor adds roughly $8 to $20 per square foot depending on the surface and complexity, plus mortar, grout, and sealer. Many homeowners tackle thin brick as a DIY project, which cuts the labor cost considerably.
How Thin Brick Tile Installs
Installation is similar to tile but with a rustic, mortared finish. The general process is:
- Prepare a clean, solid substrate; cement board is ideal on walls in wet areas.
- Plan your layout, dry-fitting a few rows and staggering the joints like real brickwork.
- Spread thinset mortar with a notched trowel and press each brick firmly into place, using spacers for consistent joints.
- Install corner pieces where the brick wraps an edge so the depth looks authentic.
- After the thinset cures, fill the joints with mortar using a grout bag, then tool the joints for a finished look.
The mortar joints are what sell the brick illusion, so take your time striking them evenly.
Sealing and Maintenance
Brick is porous and benefits from sealing, especially in kitchens and bathrooms. After the mortar has fully cured, apply a masonry sealer to make the surface easier to wipe and to resist grease and water stains; a matte sealer keeps the natural brick look while a glossy one deepens the color. Once sealed, maintenance is minimal: dust accent walls occasionally and wipe backsplashes with a damp cloth. On brick-look floors, sweep regularly and damp-mop, resealing every few years in high-traffic areas.
Real Clay vs. Manufactured Brick
Choosing between the two comes down to budget and authenticity. Real fired-clay thin brick has unmatched color depth, texture, and longevity, and it ages beautifully, but it costs more and the slices can vary slightly in size. Manufactured cement brick is more uniform, lighter, and cheaper, making it a smart pick for large areas or tighter budgets, though it may not have quite the same natural variation up close. For a high-impact focal wall, many homeowners spend up for real clay; for a big project, manufactured brick stretches the budget further.
Color and Style Options
Thin brick comes in a wide range of looks beyond classic red. You can find warm reds and oranges for a traditional feel, soft whites and creams for a bright modern or farmhouse kitchen, charcoal and gray tones for a contemporary edge, and multicolor blends that mimic aged, reclaimed brick. Tumbled and distressed finishes add an old-world, weathered character, while smooth, uniform brick reads cleaner and more modern.
You can also change the look dramatically without buying different brick. A coat of whitewash or German smear, a thin mortar wash dragged across the brick face, softens the color and adds a cottage feel, and is a popular way to update a red brick fireplace. Grout and mortar color matters too: matching the mortar to the brick mutes the grid, while a contrasting light mortar makes each brick pop. Sample a small area before committing to any finish technique.
Thin Brick vs. Full Brick and Brick-Look Tile
It helps to understand where thin brick fits among the options. Full brick veneer is genuine brick about three to four inches deep, set on a foundation ledge and tied to the wall; it is the most authentic and durable but heavy, costly, and structurally demanding, which rules it out for most interior retrofits. Thin brick gives you the same real-brick face at roughly half an inch thick, so you get authentic texture with none of the structural work.
At the other end, brick-look porcelain tile is a flat ceramic tile printed and textured to resemble brick. It installs like ordinary tile, is very durable and easy to clean, and works well on floors and in wet areas, but up close it lacks the true depth and irregular character of real fired brick. Choose thin brick when authenticity and texture matter most, and brick-look porcelain when you want a flatter, lower-maintenance surface that mimics the style at a lower effort.
The Bottom Line
Thin brick tile brings the timeless character of exposed brick to walls, backsplashes, fireplaces, and floors without the weight or structural work of full masonry. With material costs starting around $3 per square foot and an installation that many homeowners can handle themselves, it is an accessible way to add warmth and texture. Choose clay for authenticity or cement for value, seal it once installed, and enjoy a durable, low-maintenance finish.
Prefer to explore on your own?
See how new flooring looks in your actual room in seconds — free, no signup.
Try the free Floor Studio →