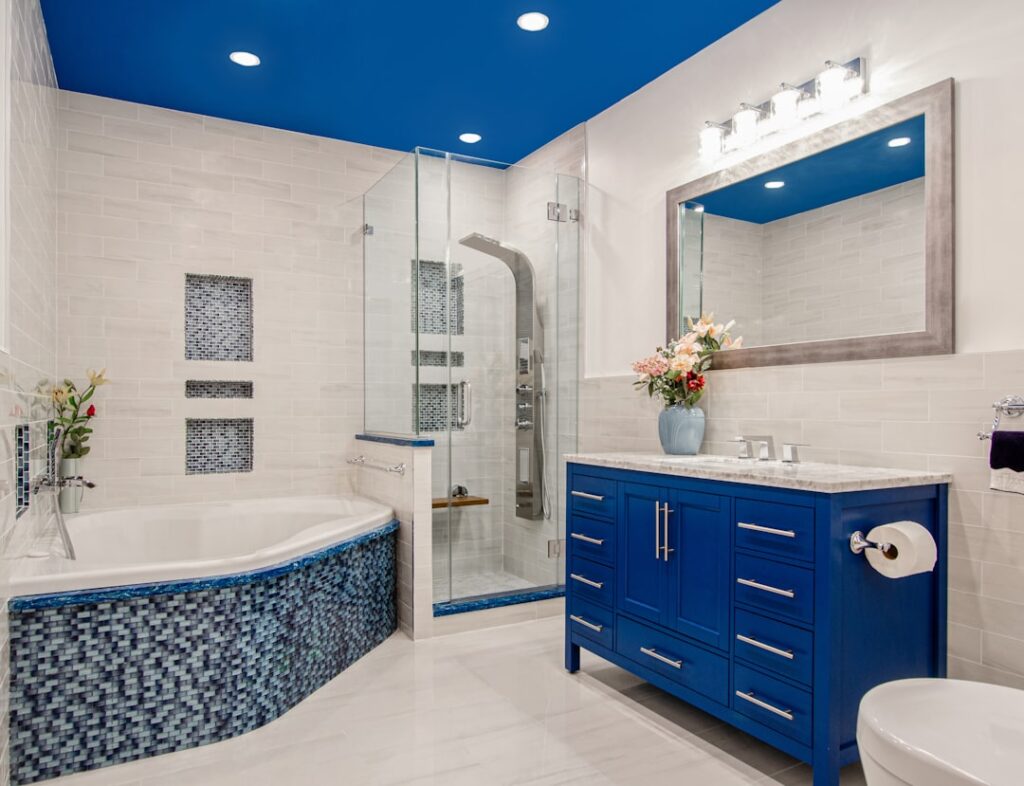
More tile failures happen around bathtubs than anywhere else in the house, and almost all of them trace back to what is behind the tile, not the tile itself. Installing tile around tub shower combo units is a very achievable DIY project, but it demands correct backer board, proper flange detailing, and a layout planned before the first piece goes on the wall. Get those three things right and the surround will outlast the tub. Get them wrong and you will be tearing out moldy drywall in five years. Here is how a pro approaches the job from bare studs to final caulk.
Start With the Right Substrate
Regular drywall — even the green moisture-resistant kind — does not belong in a tub surround. The wet zone needs cement backer board (Durock, HardieBacker, or WonderBoard) or a foam board system like Schluter Kerdi-Board or GoBoard. Cement board is the budget workhorse at roughly $12 to $18 per 3×5 sheet; foam boards cost more but are lighter, easier to cut, and inherently waterproof.
Hang backer board with the manufacturer’s screws every 8 inches, keeping fasteners 2 inches from the corners of the sheet. Leave a 1/8-inch gap between sheets and tape every seam with alkali-resistant mesh tape bedded in thinset. One detail matters more than most guides admit: hold the bottom edge of the board about 1/4 inch above the tub deck so it never wicks standing water.
Handle the Tub Flange Correctly
Every tub and most shower combo units have a vertical lip — the flange — that runs around the three wall sides. Water that gets behind the tile must be directed over this flange and back into the tub, never behind it. There are two accepted ways to detail it:
- Fur out the studs: Attach 1/4-inch shims or strips to the stud faces above the flange so the backer board hangs plumb, overlapping in front of the flange without bowing.
- Notch the board: Some installers rabbet the back of foam board so it laps the flange directly. Never let cement board rest on top of the flange and kick out at the bottom.
Do not screw through the flange unless the tub manufacturer specifically allows it — acrylic flanges crack. If the tub has pre-drilled flange holes, use them with roofing nails driven snug, not tight.
Waterproof Before You Tile
Cement board handles moisture without falling apart, but it is not waterproof — water passes straight through it into the stud bay. You need a waterproofing layer, and code in most areas requires one. The two common approaches are a liquid-applied membrane such as RedGard or Laticrete Hydro Ban rolled on in two coats, or a sheet membrane like Schluter Kerdi thinset-bonded over the board.
Liquid membranes cost about $50 to $70 per gallon, and a standard tub surround takes most of a gallon at proper thickness. Pay extra attention to the corners, the seams, and the joint where the board meets the flange — bridge that gap with membrane or sealant per the manufacturer’s instructions so water sheeting down the wall lands in the tub.
Plan the Layout Before Mixing Thinset
Tub decks are almost never level, so never use the tub edge as your starting line. Find the lowest point of the tub deck, measure up one tile height plus a 1/8-inch caulk gap, and mark a level line around all three walls. Screw a straight ledger board to that line and start your first full course on top of it. The bottom row gets cut to fit later, absorbing all the variation in the tub.
Work out your horizontal layout with a dry run or a story pole. You want balanced cuts at both ends of the back wall and no slivers — if the last tile in a corner would be under half a tile wide, shift the whole layout half a tile. Plan vertical height, too. Tile should run at least to the showerhead, and carrying it to the ceiling looks better and protects more wall for maybe one extra box of tile.
Setting the Tile
Use a polymer-modified thinset (unmodified if your membrane system requires it — Schluter does) and the trowel size matched to your tile: 1/4 x 1/4 inch square-notch for typical 3×6 subway, 1/4 x 3/8 inch for 12×24 planks. Back-butter large-format tile to hit proper coverage. In a wet area, you want at least 95 percent thinset contact; check by pulling a tile off occasionally and looking at the back.
- Set the first course on the ledger, working from your centered layout marks outward.
- Use 1/16- or 1/8-inch spacers and check level every few courses — small errors compound fast.
- Cut around the valve and spout with a hole saw or angle grinder, keeping cuts within the escutcheon coverage.
- After the field cures 24 hours, remove the ledger and cut the bottom row to fit, holding that 1/8-inch gap at the tub.
Large-format tile above 12 inches on any side benefits from a leveling clip system to keep lippage down on walls that are never perfectly flat.
Grout, Then Caulk the Changes of Plane
Grout the field joints with unsanded grout for joints under 1/8 inch or sanded above that; epoxy grout costs more and is fussier to work but never needs sealing and shrugs off mildew. Here is the rule that separates professional work from callbacks: every change of plane gets caulk, not grout. That means the vertical corners, the joint where tile meets the tub, and where tile meets the ceiling or adjoining walls. These joints move seasonally, and rigid grout in them cracks within a year.
Use a 100 percent silicone in a color matched to your grout — most grout brands sell matching silicone. Fill the tub with water before caulking the tub joint so the joint is compressed at its widest position; drain after the silicone cures.
Common Mistakes That Sink Tub Surrounds
A few errors show up again and again in tear-outs. Skipping the waterproofing membrane because “cement board is fine” is the big one. Starting the layout off the un-level tub edge produces a visibly sloping top course. Grouting the tub-to-tile joint guarantees a cracked, leaking seam. Setting board on top of the flange creates a bowed wall and a water path into the framing. And rushing — tiling the same day the membrane goes on, or grouting the same day tiles are set — undermines every bond in the assembly. Cure times exist for a reason.
Time and Cost Expectations
A typical three-wall surround runs 60 to 80 square feet. Budget $2 to $8 per square foot for ceramic or porcelain tile, plus roughly $250 to $450 for backer board, membrane, thinset, grout, and silicone. A first-timer should plan on a full weekend for board and waterproofing, a day for setting, and a half day for grout and caulk. Hiring it out, expect $1,500 to $3,500 labor depending on region and tile size. Done patiently, a DIY tile around tub shower combo project delivers the single biggest visual upgrade a bathroom can get — and a properly detailed one will still be watertight decades from now.
Prefer to explore on your own?
See how new flooring looks in your actual room in seconds — free, no signup.
Try the free Floor Studio →