The gap between an amateur tile job and a professional one often comes down to the edges, and a tile sander is how the pros close it. Cut tile has a sharp, sometimes chipped edge fresh off the saw or snapper, and thinset dries in stubborn ridges that a trowel leaves behind. The right sanding tool, fitted with diamond pads instead of ordinary sandpaper, smooths those edges, eases exposed corners, and grinds away hardened mortar in minutes rather than hours.
What a Tile Sander Is and Why You Need One
Tile is far harder than wood, so a true tile sander does not use paper grit. It relies on diamond abrasives bonded to pads, wheels, or discs, driven by a grinder or polisher. The job is finishing rather than shaping: taking the raw edge from a cut and making it smooth, safe to touch, and ready to sit against a wall, a trim piece, or another tile.
There are three common jobs a tile sander tackles. First, smoothing the sharp, sometimes jagged edge left by a wet saw or snap cutter. Second, easing or beveling an exposed edge on a step, a countertop lip, or a windowsill so it looks finished. Third, grinding down dried thinset ridges and lippage between tiles that a trowel or an uneven setting left proud. Each of those tasks needs diamond abrasive and, ideally, a little water to keep the dust down and the pad cool.
Types of Tile Sanders
Several tools fall under the tile sander umbrella, and the best one depends on your project size and budget:
- Angle grinder with diamond pads: The workhorse. A 4-inch or 4.5-inch grinder fitted with a hook-and-loop backing pad and diamond polishing discs handles edge smoothing and thinset removal for a modest price.
- Variable-speed wet polisher: The professional’s choice. These run at a controlled 2,000 to 4,000 RPM with a water feed, ideal for wet-sanding stone and porcelain edges to a polished finish.
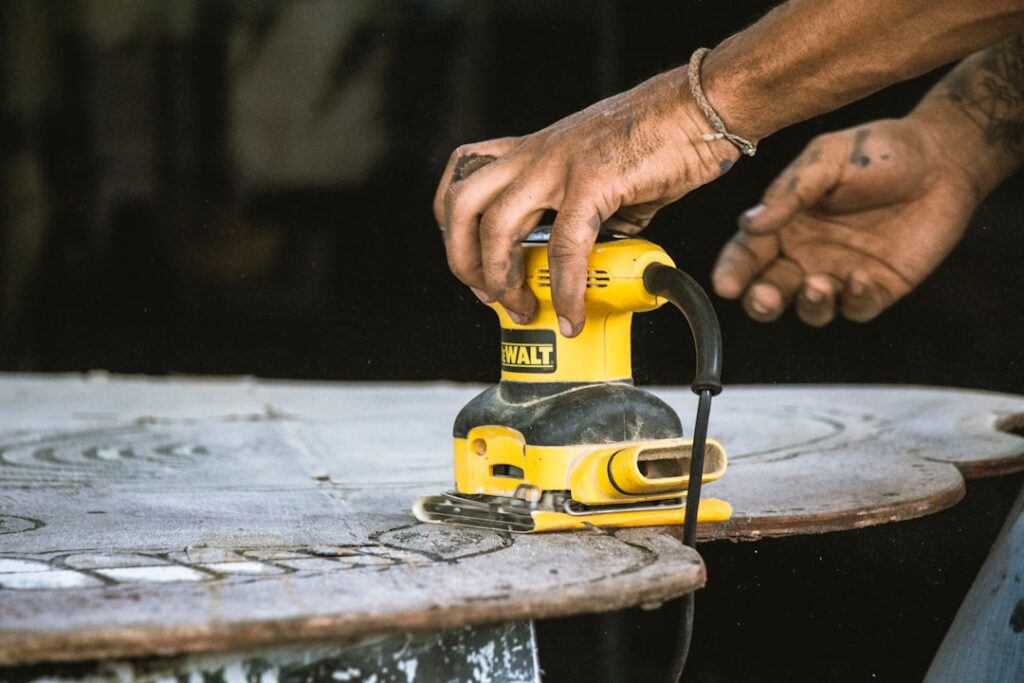
- Random orbital sander with diamond mesh: Useful for light edge work and flat surfaces, though most orbital sanders lack the torque for heavy grinding.
- Diamond hand pads: No power at all. These flexible diamond-coated pads are perfect for quick, controlled touch-ups and delicate work where a spinning tool is overkill.
Choosing the Right Diamond Pads and Grits
The pads matter more than the tool. Diamond polishing pads come in a grit range much like sandpaper, and you step through them from coarse to fine:
- 50 to 100 grit: Aggressive stock removal for grinding thinset, leveling lippage, and knocking down rough saw edges.
- 200 to 400 grit: The everyday range for smoothing a cut edge and removing the coarse scratches left behind.
- 800 to 1500 grit: Fine finishing that brings a soft sheen to stone and dense porcelain edges.
- 3000 grit and buffing pads: A high polish for exposed marble and granite edges where a glossy look matters.
A basic 5-pad or 7-pad set runs about $20 to $45 and covers most homeowner needs. Do not skip grits; jumping from 50 to 800 leaves scratches the fine pad cannot erase. Work through the sequence and let each grit remove the marks of the one before it.
Top Tile Sander Picks
Here are dependable options across budgets:
- Budget edge work: A DEWALT or Makita 4.5-inch angle grinder, roughly $60 to $110, paired with a $25 diamond pad set. This combo handles almost any homeowner tile edge.
- Best all-around: A variable-speed grinder around $130 to $180 gives you control at lower RPM, which prevents burning delicate edges.
- Serious stone and porcelain: A dedicated wet polisher such as those from Bosch or Alpha, $180 to $300, delivers water-fed, dust-controlled sanding for a true polished edge.
- Quick touch-ups: A set of diamond hand pads for $15 to $30, indispensable for on-the-spot smoothing without dragging out a power tool.
For most DIY tile projects, a variable-speed angle grinder with a quality diamond pad set is the smartest single purchase. It costs less than $150 all in and covers edge smoothing, corner beveling, and thinset removal alike.
How to Use a Tile Sander Safely
Sanding tile throws off fine silica dust, which is a genuine health hazard, so safety is not optional. Follow these practices every time:
- Wet-sand whenever possible. Water suppresses dust, cools the pad, and produces a smoother finish.
- If you must sand dry, wear a P100 or N95 respirator and work outdoors or with dust extraction.
- Always wear safety glasses and gloves; a spinning diamond pad can grab an edge.
- Run electric tools on a GFCI circuit whenever water is involved.
- Keep the tool moving. Lingering in one spot overheats the tile and can create a low or burned patch.
Let the diamond abrasive do the work with light, steady pressure. Leaning hard on the tool does not speed things up; it loads the pad, burns the edge, and shortens the pad’s life. Move in smooth, overlapping passes and check your progress often under good light.
Pro Tips for a Flawless Edge
A few habits separate a rough grind from a finished edge. When smoothing a cut edge that will be exposed, hold the pad at a slight angle to create a subtle bevel; it looks intentional and resists chipping far better than a sharp 90-degree corner. When removing thinset, start coarse to break the bulk, then switch to a medium grit to clean the surface without gouging the tile face.
Keep a bucket of water nearby to dip the pad and rinse the edge between grits so you can actually see your progress. And test your technique on a scrap or offcut first. Ten minutes of practice on a throwaway tile saves you from learning on the piece that shows.
Sanding Different Tile Materials
Not every tile responds to the sander the same way, so adjust your approach to the material. Porcelain is dense and hard, which means it grinds slowly but takes a beautiful smooth edge; stay patient and let a medium grit do the work. Glazed ceramic is softer and faster to sand, but the glaze layer can chip if you are aggressive, so ease into the edge with light pressure.
Natural stone is where a tile sander truly shines. Marble, granite, and travertine can be worked all the way up to a high polish, letting you turn a raw cut edge on a threshold or windowsill into a finished, glossy surface that matches the factory face. Stone also generates more heat and dust, making wet-sanding especially important. Whatever the material, always test your grit sequence on an offcut first so you learn how that specific tile reacts before you touch the visible piece.
Maintaining Your Tile Sander and Pads
Diamond pads are the part that wears, and treating them well stretches your investment. Rinse pads in clean water after each use to flush out slurry, then let them air-dry completely before storing so the backing does not degrade. A pad clogged with dried mortar cuts poorly and can overheat, so clean it the moment it stops biting.
Keep pressure light and let the abrasive do the cutting; forcing the tool loads the pad and burns the diamonds prematurely. On the tool itself, check the hook-and-loop backing pad for wear and replace it when it stops holding pads securely. A little care here means a $30 pad set lasts through several projects instead of one.
Making the Right Tile Sander Choice
A tile sander turns rough, sharp, thinset-crusted tile into edges that look and feel professionally finished, and it does the work in a fraction of the time hand tools would take. For most homeowners, a variable-speed angle grinder with a graduated diamond pad set is all you need, while stone and high-polish jobs justify a dedicated wet polisher. Whatever you choose, wet-sand to control dust, step through your grits in order, and let the diamonds do the cutting. Get those basics right and every cut edge on your project will look like it was done by a pro.
Prefer to explore on your own?
See how new flooring looks in your actual room in seconds — free, no signup.
Try the free Floor Studio →