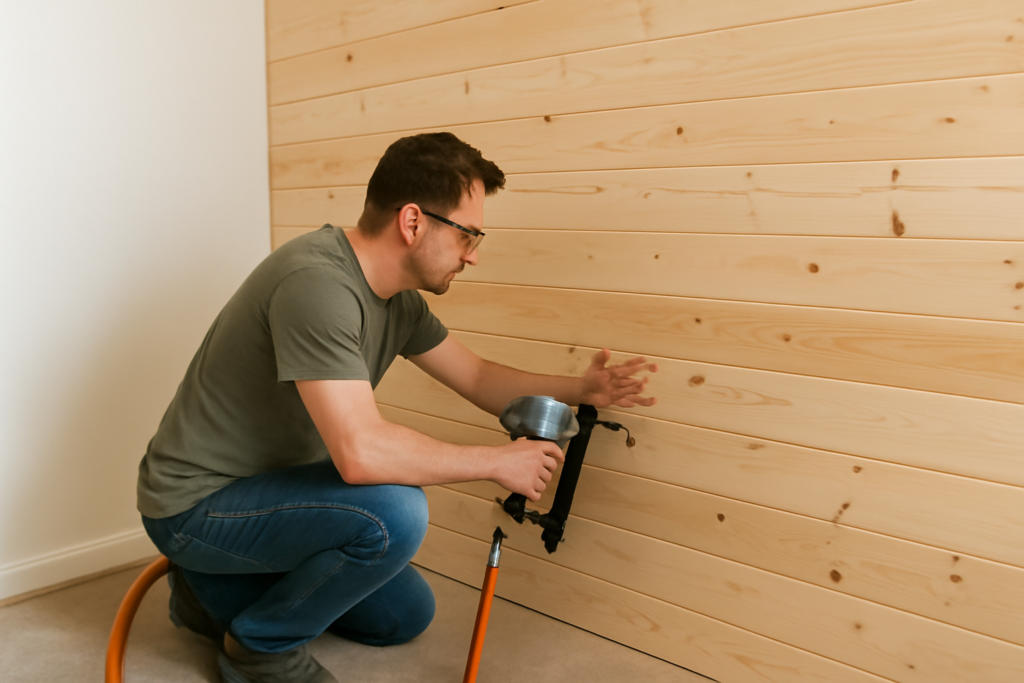
The reason a tongue and groove accent wall looks so much more polished than nailing up plain boards comes down to the joint itself. Each board’s protruding “tongue” slots into the neighboring board’s “groove,” which hides the fasteners, keeps everything perfectly aligned, and produces those clean, consistent seam lines that read as custom millwork rather than a weekend hack. It’s one of the highest-impact accent projects a homeowner can tackle — noticeably more architectural than shiplap or a plain painted wall — and with patience and a few basic tools, it’s genuinely DIY-friendly. Here’s exactly how to plan and build one.
Why Tongue and Groove Beats the Alternatives
Tongue and groove has real advantages over shiplap and plank paneling. The interlocking joint conceals your nails inside the groove, so you get a fastener-free face with no putty spots to fill. The boards self-align as they lock together, which keeps your lines dead straight even if your hands aren’t perfect. And the tight, seamless seams give a more finished, built-in look than the deliberate gaps of shiplap.
You can run the boards vertically to make a room feel taller, horizontally to make it feel wider, or in a herringbone or diagonal pattern for a statement. Vertical is the most popular for a modern accent wall.
Choosing Your Boards
Material affects both look and budget. Your main options:
- Solid wood (pine): the classic, affordable choice at real lumberyards; takes stain or paint beautifully, with natural grain and knots.
- MDF tongue and groove: smooth, knot-free, and dimensionally stable — ideal if you plan to paint, and often cheaper. Avoid it in damp rooms.
- PVC or composite: waterproof, for bathrooms or other high-moisture spots.
Board width changes the feel too: narrow 3-to-4-inch boards give a fine, detailed look with more seam lines, while wider 6-inch boards read cleaner and modern and go up faster. For a painted accent wall, pre-primed MDF tongue and groove is my usual recommendation — flawless finish, no knots bleeding through.
Tools and Materials You’ll Need
- Tongue and groove boards (measure your wall square footage plus 10 percent waste)
- Brad nailer with 1.5-to-2-inch brad nails (or a hammer and finish nails)
- Construction adhesive for extra hold
- Miter saw for clean crosscuts
- Level, stud finder, tape measure, and a pencil
- Table saw or circular saw to rip the last board to width
- Caulk, wood filler, primer, and paint or stain
A brad nailer transforms this project. You can do it with a hammer, but the nailer is faster, splits fewer tongues, and drives nails cleanly into the groove.
Planning the Layout
Measure your wall carefully and dry-lay a few boards to see where you’ll land. The goal is to avoid a sliver-thin board at the end — nothing gives away an amateur job faster than a half-inch strip in the corner. If the math leaves you with a tiny final board, rip the first board slightly narrower so the first and last boards are balanced and both look intentional.
Locate and mark your studs, and decide your direction. For vertical boards on studs that run vertically, install horizontal furring strips or nailing blocks first, or rely on construction adhesive plus nails into the drywall and any framing you can catch.
Step-by-Step Installation
- Remove baseboards and outlet covers, and turn off power to any outlets on the wall.
- Establish a level starting line. Walls and floors are rarely square, so snap or draw a true level line — don’t trust the ceiling or floor.
- Install the first board with the groove edge toward the starting corner, checking it dead level. This first board sets every board after it, so take your time.
- Run a bead of construction adhesive on the back, press the board to the wall, and nail through the tongue at an angle into the studs or furring.
- Lock in the next board, tapping its groove onto the previous tongue with a scrap block to protect the edge, then nail through its tongue.
- Cut around outlets and obstacles with a jigsaw, remembering to add outlet box extenders so the receptacle sits flush with the new surface.
- Rip the final board to width for a clean fit against the far corner.
Always nail through the tongue, never the face. That’s the whole trick — the next board’s groove covers the nail, leaving a smooth, hole-free surface.
Finishing for a Custom Look
The finish work is what sells the “built-in” effect. Fill any face nail holes (there shouldn’t be many) with wood filler and sand smooth. Caulk the perimeter where the boards meet the ceiling, adjacent walls, and trim for a seamless transition. Reinstall the baseboard over the bottom edge for a clean base.
Then prime and paint, or stain and seal. Two coats of a quality paint in eggshell or satin gives a durable, wipeable finish. A crisp white or a moody deep color both look striking on tongue and groove; the texture reads beautifully in raking light either way.
Cost and Time
A typical accent wall of 60 to 100 square feet runs roughly $150 to $400 in materials depending on whether you choose pine or MDF, plus paint and the one-time cost of a brad nailer if you don’t own one. Plan on a full weekend: a day to install and a day for filling, caulking, and painting. It’s a modest investment for a wall that instantly becomes the focal point of the room.
Vertical, Horizontal, or Diagonal: Choosing a Direction
The orientation of your boards dramatically changes how the wall — and the whole room — feels. It’s worth deciding deliberately rather than defaulting:
- Vertical boards draw the eye upward and make ceilings feel taller. This is the most popular choice for a modern accent wall and works wonders in rooms with standard 8-foot ceilings.
- Horizontal boards widen a space visually and lend a relaxed, coastal or farmhouse feel. Great for making a narrow room feel broader.
- Diagonal or herringbone patterns create a bold, high-craft statement but demand far more cutting, waste, and patience — best reserved for a small feature area.
Consider the room’s proportions before committing. Low ceilings benefit from vertical lines; a cramped, narrow room opens up with horizontal ones. For most homeowners chasing that clean, elevated look, vertical is the safe and striking default.
Common Mistakes to Avoid
A few missteps separate a professional-looking wall from an obviously amateur one, and all of them are easy to sidestep:
- Skipping the level line and trusting the floor or ceiling. Old homes are never square, and a first board that follows a crooked ceiling throws off every board after it.
- Ending on a paper-thin sliver. Plan the layout so your first and last boards are balanced widths — rip the first board narrower if needed.
- Nailing through the face instead of the tongue, leaving holes to fill and defeating the clean look.
- Forgetting outlet box extenders, which leaves receptacles recessed too deep behind the new surface — a code issue as well as an eyesore.
- Rushing the caulk and paint. The perimeter caulking and filled seams are what make it read as built-in millwork.
Acclimate your boards in the room for a couple of days before installing, too. Wood expands and contracts with humidity, and boards installed straight off the truck can develop gaps or buckling once they adjust to your home’s conditions.
Final Thoughts
A tongue and groove accent wall delivers a genuinely custom, architectural look that a coat of paint alone never will, and the interlocking boards make it more forgiving to install than it appears. Balance your board widths so the ends look intentional, start off a true level line, nail through the tongue, and take your time with the caulking and paint. Do that, and you’ll end up with a seamless feature wall that looks like it was built by a finish carpenter — because, this weekend, it was.