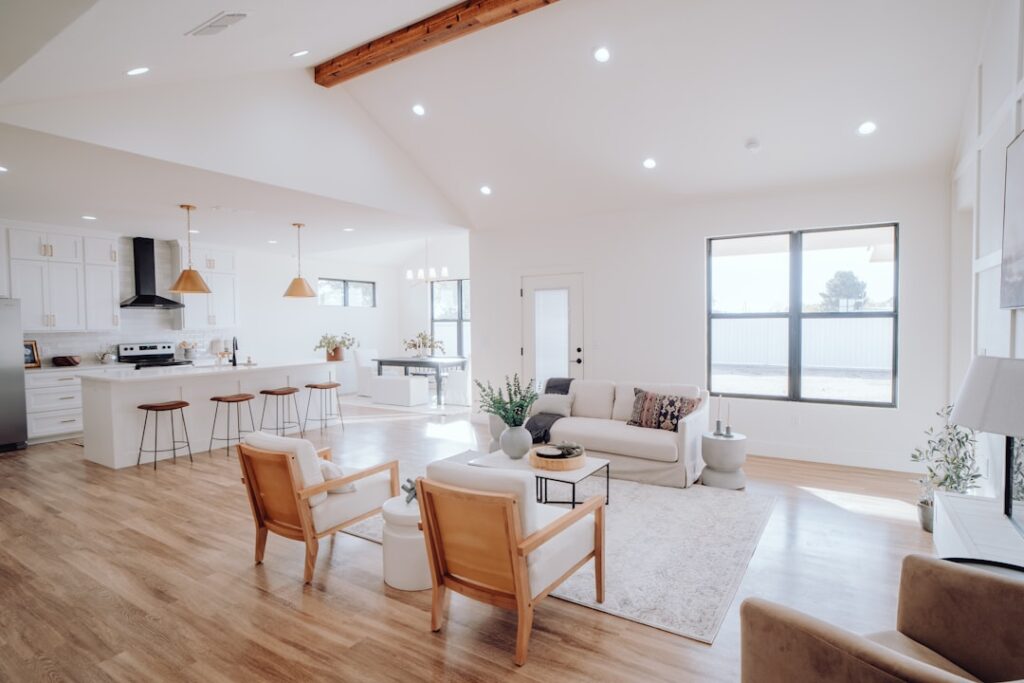
Almost every plank floor sold in North America today uses some form of tongue and groove joinery, even if the marketing emphasizes the click-lock mechanism on top. Tounge and groove flooring (often spelled tongue and groove) refers to the interlocking edge profile where one plank’s protruding tongue slides into the adjacent plank’s milled groove, creating a tight seam that resists vertical movement and channels foot traffic load between adjoining boards. Understanding the profile types and how they vary across materials helps you choose flooring that actually installs the way it should.
- How the Joinery Actually Works
- Click-Lock Versus Traditional Tongue and Groove
- Profile Types You Should Know
- Pricing Across Material Categories
- Installation Method Comparison
- Subfloor Requirements
- Brand Spotlight: Bruce Dundee Solid Hardwood
- Expansion Gap and Movement
- Common Installation Mistakes
- Final Buying Guidance
How the Joinery Actually Works
The tongue is the protruding edge of one plank, machined to match exactly with the groove cut into the neighboring plank’s edge. When fitted together, the joint resists vertical movement because the tongue captures the groove top and bottom, and resists horizontal movement because the joint is tight enough to require force or sequential locking to disassemble.
Original tongue-and-groove flooring required nailing through the tongue at a 45 to 50 degree angle, hiding the fastener under the next plank’s groove. This blind-nail technique remains standard for solid 3/4 inch hardwood and is the strongest, longest-lasting installation method available.
Click-Lock Versus Traditional Tongue and Groove
Modern click-lock flooring is still technically tongue and groove, but with a profile engineered to snap together without nails or glue. The Uniclic, 5G, ValingeI4F, and Drop-Lock systems all use precision-milled angled profiles that lock when one plank is angled into another and rotated down flat.
Traditional tongue and groove without click-locking still appears in solid 3/4 inch hardwood, custom-milled wide-plank flooring, exposed beam tongue-and-groove ceilings (which are flooring profiles installed overhead), and some premium engineered products. These require nail-down, staple-down, or glue-down installation.
Profile Types You Should Know
Standard tongue and groove: tongue on two adjacent edges (one long side, one short end), groove on the opposite two edges. Standard for solid hardwood.
End-matched: tongue and groove milled on plank ends as well as long edges, allowing tight end-to-end joinery. Most quality flooring is end-matched.
Eased edge or beveled: tongue and groove with a slight chamfer on the visible surface edge, creating a visible V-groove between planks. Reads more rustic and hides minor height variation.
Micro-bevel: less aggressive than full bevel, almost flush but with just enough relief to mask subtle misalignment.
Pricing Across Material Categories
Solid 3/4 inch tongue-and-groove hardwood: $4 to $9 per square foot for material. Bruce Dundee, Bellawood, and Lauzon all produce blind-nail tongue and groove in oak, hickory, and maple.
Engineered tongue-and-groove hardwood (nail or glue): $3.99 to $8 per square foot. Mirage, Mercier, and Mullican offer real wood veneer on plywood core with traditional tongue and groove edges.
Click-lock tongue-and-groove laminate: $1.49 to $4.99 per square foot. Pergo, Mohawk RevWood, and Shaw Repel cover the spectrum from basic to premium.
Click-lock SPC vinyl tongue-and-groove: $2.99 to $7.99 per square foot. COREtec, Karndean, and Shaw Floorte Pro dominate this category.
Installation Method Comparison
Nail-down for solid hardwood: requires plywood or OSB subfloor minimum 5/8 inch thick. Use Powernail 50P Flex or Bostitch MIIIFN with 16 or 18 gauge L-cleats spaced every 6 to 8 inches along the tongue at a 45 to 50 degree angle. Manual face-nailing of starter and finishing rows.
Glue-down: works on concrete slab and over wood subfloors. Use a urethane adhesive like Bostik’s BEST, Mapei Ultrabond ECO 980, or Stauf SMP-690. Apply with the manufacturer-specified trowel size (usually 1/4 by 1/4 by 1/4 inch V-notch).
Floating click-lock: works over almost any flat, dry subfloor. No fasteners or adhesive. Installation runs 2 to 3 times faster than nail-down or glue-down, which is why click-lock has dominated the new construction market.
Subfloor Requirements
All tongue and groove flooring requires a flat, dry, structurally sound subfloor. Flatness specifications:
- Solid hardwood nail-down: 3/16 inch deviation over 10 feet
- Engineered hardwood glue-down: 1/8 inch deviation over 6 feet
- Click-lock vinyl or laminate: 3/16 inch deviation over 10 feet
- Wide plank flooring over 7 inches: 1/8 inch deviation over 10 feet
Moisture testing per ASTM F2170 for concrete or ASTM F1869 calcium chloride is mandatory before any tongue and groove installation over slab. Skip this and you’ll have warranty issues regardless of how perfect your installation looks on day one.
Brand Spotlight: Bruce Dundee Solid Hardwood
Bruce Dundee has been a contractor staple for tongue and groove solid hardwood for over 40 years. The 3/4 by 3.25 inch wide planks come in 7 to 84 inch random lengths, prefinished with a seven-coat aluminum oxide urethane that carries a 25-year residential finish warranty. Pricing typically runs $4.79 to $6.49 per square foot, making it one of the best value-for-quality picks in solid hardwood. The traditional tongue and groove profile blind-nails cleanly with standard 18 gauge cleats and accepts later refinishing through 4 to 6 full sand cycles.
Expansion Gap and Movement
Tongue and groove flooring expands and contracts with humidity. Solid hardwood moves more than engineered; both move more than click-lock vinyl. Leave the manufacturer-specified expansion gap around the entire perimeter:
- Solid hardwood: 5/8 to 3/4 inch perimeter gap
- Engineered hardwood: 1/2 inch perimeter gap
- Click-lock laminate: 1/4 to 5/16 inch perimeter gap
- Click-lock vinyl: 1/4 inch perimeter gap, plus 1/4 inch at every fixed object over 25 feet of run
Hide expansion gaps under baseboard and quarter-round trim with at least 1/16 inch clearance between the trim bottom and the floor surface.
Common Installation Mistakes
Mistake one: hammering planks into place with a rubber mallet directly on the tongue. The tongue is thin and chips easily, ruining the joint. Use a tapping block against the groove side only.
Mistake two: forcing planks into a tight fit at the end joints. End-matched tongue and groove should slide together with firm hand pressure, never hammer impact. Forcing it cracks the substrate.
Mistake three: ignoring acclimation. Solid and engineered hardwood need 5 to 14 days at install-site conditions before installation begins. Click-lock vinyl needs 48 to 72 hours. Skip this and the planks expand or contract after install, opening seams or buckling.
Final Buying Guidance
Tongue and groove flooring is the foundation of every quality plank installation, whether traditional nail-down hardwood or modern click-lock vinyl. Match the profile and installation method to your subfloor, climate, and skill level. Budget for proper acclimation and subfloor prep. Done right, tongue and groove flooring lasts 25 to 100 years depending on material, and the joint integrity is what separates a floor that ages gracefully from one that opens up at every seam within five years.
Prefer to explore on your own?
See how new flooring looks in your actual room in seconds — free, no signup.
Try the free Floor Studio →