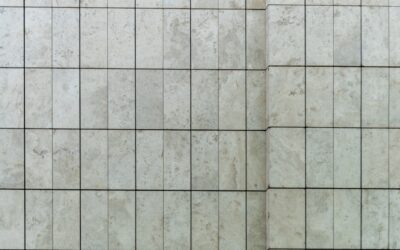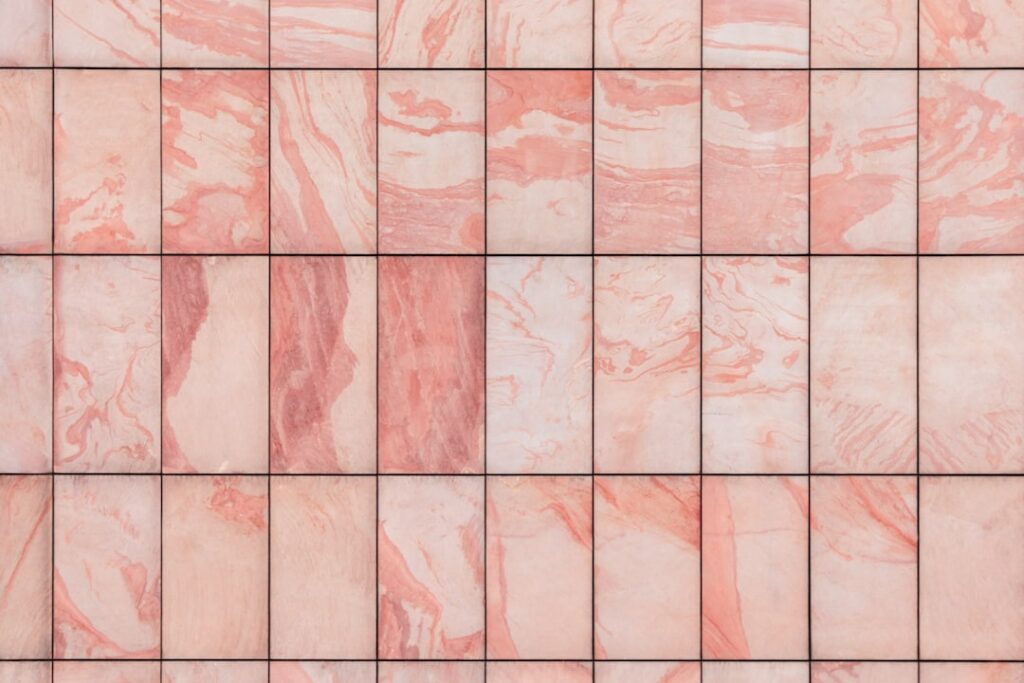
Vertical tile has become one of the most requested design moves in modern kitchens and bathrooms, and for good reason. Stacking or laying tile so the pattern draws the eye upward makes ceilings feel taller, narrow spaces feel wider, and ordinary subway tile feel fresh again. This guide explains the most popular vertical layouts, where they work best, how installation differs from horizontal, and what to budget for the look.
What Vertical Tile Means
Vertical tile refers to orienting rectangular tiles so the long dimension runs up and down rather than side to side, or arranging tile in patterns that emphasize height. The classic example is subway tile turned on end. Instead of the familiar horizontal brick pattern, the tiles stand tall, creating clean vertical lines that lead the eye toward the ceiling.
The technique is partly aesthetic and partly an optical trick. Just as vertical stripes on clothing make a person look taller, vertical tile lines stretch a wall and make a room feel more spacious. In homes with standard or low ceilings, that lift can transform how a space feels without any structural change.
Popular Vertical Patterns
There is more than one way to run tile vertically, and each delivers a slightly different effect:
- Vertical stack: Tiles aligned in straight columns with grout lines running uninterrupted from floor to ceiling. Crisp, modern, and minimalist.
- Vertical offset (brick): The familiar staggered subway pattern, simply rotated so the bricks stand upright. Adds movement while keeping it timeless.
- Herringbone: Rectangular tiles set in a V pattern that leans into a vertical orientation, rich with texture and visual energy.
- Vertical chevron: Tiles cut at angles to meet in continuous upward points, a dramatic, high-end statement.
Stacked patterns feel the most contemporary, while offset patterns suit transitional and classic spaces. Herringbone and chevron add the most visual interest but require more cutting and skill.
Where Vertical Tile Works Best
Certain spaces benefit more than others from a vertical treatment. Showers are a top candidate, where vertical tile makes a compact stall feel taller and more open. Backsplashes gain a fresh, designed look when subway tile is turned upright, especially in a kitchen with limited wall height between counter and cabinets.
Powder rooms and small bathrooms feel less cramped with vertical lines drawing the eye up. Accent walls, fireplace surrounds, and even entryways can all use the technique to add height and drama. In rooms with tall ceilings, vertical tile reinforces and celebrates the existing height rather than creating an illusion of it.
Choosing Tile and Grout
Tile selection shapes the final result. Long, narrow tiles like 2-by-8 or 4-by-12 inch formats exaggerate the vertical effect more than nearly square tiles. Porcelain and ceramic remain the most practical and affordable choices for walls and wet areas, while glass tile adds reflectivity and natural stone brings organic texture.
Grout choice is a design decision in its own right. Matching grout to the tile color makes the surface read as a seamless field, emphasizing the overall shape. Contrasting grout, such as dark grout with white tile, highlights every vertical line and maximizes the height-stretching effect. For wet areas, use the right grout and seal it properly to resist moisture.
Installation Considerations
Vertical layouts demand a little more precision than horizontal ones because any deviation from plumb is obvious to the eye. Where a slightly off horizontal line can hide, a leaning vertical line stands out. Plan carefully and the result will look sharp:
- Establish a true plumb reference line with a level before setting a single tile, and check it constantly as you work.
- Dry-lay the pattern first to plan where cut tiles fall, keeping them at edges and corners.
- Use the correct thinset for the location, especially in showers where mastic is not appropriate.
- Set tile spacers consistently and use leveling clips to keep faces flush, since lippage is more noticeable on tall lines.
- Cut edge and outlet tiles with a wet saw for clean results.
For stacked patterns in particular, perfectly aligned grout joints are non-negotiable, since the whole appeal is clean, continuous lines. If your walls are out of plumb, address that before tiling.
What Vertical Tile Costs
The tile itself costs the same whether you run it vertically or horizontally, so price depends on the material and the pattern’s complexity. Basic ceramic subway tile runs roughly $1 to $5 per square foot, porcelain $3 to $10, and glass or natural stone $10 to $30 or more. A simple vertical stack or offset adds little to labor.
More intricate patterns like herringbone and chevron increase labor and material costs because of the extra cutting, waste, and time. Professional installation typically runs $8 to $20 per square foot depending on complexity and region. Always buy 10 to 15 percent extra tile to cover cuts and breakage, and more for diagonal patterns that generate more waste.
Is Vertical Tile Right for Your Space
If you want to make a room feel taller, add a modern edge, or breathe new life into a classic material, vertical tile is a smart, design-forward choice. It costs little more than a standard horizontal layout in its simplest forms, yet delivers a noticeably different feel. Match the pattern to your room: stacked for contemporary, offset for timeless, and herringbone or chevron when you want a statement. Plan your layout carefully, keep your lines plumb, and you will end up with a surface that feels fresh, intentional, and a little taller than the room really is.
Common Mistakes to Avoid
A few avoidable errors trip up first-time vertical tile projects. The most frequent is failing to start from a true vertical reference, which causes the whole field to lean noticeably by the time it reaches the ceiling. Always set your plumb line first and check it constantly. Another mistake is ignoring lippage, those slight height differences between adjacent tiles that catch light and shadow far more obviously on a vertical wall than a horizontal one.
Pattern planning is the third pitfall. Because the appeal of a stacked layout is its clean continuous lines, sloppy grout-joint alignment ruins the effect instantly. Take time to dry-lay and snap layout lines before setting tile. Finally, do not forget transitions and trim. Decide ahead of time how the vertical field meets ceilings, edges, and adjacent surfaces, using bullnose tile, metal trim, or a clean caulk line so the installation looks finished rather than abruptly cut off.
Prefer to explore on your own?
See how new flooring looks in your actual room in seconds — free, no signup.
Try the free Floor Studio →