Most people buy a craft machine expecting it to print full-color graphics, then discover their model only cuts solid colors of vinyl, no ink involved. That confusion costs hobbyists hundreds of dollars in the wrong gear every year. A true vinyl cutter printer combines an inkjet print head and a precision blade so you can print a multicolor design and then cut it out exactly along its edges, a workflow the industry calls print-and-cut. Whether you want custom decals for a storefront, labels for homemade products, or decorative graphics for a project, understanding how these machines work saves you money and frustration before you ever buy.
Printer vs. Cutter vs. Print-and-Cut
The terminology trips up nearly every newcomer, so let us separate the three categories clearly.
- Vinyl cutter (plotter): Cuts shapes from pre-colored adhesive vinyl. No printing. Machines like the Cricut and Silhouette Cameo fall here.
- Printer: Prints graphics onto printable vinyl or sticker paper but cannot cut shapes.
- Vinyl cutter printer (print-and-cut): A combined system that prints your design, then uses registration marks to cut precisely around it.
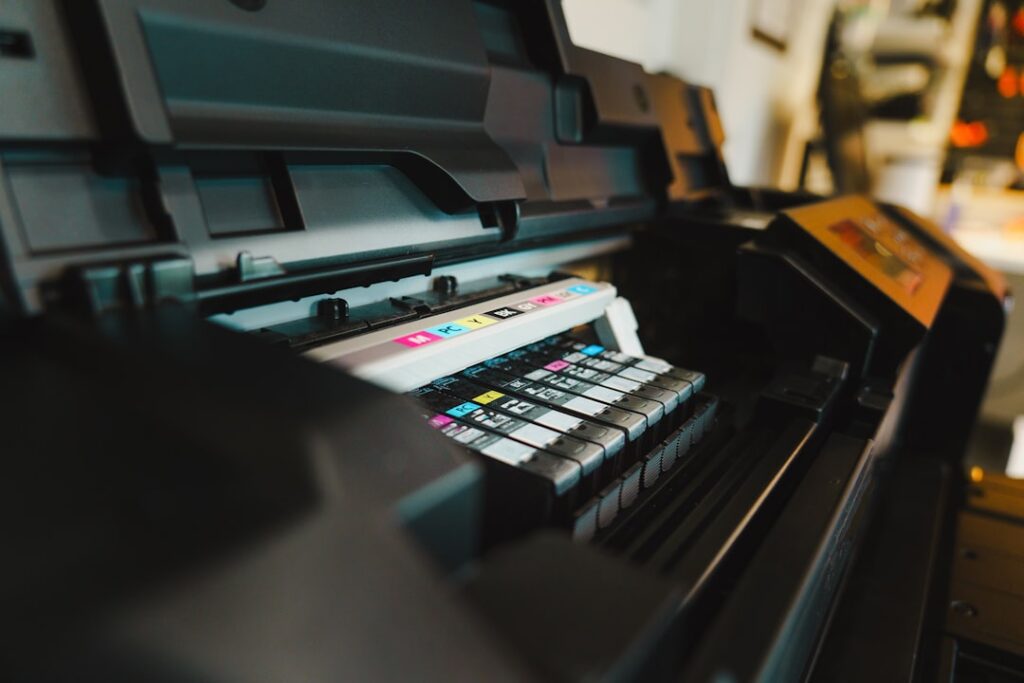
Most home setups achieve print-and-cut by pairing a standard inkjet printer with a cutting machine that reads registration marks. A few all-in-one commercial units, like Roland’s BN series, house both functions in one chassis.
How Print-and-Cut Actually Works
The magic is in the registration marks. Your software prints small black squares or L-shapes around your design on printable vinyl. You load that printed sheet into the cutter, and an optical sensor finds those marks to align the blade perfectly with the printed artwork. The result is a sticker or decal cut exactly on its outline, even with a complex shape.
Accuracy depends on the sensor and the material lying flat. Cheap printable vinyl that curls will throw off alignment, so storage and humidity matter more than beginners expect.
Choosing the Right Machine
Match the machine to your volume and budget. Here is how the common tiers shake out:
- Hobby print-and-cut: A home inkjet plus a Cricut Maker 3 or Silhouette Cameo 4. Total cost $300 to $600. Great for crafts and small batches.
- Prosumer: A Silhouette Cameo with an upgraded pigment inkjet for fade-resistant outdoor decals. $500 to $900.
- Commercial all-in-one: A Roland BN-20A integrated eco-solvent printer cutter. $5,000 and up, but produces durable, waterproof graphics for signage and vehicles.
For a homeowner labeling pantry jars or making wall decals, the hobby tier is plenty. Step up only if you need weatherproof outdoor durability.
Materials and Inks
The vinyl you feed in determines how long your work lasts. Printable adhesive vinyl with a matte or glossy finish costs $1 to $2 per sheet and works for indoor stickers. For outdoor use, you want printable vinyl rated for UV exposure paired with a laminate overlay that protects the ink. Inkjet dye inks fade in sunlight within months, while pigment inks last a few years, and eco-solvent inks last five years or more outdoors.
A laminator or self-adhesive laminate sheets, around $15 for a pack, dramatically extend sticker life and add scratch and water resistance. For anything going on a car or window, lamination is not optional.
Where you apply the finished decal matters as much as how you make it. Clean the target surface with rubbing alcohol so no oils interfere with the adhesive, and for larger decals use transfer tape to move the design from its backing to the surface in one piece without misaligning the letters. On glass and painted walls, apply slowly and squeegee from the center outward to push out air bubbles. Outdoor and vehicle decals benefit from a few days of cure time before exposure to a car wash or heavy rain, which lets the adhesive reach full strength.
Software You Will Need
The cutter is only as smart as its software. Cricut machines run Design Space, Silhouette runs Silhouette Studio, and both support print-and-cut by adding registration marks automatically. Designers who want more control use Adobe Illustrator or the free Inkscape to build vector artwork, then import it. The key step is enabling registration marks before printing so the cutter can find your design.
One common beginner error is printing the design without the marks, then wondering why the cut is misaligned. Always let the software add the marks and print the whole sheet at once.
Beyond the basic cut software, a few free and paid tools round out a serious workflow. Inkscape is the go-to free vector editor for designing crisp logos and lettering that scale cleanly to any size. For raster art like photographs, you will trace or convert the image to vector paths before the cutter can follow an outline, since the blade needs a defined cut line, not pixels. Many hobbyists also keep a color-management profile for their printer so the printed reds and blues match what they see on screen, which matters enormously when a client approves a proof. Spend an hour learning your software’s print-and-cut dialog before your first real project, and you will avoid the most common waste of materials, which is a misaligned cut on an expensive printed sheet.
Common Projects and What They Cost
A vinyl cutter printer earns its keep fast once you tally retail sticker prices. Consider these typical jobs:
- Custom product labels: a sheet of 20 labels costs roughly $2 in materials versus $15 to order.
- Window and storefront decals: laminated for durability, a few dollars each at home.
- Wall and locker graphics: full-color, cut to shape, for pennies per square inch.
- Bumper stickers and water bottle decals: ideal small-batch print-and-cut work.
Tips for Clean, Professional Results
Small habits separate amateur stickers from professional ones. Let printed ink dry for at least 15 minutes before cutting so it does not smear under the rollers. Calibrate your blade depth on a scrap first, since cutting too deep ruins the backing and breaks the kiss-cut. Keep your printable vinyl flat and dry. And clean the sensor window periodically so the machine reads registration marks reliably.
Final Thoughts
A vinyl cutter printer setup unlocks custom decals, labels, and signage right from your home office, and most hobbyists get there for under $600 by pairing an inkjet with a Cricut or Silhouette. Decide first whether you need print-and-cut or just plain cutting, then match your ink and vinyl to indoor or outdoor use. Add lamination for anything exposed to sun or water, master the registration-mark workflow, and you will turn out clean, durable graphics that rival store-bought every time.
Prefer to explore on your own?
See how new flooring looks in your actual room in seconds — free, no signup.
Try the free Floor Studio →