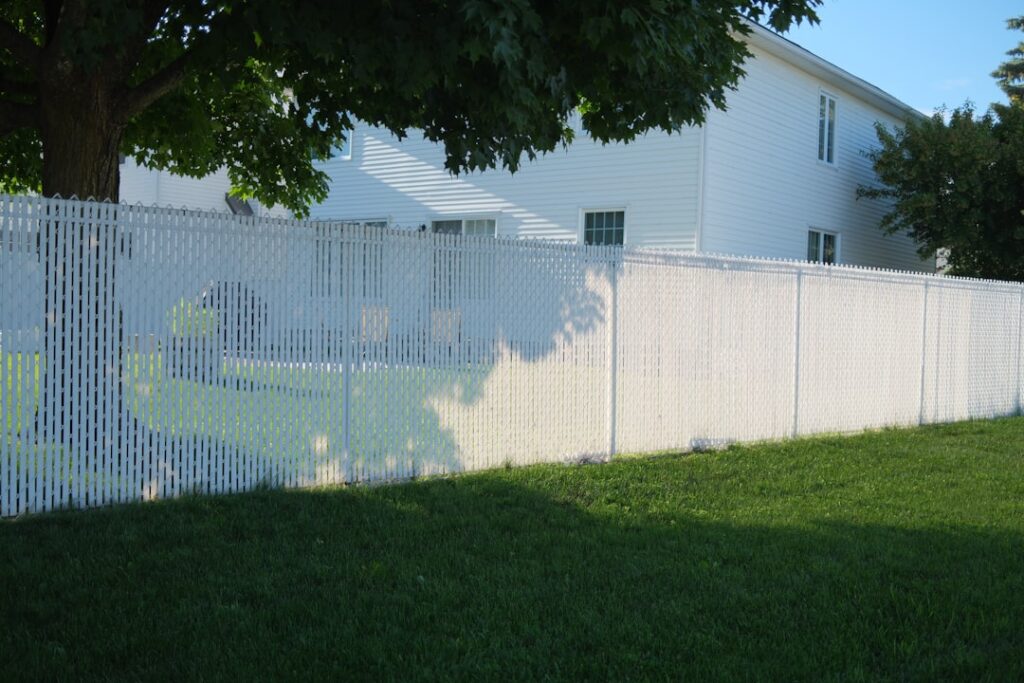
A vinyl fence is only as strong as the connections holding its rails to its posts, and that is exactly the job of vinyl fence brackets. Skip them, or use the wrong style, and rails sag, panels rattle in the wind, and the whole run starts to lean within a couple of seasons. The good news is that brackets are inexpensive, easy to install, and they make repairs vastly simpler down the road. If you are building a new fence or fixing an old one, understanding the bracket system pays off the first time a panel needs to come out.
- What Vinyl Fence Brackets Actually Do
- Common Types of Vinyl Fence Brackets
- Choosing the Right Screws
- Step-by-Step Installation
- Slope and Stepped Fences
- Wind, Strength, and Reinforcement
- Maintenance and Common Problems
- Repair vs. Replace
- Matching Brackets to Your Fence Brand
- Color, UV, and Long-Term Appearance
- Final Takeaways
What Vinyl Fence Brackets Actually Do
Brackets are the structural link between a horizontal rail and a vertical post. Instead of routing a slot through the post and threading the rail through it, brackets let you screw a small fitting to the face of the post and slide or fasten the rail into it. That means you can replace a single damaged rail without dismantling the entire section.
They also handle the expansion vinyl is famous for. PVC moves with temperature, expanding on a 95°F afternoon and contracting on a 20°F night, and a properly chosen bracket gives the rail room to breathe without cracking.
Common Types of Vinyl Fence Brackets
Not all brackets are interchangeable, so match the type to your fence design and slope.
- U-brackets (line brackets): An open channel the rail drops into. The most common style for flat-ground runs and quick repairs.
- Routed brackets: Used where the rail passes into a routed hole; brackets reinforce the connection.
- Adjustable or swivel brackets: Pivot to follow the grade, essential on sloped yards where rails run at an angle.
- Heavy-duty metal-insert brackets: Vinyl shells with a steel or aluminum core for gates and high-wind areas.
For most backyard privacy or picket fences on level ground, standard U-brackets in matching white or tan cover the job for about $1 to $3 each.
Choosing the Right Screws
The bracket is only half the connection; the fastener matters just as much. Use exterior-rated stainless steel or coated deck screws so they don’t rust and bleed streaks down white vinyl. A #8 screw between 1 inch and 1-1/2 inches long is typical, long enough to bite the post wall without punching through to the inside.
Don’t overtighten. Vinyl is softer than wood, and a cordless drill set to a low clutch setting prevents you from stripping the hole or cracking the bracket. Snug, not crushed, is the goal.
Step-by-Step Installation
Installing brackets is straightforward if you measure before you drill.
- Set and plumb your posts first, letting any concrete footings cure for 24 to 48 hours.
- Mark the rail height on each post, measuring up from grade and using a level so the line is consistent across the run.
- Hold the bracket on the mark and pre-drill pilot holes; pilot holes prevent the brittle vinyl from cracking.
- Fasten the bracket with two screws, keeping it square to the post.
- Slide the rail into the bracket, then secure it with the supplied screw or tab.
- Check level one more time before moving to the next section.
Slope and Stepped Fences
On a graded yard you have two choices: rack the fence so rails follow the slope, or step it so each section stays level and drops at the posts. Racking needs swivel brackets that pivot to the angle. Stepping uses standard brackets but leaves triangular gaps under each section, which some homeowners dislike on a privacy fence. Walk your line with a string level before buying so you order the right bracket count and style.
Wind, Strength, and Reinforcement
Vinyl panels act like sails. In open or coastal areas, upgrade to brackets with metal inserts and add an aluminum or galvanized insert inside the bottom rail of tall privacy panels. This stiffens the run and keeps brackets from pulling loose during gusts. Spacing posts no more than 6 to 8 feet apart, depending on the manufacturer, also keeps stress off each individual bracket.
Maintenance and Common Problems
Vinyl hardware is low-maintenance, but it is not zero-maintenance. Once or twice a year, walk the fence and check that no screws have backed out and no brackets have cracked from impact or UV brittleness. White brackets can yellow slightly over many years of sun; a vinyl-safe cleaner restores most of the color.
If a rail rattles, the bracket screw has likely loosened from expansion cycling, an easy fix with a quarter-turn of the driver. Cracked brackets should be replaced immediately, because a failed connection puts extra load on its neighbors and can cascade down the section.
Repair vs. Replace
One of the biggest advantages of a bracketed system is serviceability. If a car backs into a panel or a storm snaps a rail, you unscrew the bracket, swap the rail or fitting, and re-fasten in minutes. Keep a few spare brackets and matching screws in the garage so a small failure never becomes a weekend project. At a couple of dollars apiece, a small inventory is cheap insurance.
Matching Brackets to Your Fence Brand
Vinyl fence systems are not universally compatible, and that catches many homeowners off guard. Rail dimensions, post wall thickness, and bracket fit vary between manufacturers, so a bracket meant for one system may not seat properly in another. Before buying replacements, measure your rail height and width and the post’s routed opening, then match those dimensions rather than assuming any white bracket will work.
If your original fence brand is unknown or discontinued, universal vinyl fence brackets exist that fit a range of common rail sizes. Bring an old bracket and a sample rail end to the store, or photograph them with a tape measure for scale. Getting the fit right the first time saves a return trip and ensures the rail seats tightly instead of rattling loose in an oversized channel.
Color, UV, and Long-Term Appearance
Brackets should disappear into the fence, which means matching color as well as size. Most vinyl fencing comes in white, tan/almond, or khaki, and brackets are sold in the same palette. Buy brackets in the matching shade so repairs blend in rather than standing out as obvious patches. Over many years of sun exposure, vinyl can chalk or fade slightly, so a brand-new bright-white bracket may not perfectly match a fence that’s weathered for a decade; a gentle wash of the surrounding rails often closes the gap. Choosing UV-stabilized brackets from a reputable supplier keeps that color shift minimal and prevents the brittleness that leads to cracking down the road.
Final Takeaways
Good vinyl fence brackets are the difference between a fence that stands straight for 20 years and one that sags after two. Pick the bracket type that fits your terrain, use stainless or coated screws, pre-drill every hole, and don’t overtighten. Spend the extra dollar on metal-reinforced brackets where wind and gates demand it, and your vinyl fence will stay tight, square, and easy to repair for the life of the property.