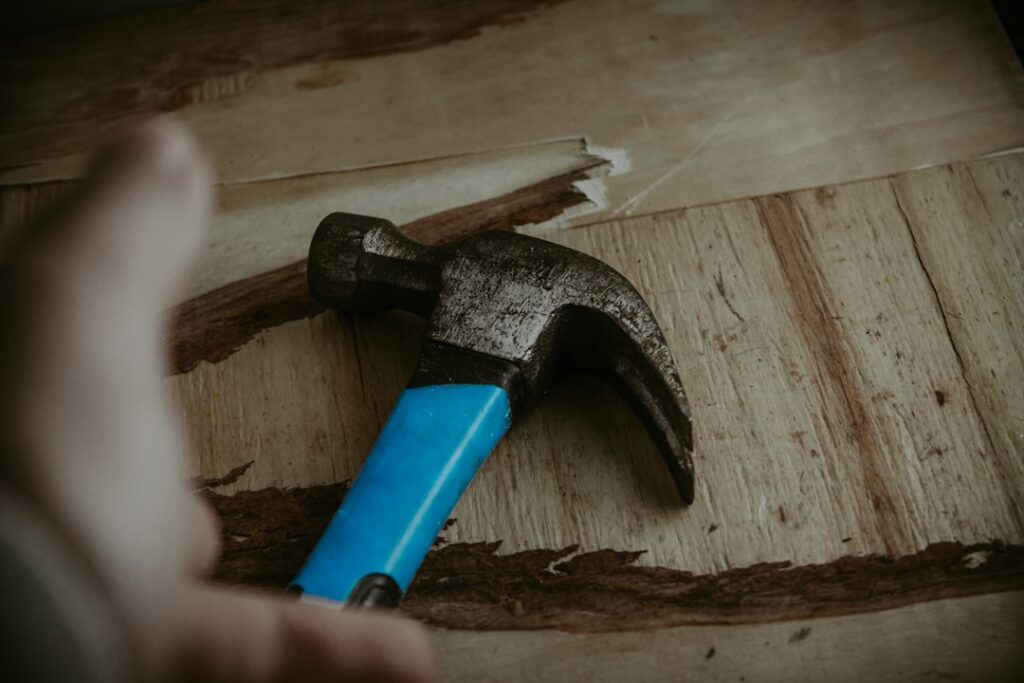
Having the right vinyl flooring tools turns what could be a frustrating weekend project into a smooth, professional-quality installation. Whether you are laying click-lock LVP, glue-down vinyl tile, or sheet vinyl, each product type demands specific tools for cutting, fitting, and finishing. This guide covers every tool you need, explains what each one does, and helps you decide which tools are worth buying versus renting.
- Essential Measuring and Marking Tools
- Cutting Tools
- Utility Knife
- Vinyl Plank Cutter (Guillotine Cutter)
- Jigsaw
- Oscillating Multi-Tool
- Tin Snips or Heavy-Duty Scissors
- Installation and Fitting Tools
- Subfloor Preparation Tools
- Finishing and Detail Tools
- Safety Equipment
- Buy vs. Rent Decision Guide
- Tool Kits and Starter Bundles
- Final Thoughts
Essential Measuring and Marking Tools
Accurate measurements prevent wasted material and ensure clean results. These tools are non-negotiable for any vinyl flooring project.
Tape Measure
A 25-foot tape measure with a locking mechanism is the standard. You will use it constantly to measure room dimensions, individual plank cuts, expansion gaps, and obstacle offsets. Choose one with a wide blade that stays rigid when extended, as this makes it easier to measure across a room without a helper. A tape measure with both imperial and metric markings is ideal if you work with products from international manufacturers.
Carpenter’s Square (Framing Square)
A large L-shaped carpenter’s square is essential for marking straight, perpendicular cut lines across vinyl planks and tiles. The long arm guides your utility knife or pencil for accurate cross-cuts. A smaller speed square works in tight spaces but does not span the full width of wider planks. Invest in a metal square rather than plastic, as it provides a better cutting guide and lasts longer.
Chalk Line
A chalk line establishes perfectly straight reference lines across the subfloor. You will use it to mark your starting row alignment, especially in larger rooms where even a slight angle at the starting wall can compound into a visible problem across the room. Snap a chalk line parallel to your starting wall at the width of your first row plus the expansion gap. Red or blue chalk is most visible on concrete and plywood subfloors.
Pencil and Marker
A standard carpenter’s pencil works for marking cut lines on vinyl planks. For dark-colored planks where pencil marks are hard to see, a white or silver marker provides better visibility. Always mark on the face of the plank when using a utility knife to score-and-snap, and on the back when using a saw to minimize visible chipping.
Cutting Tools
Cutting is the most frequent task during vinyl flooring installation. Having the right cutting tools saves time and produces cleaner results.
Utility Knife
A heavy-duty utility knife with a retractable blade is the most used cutting tool for vinyl flooring. You will use it for scoring planks for snap cuts, trimming sheet vinyl, cutting underlayment, and making small adjustments to plank edges. Key features to look for:
- Quick-change blade mechanism – You will go through blades fast when cutting vinyl; a tool-free blade change saves time
- Retractable blade – Essential for safety when the knife is not in use
- Comfortable grip – Rubberized handles reduce hand fatigue during extended cutting sessions
- Blade storage – Many utility knives store extra blades in the handle for convenience
Stock up on extra blades. A fresh blade makes a clean score in one or two passes. A dull blade requires excessive pressure, produces ragged edges, and increases the risk of the blade slipping. Plan on changing blades every 10 to 15 cuts.
Vinyl Plank Cutter (Guillotine Cutter)
A vinyl plank cutter is a specialized guillotine-style tool that cuts vinyl planks quickly and cleanly without dust or noise. You score or shear the plank by pushing down on a lever-operated blade. It produces straight cross-cuts faster than a utility knife and is the preferred tool for high-volume installations.
Pros: Fast, quiet, no dust, no power needed, consistent cuts.
Cons: Only makes straight cuts (no curves or notches), limited to planks narrower than the blade width, not useful for other flooring types.
If you are installing more than one room, a vinyl plank cutter is worth the investment at $40 to $100 for a quality model. For a single small room, the utility knife and square combination works fine.
Jigsaw
A jigsaw handles cuts that a utility knife and guillotine cutter cannot: curves around toilet flanges, notches for door frames, and irregular shapes around built-in cabinets. Use a fine-tooth blade designed for laminate or vinyl to minimize chipping. Cut with the face down when using a standard up-cut blade, or face up with a down-cut blade, to keep any tear-out on the hidden side.
Oscillating Multi-Tool
An oscillating multi-tool with a flush-cut blade is invaluable for undercutting door jambs and casings. Rather than trying to cut a plank to fit around a door frame, you trim the bottom of the frame so the plank slides underneath cleanly. The multi-tool also works for cutting transition strips to length and trimming planks in tight spaces where a jigsaw cannot reach.
Tin Snips or Heavy-Duty Scissors
For sheet vinyl, a pair of heavy-duty scissors or tin snips makes rough cuts and trimming faster than a utility knife. They are also useful for cutting vinyl plank underlayment and trimming edge pieces of flexible vinyl tile.
Installation and Fitting Tools
These tools ensure planks lock together properly, sit flat, and maintain the correct expansion gap throughout the installation.
Tapping Block
A tapping block is a small, dense block (usually plastic or hardwood) that you place against the edge of a vinyl plank and tap with a mallet to close gaps and fully engage the click-lock mechanism. The block absorbs the impact and distributes force evenly, protecting the plank’s locking profile from damage.
Never tap directly on the plank edge without a tapping block. Direct mallet strikes crush the locking tongue and groove, preventing a tight joint and potentially creating visible gaps. Purpose-made tapping blocks for vinyl flooring have a lip that hooks over the plank edge for secure, consistent contact.
Pull Bar
A pull bar is a flat metal bar with a hooked end that you place over the end of a plank against a wall where there is no room to swing a mallet. You hook the pull bar over the plank end and tap the other end of the bar with a mallet. This transfers force horizontally, pulling the plank tightly against the previous row.
Pull bars are essential for the last row and for planks at end walls. Without one, these planks will have visible gaps that worsen over time. A quality pull bar has a comfortable grip surface and is long enough to provide good leverage without bending.
Rubber Mallet
A rubber mallet provides controlled force for use with the tapping block and pull bar. Rubber is softer than metal, delivering impact without damaging the tools or the flooring. A 16 to 20 ounce mallet provides enough force for vinyl plank without being unwieldy. Do not substitute a regular hammer, as metal will dent and damage both the tapping block and the planks.
Spacers
Spacers maintain the required expansion gap between the flooring and the walls, typically 1/4 inch for vinyl plank. Place them along every wall before starting and between the flooring and any fixed objects like cabinets and columns. You can buy purpose-made plastic spacers or cut 1/4-inch plywood scraps to size.
T-shaped spacers are particularly useful because they stand upright and are easy to place and remove. Flat spacers can slide under planks during installation and become difficult to retrieve. Remove all spacers after the floor is complete and before installing baseboards.
Floor Roller
For glue-down vinyl installations, a weighted floor roller (75 to 100 pounds) presses the flooring firmly into the adhesive to ensure complete contact and eliminate air pockets. Roll the entire floor immediately after installation and again 30 minutes later. You can rent floor rollers from most tool rental centers. They are not needed for click-lock floating installations.
Subfloor Preparation Tools
A flat, clean subfloor is critical for any vinyl flooring installation. These tools help you achieve the surface quality that vinyl demands.
Long Straightedge or Level
A 6 to 10 foot straightedge or level reveals high and low spots in the subfloor. Slide it across the floor in multiple directions and look for gaps between the straightedge and the subfloor surface. Most vinyl flooring manufacturers require the subfloor to be flat within 3/16 inch over 10 feet.
Floor Scraper
A long-handled floor scraper removes old adhesive residue, paint drips, drywall compound, and other surface contaminants that prevent a flat installation surface. It also works for scraping up old peel-and-stick tile adhesive. The long handle allows you to work standing up, which saves your knees and back.
Sanding Equipment
A belt sander or orbital sander knocks down high spots on plywood subfloors. For concrete, a concrete grinder handles raised seams and rough patches. Light sanding is often all that is needed to bring a subfloor within tolerance.
Trowel
A notched trowel spreads adhesive evenly for glue-down installations, and a flat trowel applies floor-leveling compound to fill low spots. Trowel notch size matters greatly for adhesive application. The adhesive manufacturer specifies the correct notch size, typically 1/16 inch for vinyl installations. Using the wrong size applies too much or too little adhesive.
Finishing and Detail Tools
These tools handle the final details that give your installation a polished, professional appearance.
Pry Bar
A flat pry bar removes existing baseboards without damaging the wall. Slide a putty knife behind the baseboard first to protect the drywall, then work the pry bar behind the baseboard and gently lever it away from the wall. Number each piece on the back for reinstallation in the same location.
Coping Saw or Miter Saw
If you are installing new baseboards or quarter-round molding, a miter saw or miter box with a hand saw cuts accurate angles for inside and outside corners. A coping saw creates coped joints for inside corners, which produce tighter fits than miter joints on irregular walls.
Nail Gun or Hammer and Finish Nails
A pneumatic or battery-powered brad nailer makes quick work of reinstalling baseboards and shoe molding. A hammer and finish nails work too but are slower and more likely to dent the trim. Remember to nail baseboards to the wall, not through the flooring, to allow the floating floor to move freely.
Transition Strip Tools
Transition strips at doorways and floor height changes may require a hacksaw or miter saw to cut to length, a drill for installing track systems, and adhesive for surface-mount transitions. Having these tools ready prevents delays during the finishing phase.
Safety Equipment
Do not overlook personal protection. Vinyl flooring installation involves sharp blades, flying debris, and chemicals that demand proper safety gear.
- Safety glasses – Protect eyes when scoring, snapping, or sawing planks
- Knee pads – Essential for comfort during extended floor-level work
- Work gloves – Protect hands from sharp plank edges and utility knife slips
- Dust mask – Wear when sanding subfloors or cutting with power tools
- Hearing protection – Required when using jigsaws or oscillating tools in enclosed spaces
Buy vs. Rent Decision Guide
Not every tool needs to be purchased. Here is a practical breakdown for budget-conscious DIYers.
Worth Buying
Utility knife, tape measure, square, spacers, tapping block, pull bar, rubber mallet, pencil, chalk line, and safety equipment. These items are inexpensive, useful for future projects, and essential for the job.
Consider Buying If Doing Multiple Rooms
Vinyl plank cutter, oscillating multi-tool, and knee pads. The cutter pays for itself in time savings on larger projects, and the multi-tool is useful for dozens of home improvement tasks beyond flooring.
Rent for One-Time Projects
Floor roller (for glue-down installations), concrete grinder, and belt sander. These specialized tools are expensive to buy and take up storage space for tools you may never use again.
Tool Kits and Starter Bundles
Several manufacturers sell vinyl flooring tool kits that bundle the essentials together at a lower price than buying individually. A typical kit includes a tapping block, pull bar, spacers, and sometimes a utility knife and spare blades. These kits range from $15 to $40 and are a convenient starting point. Just verify the kit includes a tapping block specifically designed for LVP flooring, as some generic kits include blocks designed for laminate that do not fit vinyl locking profiles correctly.
Final Thoughts
The right vinyl flooring tools make installation faster, produce better results, and reduce the risk of costly mistakes. Start with the essentials, add specialty tools as your project demands, and do not skimp on sharp blades and proper safety equipment. A well-prepared toolkit is the foundation of a professional-quality vinyl floor installation, whether you are tackling one room or an entire home.
Prefer to explore on your own?
See how new flooring looks in your actual room in seconds — free, no signup.
Try the free Floor Studio →