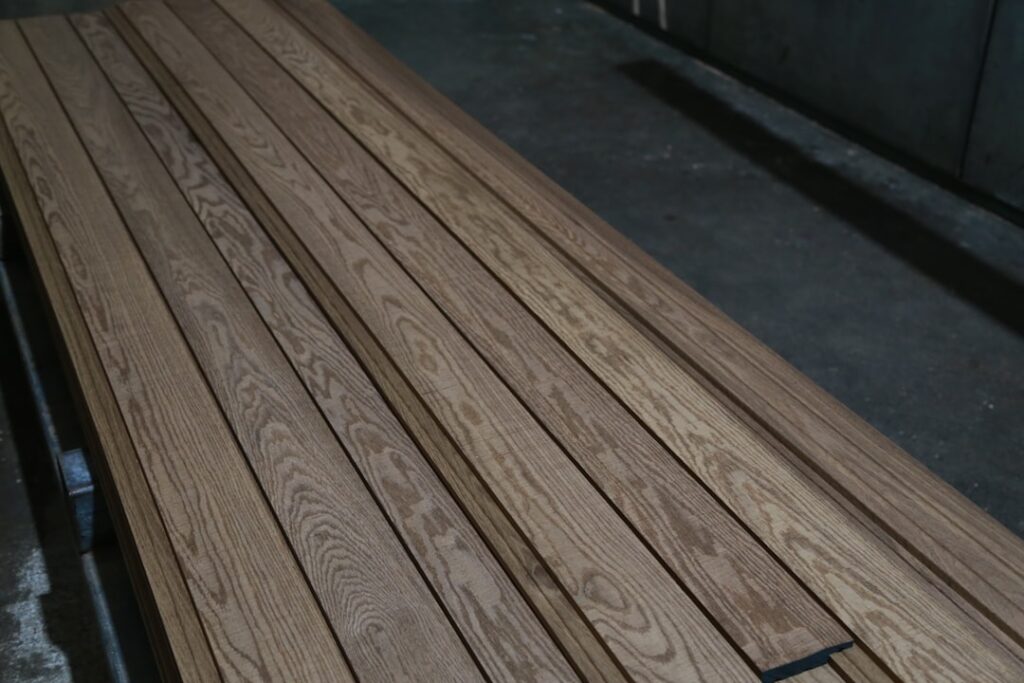
Vinyl plank flooring has reshaped kitchen design over the past decade. What was once viewed as a budget substitute for “real” flooring is now the deliberate first choice for millions of kitchen renovations. Modern vinyl plank delivers waterproof performance, convincing hardwood aesthetics, comfortable standing surfaces, and a price point that leaves room in the budget for other kitchen upgrades.
- Why Vinyl Plank Dominates Kitchen Flooring
- SPC vs. WPC: Which Core for Your Kitchen?
- Design Options: Wood-Look and Beyond
- Installing Vinyl Plank Around Kitchen Cabinets
- Subfloor Preparation for Kitchen Vinyl Plank
- Vinyl Plank vs. Tile in Kitchens
- Vinyl Plank vs. Hardwood in Kitchens
- Maintenance Tips for Kitchen Vinyl Plank
This guide covers everything you need to know about putting vinyl plank in your kitchen, from product selection through installation details and long-term care.
Why Vinyl Plank Dominates Kitchen Flooring
The kitchen environment is demanding. It combines heavy foot traffic, frequent water exposure, dropped objects, furniture movement, and the need for a surface you can stand on comfortably for extended periods. Vinyl plank addresses every one of these demands:
- Waterproof core: SPC and WPC vinyl planks contain zero wood fiber. Water cannot swell, warp, or damage them. Dishwasher leaks, sink overflows, and daily splashes are non-issues.
- Impact absorption: Unlike tile, which can crack when a cast iron skillet hits it, vinyl plank absorbs impact. Dropped glasses are less likely to shatter on vinyl than on tile or stone.
- Comfortable standing: The slight flex and warmth of vinyl plank make it far more joint-friendly than tile or concrete for long cooking sessions.
- Easy maintenance: Sweep and damp mop. No sealing, no waxing, no special treatments.
- Realistic designs: Modern printing and embossing technology produces vinyl planks that are difficult to distinguish from real wood at normal viewing distances.
SPC vs. WPC: Which Core for Your Kitchen?
The two main vinyl plank core types each have strengths for kitchen use.
SPC (Stone Polymer Composite)
SPC is the denser, more rigid option. Its core is made from limestone powder and PVC, creating a plank that resists dents from heavy appliances, resists temperature-related expansion, and holds its shape under stress. SPC is the more popular choice for kitchens because:
- It handles heavy point loads (appliance legs, bar stool feet) without indenting
- It stays stable in kitchens with large windows and direct sunlight
- Its thinner profile (typically 4mm to 6mm) makes transitions to adjacent rooms smoother
- It works over radiant heat systems
The trade-off is that SPC is harder underfoot than WPC, closer to the firmness of tile. If standing comfort is paramount, pair SPC with a quality underlayment or choose WPC instead.
WPC (Wood Polymer Composite)
WPC has a foamed polymer core that is lighter and softer. The foam layer provides built-in cushioning that makes WPC noticeably more comfortable for standing. WPC is a good kitchen choice when:
- You spend long periods cooking and want maximum comfort
- Sound reduction matters (WPC is quieter than SPC underfoot)
- Your subfloor has minor imperfections that the thicker WPC plank can bridge
WPC is slightly more prone to denting under heavy concentrated loads, so use furniture pads under all appliances and heavy items.
Design Options: Wood-Look and Beyond
The design range available in vinyl plank has expanded dramatically. For kitchens, the most popular looks include:
Wood-Look Vinyl Plank
Wood-look vinyl planks dominate the kitchen market. The appeal is obvious: you get the warm, natural appearance of hardwood in a material that laughs at water and costs half as much. Key style categories include:
- White oak: The versatile neutral that pairs with virtually any cabinet color and design style
- Hickory: Bold grain variation and character for rustic and farmhouse kitchens
- Walnut: Rich, dark tones for dramatic contrast against light cabinets
- Reclaimed wood: Weathered, distressed looks for industrial and cottage kitchens
- Blonde maple or birch: Light, airy tones for Scandinavian and minimalist designs
For the most realistic appearance, choose products with embossed-in-register (EIR) textures where the printed grain aligns with the surface texture you can feel. Also look for products with multiple plank designs per box (4 or more unique patterns) to avoid visible repetition in your kitchen.
Stone-Look Vinyl Plank and Tile
Stone-look vinyl comes in both plank and tile formats. For kitchens aiming for a marble, slate, or concrete aesthetic, stone-look vinyl delivers the appearance without the cold feel, slippery surface, or maintenance requirements of natural stone. Large-format stone-look vinyl tiles (12×24 or 18×18) work particularly well in modern and transitional kitchens.
Installing Vinyl Plank Around Kitchen Cabinets
Kitchen cabinet layout creates the most complex installation scenarios for vinyl plank. Here is how to handle each situation:
Installing Up to Existing Cabinets
Most kitchen vinyl plank installations work around existing cabinets. The process involves:
- Remove base shoe molding and any existing transition strips
- Undercut door casings and cabinet toe kicks using a multi-tool or jamb saw so the vinyl plank slides underneath for a clean look
- Start your installation from the most visible wall and work toward the cabinets
- Leave a 1/4-inch expansion gap between the vinyl plank and the cabinet face (hidden by the toe kick)
- Use a pull bar to click planks together in tight spaces against cabinet runs
- Install new shoe molding or quarter-round to cover expansion gaps at walls
Working Around Kitchen Islands
Kitchen islands require careful planning. Measure around the island and plan your plank layout so you minimize cuts and maintain a natural-looking stagger pattern. For floating installations, leave a 1/4-inch expansion gap around the island perimeter. If the island has a toe kick, the gap can be hidden underneath it. If the island has no toe kick (flush-to-floor design), use silicone caulk in a matching color to fill the gap cleanly.
Dishwasher and Appliance Areas
Install vinyl plank in front of and around dishwasher openings, but do not install underneath the dishwasher if it will be permanently fixed in place. The weight of a loaded dishwasher can pin the floating floor and prevent expansion. If the dishwasher needs to slide over the flooring for service access, verify that the new floor height allows the dishwasher to clear the countertop when sliding in and out.
For refrigerators, the same rule applies: do not trap the floating floor under heavy, stationary appliances. Install up to the appliance area and use a transition strip or let the appliance overlap the floor edge.
Subfloor Preparation for Kitchen Vinyl Plank
Vinyl plank telegraphs subfloor imperfections more than thicker flooring products. Kitchen subfloors need to be:
- Flat: Within 3/16 inch over a 10-foot span. Use a long straightedge to check. Fill low spots with floor leveling compound and grind down high spots.
- Clean: Remove all adhesive residue, paint drips, and debris from the old floor removal.
- Dry: Moisture test concrete subfloors. Moisture levels above the manufacturer’s specification require a moisture barrier or remediation.
- Smooth: Nail heads, screw bumps, and subfloor seams should be flush. Any bump under vinyl plank becomes a visible and tangible flaw in the finished floor.
Vinyl Plank vs. Tile in Kitchens
The tile vs. vinyl debate is the central question for most kitchen flooring decisions. Each has clear advantages:
Vinyl plank wins on: Comfort, warmth, noise reduction, installation ease, cost, repairability (individual plank replacement), and impact absorption.
Tile wins on: Longevity (50+ years), scratch resistance, heat resistance (hot pans will not damage tile), design variety (especially decorative patterns), and perceived resale value in some markets.
The practical reality is that vinyl plank satisfies the vast majority of kitchen flooring needs at a lower cost with easier installation. Tile remains the choice for homeowners who want a 30+ year floor, need a specific decorative look, or strongly prefer tile’s premium perception.
Vinyl Plank vs. Hardwood in Kitchens
Hardwood in kitchens is a contentious topic. Many homeowners love the look and feel of real wood but worry about water damage. Vinyl plank resolves this dilemma entirely:
- Water: Vinyl is waterproof. Hardwood is not. A dishwasher leak on hardwood means expensive refinishing or replacement. On vinyl, it means wiping it up.
- Cost: Vinyl plank costs 40% to 60% less than hardwood, installed.
- Maintenance: Vinyl requires less maintenance. No refinishing, no special cleaners, no humidity monitoring.
- Appearance: Premium vinyl plank closely mimics hardwood. At floor level, many people cannot tell the difference. But hardwood has a warmth and character that vinyl, at its best, can only approximate.
For kitchens specifically, vinyl plank is the more practical choice. If you already have hardwood throughout the house and want to extend it into the kitchen, consider engineered hardwood with a waterproof core as a compromise.
Maintenance Tips for Kitchen Vinyl Plank
Kitchen vinyl plank maintenance is straightforward but a few kitchen-specific tips help:
- Clean up cooking oil spills promptly. Oil does not damage vinyl but can leave a slippery film and attract dirt if left to sit.
- Avoid dragging appliances across the floor. Use appliance sliders when moving the refrigerator, stove, or dishwasher for service.
- Place a non-rubber mat in front of the sink. Rubber-backed mats can cause discoloration on vinyl flooring over time. Use mats with felt or PVC backing instead.
- Keep the floor free of grit. Kitchen grit from foot traffic, crumbs, and tracked-in debris acts like sandpaper under shoes, gradually dulling the wear layer.
- Do not use steam mops. The heat can damage the wear layer and cause the planks to warp or separate.
For more vinyl plank product comparisons, brand recommendations, and installation guidance, visit our vinyl flooring guide and LVP flooring guide.
Prefer to explore on your own?
See how new flooring looks in your actual room in seconds — free, no signup.
Try the free Floor Studio →