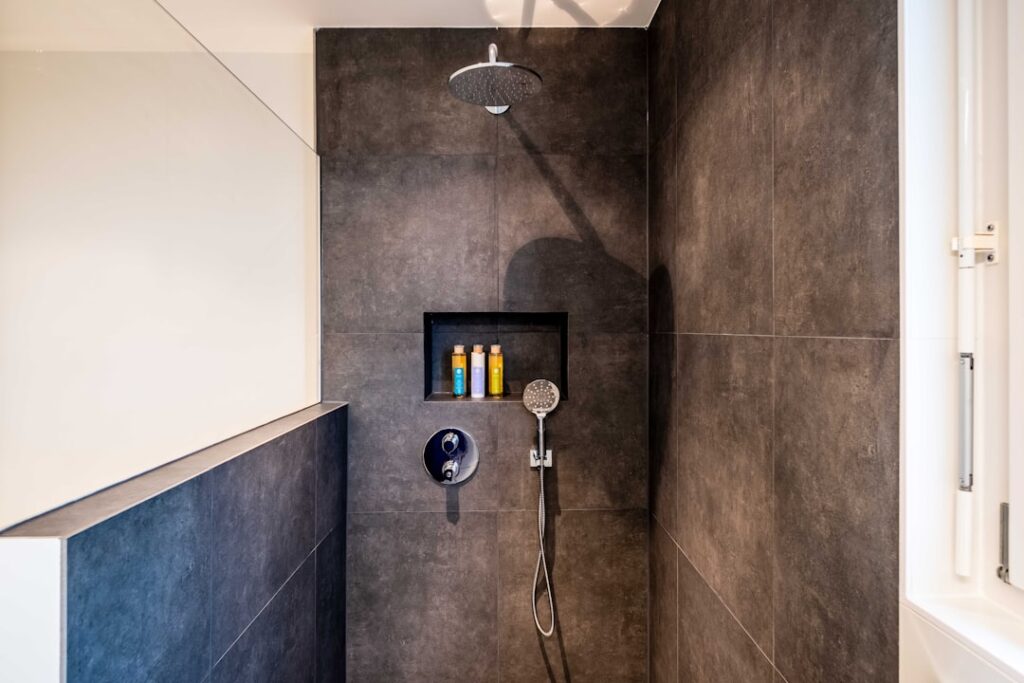
A walk in shower with wall replaces the swinging door and full glass enclosure with a fixed partition, giving you an open, spa-like entrance that still keeps water where it belongs. This design is one of the most popular bathroom upgrades in the US because it looks modern, is easier to clean, and works in bathrooms of many sizes. Whether you build a low half-wall for a bench, a full-height tile wall for privacy, or a partial pony wall with a glass panel above, understanding the layout and waterproofing choices upfront saves you from leaks and expensive rework later.
Part of our Bathroom Remodeling & Flooring guide — explore the full guide →
What “Walk In Shower with Wall” Means
The phrase covers any curbless or low-curb shower where a built partition, rather than a door, defines the opening. The wall can be:
- A full-height tiled wall that runs floor to ceiling, often paired with a fixed glass panel to keep the space bright.
- A half-wall or knee wall, typically 36 to 48 inches tall, that blocks splash while keeping the shower open above.
- A pony wall with glass on top, combining a solid lower section with a clear panel that reduces spray without a full enclosure.
The common thread is that you walk straight in, with no door to swing, clean, or replace. The wall handles the water containment that a door normally would.
Planning Dimensions and Layout
Size drives everything. A comfortable doorless walk-in shower with a wall usually measures at least 4 feet deep so water does not escape the opening. A common footprint is 4 by 5 feet or 4 by 6 feet, with the entry positioned so the showerhead sprays away from the opening, never toward it. If the shower is smaller than that, a glass splash panel on the wall becomes almost mandatory.
Standard guidance for US bathrooms:
- Minimum shower floor: about 30 by 30 inches by code, but 36 by 36 inches or larger is far more usable.
- Opening width: 24 to 36 inches for easy, towel-in-hand entry.
- Half-wall height: 36 to 48 inches, tall enough to mount a hand shower or hide the toilet from the entry sightline.
- Bench depth: 15 inches with a 17 to 19 inch seat height if you include a seat.
Sketch the plumbing wall, the entry, and where spray will land before demolition. The showerhead should be on the wall opposite or perpendicular to the opening.
Half-Wall vs. Full Wall vs. Pony Wall
Each partition style suits a different goal:
- Full wall: Maximum privacy and splash control, ideal when the shower faces a doorway or the rest of the bathroom. It can feel enclosed, so many designs add a glass panel or a transom opening for light.
- Half-wall: Keeps the room open and airy, works well in larger bathrooms, and offers a ledge for soap and shampoo. It provides less splash protection, so pair it with a deeper floor and smart showerhead placement.
- Pony wall with glass: The best of both. The solid base blocks direct spray and hides plumbing while the glass above keeps the space feeling large. This is the most requested configuration in modern remodels.
Waterproofing Is Non-Negotiable
The biggest risk with any walk-in shower is water finding its way into the framing. A doorless design with a wall demands even more careful waterproofing because there is no enclosure to contain overspray. Professional builds rely on a continuous waterproof membrane system.
Popular systems include Schluter-Kerdi, wedi, and liquid membranes like RedGard applied over cement board or foam backer board. The key principles:
- Waterproof the entire shower floor, the half-wall or full wall on all wet-facing sides, and at least the lower portion of adjacent walls.
- Slope the shower pan correctly, typically 1/4 inch per foot toward a center or linear drain, so water always heads to the drain and not the opening.
- For a curbless entry, the bathroom floor outside must also slope slightly or include a linear drain and a proper transition so water does not run out into the room.
- Cap the top of a half-wall with a waterproofed, sloped surface so standing water drains back into the shower rather than into the wall cavity.
Skipping or rushing waterproofing is the single most common cause of failed showers, and repairs mean tearing out finished tile.
Materials and Finishes
Most walls are framed in wood or built with a foam wall panel, then covered in tile, large-format porcelain slabs, or solid surface. Popular choices:
- Porcelain and ceramic tile: Durable, endless design options, but grout lines need sealing and cleaning.
- Large-format porcelain slabs: Fewer grout lines, a sleek look, and easier cleaning, though heavier and pricier to install.
- Solid surface and cultured marble: Seamless panels that install faster and resist mildew.
Cap half-walls with a natural stone or quartz ledge for a finished, splash-shedding top. For the glass portion, use 3/8 inch or 1/2 inch tempered glass, and consider a coating that resists hard-water spotting.
Cost Expectations
A walk-in shower with a wall typically runs $4,500 to $12,000 or more installed, depending on size, materials, and whether the entry is curbless. Budget breakdown:
- Basic tiled walk-in with a half-wall: $4,500 to $7,000.
- Curbless build with linear drain and full waterproofing: add $1,500 to $3,000 for floor re-framing and drainage work.
- Fixed glass panel: $700 to $2,000 depending on size and glass thickness.
- Large-format slab or premium stone: can push a project past $12,000.
Labor is the biggest variable. A curbless, doorless design requires precise floor sloping and framing that most DIYers should leave to an experienced tile setter.
DIY vs. Hiring a Pro
Confident DIYers can handle a standard low-curb walk-in shower with a half-wall if they follow a membrane manufacturer’s system exactly. Where a professional is worth the money is on curbless entries, linear drains, and any project that requires moving the drain or re-framing the floor to recess the pan. Waterproofing mistakes are invisible until they cause rot months later, so if you are unsure, hire a licensed tile or bathroom contractor and confirm they use a tested membrane system.
Common Mistakes to Avoid
- Too-shallow shower: A short floor lets water escape the open entry. Go at least 4 feet deep.
- Showerhead aimed at the opening: Always position spray toward the solid wall.
- Unsealed half-wall cap: A flat or porous top wicks water into framing.
- Wrong floor slope: Too little slope pools water; uneven slope sends it out the door.
- Skimping on the membrane: Cement board alone is not waterproof. It needs a membrane or coating.
- Ignoring ventilation: An open shower spreads humidity, so size the exhaust fan generously.
Accessibility and Aging in Place
One reason the walk-in-with-wall design keeps gaining popularity is accessibility. A curbless entry with a solid or half-wall partition removes the trip hazard of a tub or curb, which is a major benefit for aging homeowners and anyone with mobility challenges. When planning for accessibility, incorporate a few features during construction rather than retrofitting later:
- Blocking behind the walls for grab bars, installed at framing stage even if you add the bars later. Grab bars should anchor into solid backing, not just tile.
- A built-in bench or fold-down seat at a 17 to 19 inch height for safe, comfortable seating.
- A handheld shower on a slide bar so it can be used seated or standing.
- Slip-resistant floor tile with a higher coefficient of friction, such as small mosaic tiles whose many grout lines add grip.
- A wide, curbless opening of at least 32 to 36 inches for walker or wheelchair access.
Building these in from the start costs little extra and makes the shower usable for decades, adding long-term value and appeal for future buyers.
Ventilation and Cleaning
An open, doorless shower spreads humidity into the whole bathroom, so a properly sized exhaust fan is essential to prevent mold and protect the rest of the room. Size the fan to the bathroom’s square footage (roughly 1 CFM per square foot, more for larger baths) and vent it fully to the outdoors, never into the attic. Run it during and for 20 minutes after every shower. On the upside, a walk-in with a wall is far easier to clean than a framed enclosure with a door, since there are fewer tracks, hinges, and seals to scrub. Large-format tile and slab walls with minimal grout lines reduce cleaning even further, and a daily squeegee on any glass panel keeps hard-water spots from building up.
Done right, a walk in shower with wall gives you a bright, low-maintenance, and accessible bathroom centerpiece that will last decades. Nail the dimensions, respect the slope and waterproofing, and choose a partition style that fits how open you want the room to feel, and you will end up with a shower that is both beautiful and leak-free.