
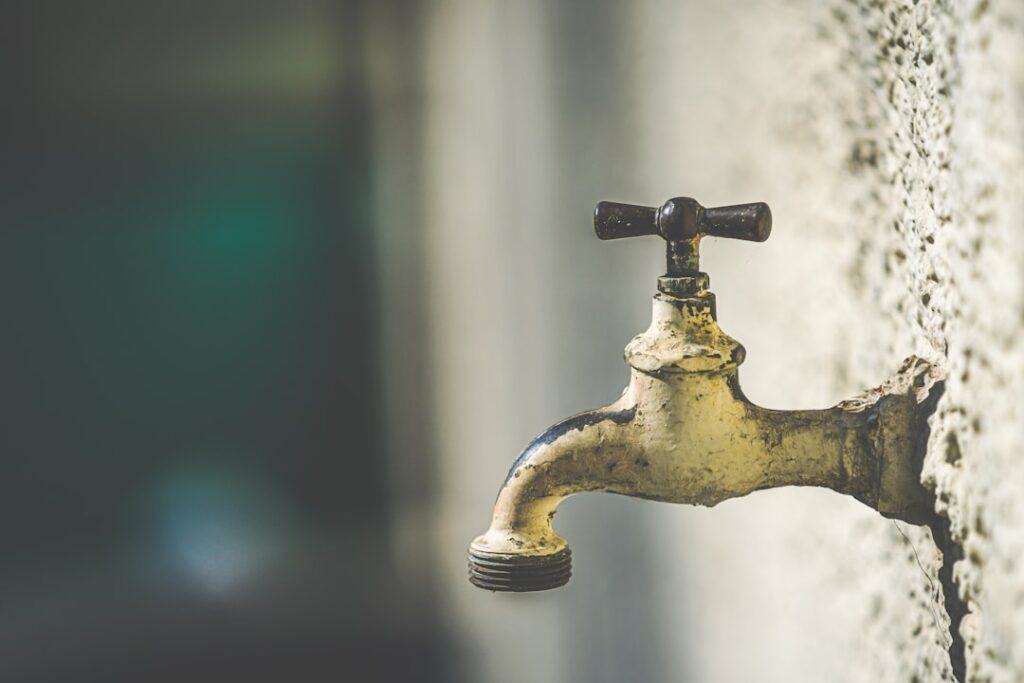
Nothing signals a custom bathroom faster than a spout emerging cleanly from the tile with no clutter on the counter — and nothing punishes sloppy planning faster, either. A wall mount faucet moves the entire valve assembly inside the wall, which transforms the look of a vanity or kitchen sink but also turns a one-hour swap into a real plumbing project with measurements that cannot be fudged later. This guide covers where wall-mounted fixtures shine, the rough-in numbers that make or break them, honest costs, and the mistakes that generate expensive tile repairs.
Why Go Wall Mount
Three arguments carry the category. First, aesthetics: the floating spout is the signature of high-end hotel baths and minimalist kitchens, and it lets a dramatic vessel sink or slab backsplash take center stage uninterrupted. Second, cleanability — the single most underrated benefit. Deck-mounted faucets grow a ring of grime and mineral crust where the base meets the counter; a wall-mounted spout leaves the counter as one wipeable plane. Third, flexibility with sinks that deck mounting cannot serve: vessel bowls too deep for standard spouts, trough sinks, undermounts in thin porcelain slabs, and antique consoles with no faucet holes at all.
The trade-offs are equally real: higher installation cost, valve access that requires planning, and zero tolerance for measurement errors — the spout lands where the plumbing says it lands, forever.
Where They Work: Bath, Kitchen, and Utility
Bathroom lavatories are the core application, in both two-handle widespread styles and single-lever designs, typically $250 to $800 for quality fixtures from Delta, Kohler, Moen, Brizo, and design brands. In kitchens, the wall-mounted category splits in two: full wall-mount kitchen faucets (common over farmhouse sinks in traditional and industrial designs, $300 to $900) and pot fillers — the double-jointed cold-line faucets mounted over the range, which are wall-mount plumbing with their own rough-in rules. Utility and laundry rooms use rugged wall-mount fixtures with hose-thread spouts, usually on exposed plumbing where the “rough-in” is refreshingly visible; those overlap with the utility sink faucet category. Wall-mounted tub fillers round out the family, and they follow logic closer to shower valves than sink fittings.
The Rough-In: Numbers That Cannot Be Wrong
Everything about a wall-mount install is decided while the wall is open. Get these dimensions right:
- Spout height: the spout outlet should sit 3 to 5 inches above the sink’s flood rim — enough for hand clearance without amplifying splash. For vessel sinks, measure from the bowl rim, not the counter. Typical result: spout centerline 18 to 24 inches above the counter for vessels, lower for undermounts.
- Spout reach: water should land at or just behind the drain, roughly the center of the bowl. Fixtures come in reaches from 5 to 12 inches; buy the sink first, always, and measure from the finished wall face to the drain center.
- Valve depth: every rough-in valve specifies a range from the valve body to the finished wall plane (often about 2 to 3 inches with a half-inch tolerance). Account for tile and backer thickness now — a valve set too deep leaves trim that will not seat; too shallow leaves a gap no escutcheon hides.
- Blocking: screw solid 2x wood blocking between studs behind the valve and spout drop. Water hammer and daily handle torque will loosen an unblocked assembly inside the wall, and that failure is a tile-demolition repair.
Mock it up before closing anything: tape a cardboard spout on the wall, set the actual sink in place, and run a ruler from “spout” to drain. Ten minutes of cardboard prevents the classic error — water streaming onto the back edge of a bowl because spout reach and sink depth were chosen from two different catalogs.
Installation Sequence and Who Should Do It
New construction and gut remodels are the natural time to go wall mount: the plumber sets the rough valve, pressure-tests it, and the trim installs after tile in 30 minutes. Retrofitting into a finished wall means opening the wall from the front (tile repair required) or the back (closet or adjacent room drywall — vastly cheaper to patch; see our drywall repair guide). Unlike a deck-mounted faucet installation, which is a legitimate afternoon DIY, the in-wall valve work belongs to a licensed plumber unless you are genuinely comfortable with supply-line soldering or PEX work inside framing, plus the pressure test that proves it. Trim installation afterward — escutcheons, handles, spout — is homeowner-friendly.
One spec note: buy the fixture’s matching rough-in valve at the same time as the trim. Wall-mount trim is rarely cross-compatible between brands, and a discontinued trim line with a proprietary valve is how bathrooms end up demo-ing tile for a $40 part.
What It Costs
Budget in three layers. Fixture and rough valve: $250 to $800 for solid bath models, $400 to $1,200 for premium kitchen and designer lines. Plumbing labor: $300 to $700 to rough in a new valve location in an open wall; $600 to $1,500-plus if the wall must be opened and refinished, with tile work as the swing factor. Total realistic range: about $600 on an open-wall remodel with a mid-range fixture, up to $2,500 where retrofit surgery is involved. Compare that to $150 to $350 all-in for swapping a deck-mount fixture, and the premium is clearly a design purchase — which is fine, as long as it is a deliberate one.
Pot Fillers: The Wall Mount Most Kitchens Actually Get
The double-jointed cold-water faucet over the range deserves its own paragraph because it is the most commonly installed wall-mounted fixture in American kitchens. Rough-in rules: center it on the cooktop, set the outlet so the folded spout clears your tallest stockpot on the back burner (typically 18 to 24 inches above the range surface, and always above the maximum flame line), and confirm the articulated reach extends to the front burners — most models reach 20 to 24 inches. It taps a single cold line, which simplifies plumbing to one supply run, and quality models ($200 to $600 from Delta, Kohler, Moen, and the pro brands) use dual shutoff valves — one at the wall joint, one at the spout — so a failed washer cannot flood the wall. Skeptics call pot fillers jewelry; owners who cook pasta weekly disagree. Either way, install it during the range-wall remodel or not at all, because retrofitting through a tiled backsplash is where the cost stops making sense.
Living With One: Service and Access
Plan the maintenance story before the wall closes, because the valve you cannot see is still a valve. Insist on a model with a serviceable cartridge accessible from the front — through the escutcheon or handle opening — which covers the routine failure mode without wall surgery; the swap procedure mirrors any faucet cartridge job once you reach it. Photograph the open wall before drywall goes up, noting supply routing and blocking locations, and store the fixture’s spec sheet with your house documents; that photo is gold for any future plumber. Where layout allows, an access panel in the adjacent closet or cabinet back costs $20 and converts every future repair from exploratory demolition into a screwdriver job. These fixtures run for decades when the rough-in was right — the planning is the product.
Design Payoff: Making It Count
Since you are paying for the look, compose it. Center the spout on the sink and on the mirror above it; misalignment of even a half inch reads instantly. Let the finish contrast the wall — matte black or aged brass against light zellige or marble-look porcelain is the signature pairing, while brushed nickel keeps things quiet against busier stone. Tall backsplash treatments make wall-mount faucets look intentional rather than orphaned, and in kitchens the fixture pairs naturally with apron-front sinks and full-height slab backsplashes. Done with discipline, the result photographs like a boutique hotel; done casually, it is an expensive way to acquire a splash problem. Measure twice, block the framing, and buy the sink first.


