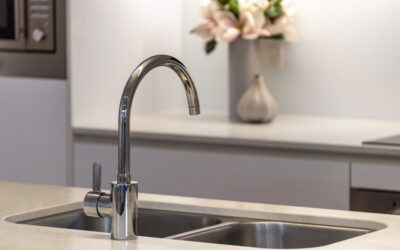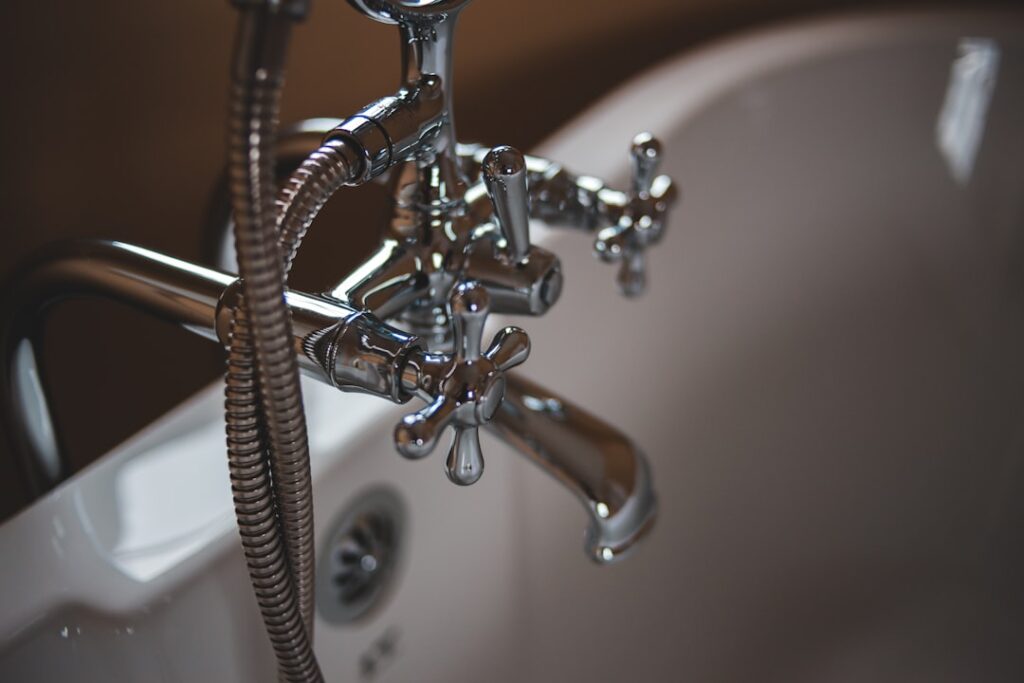
Plumbers charge $150 to $350 to swap a faucet, and roughly 45 minutes of that bill is spent lying on their back inside your cabinet. Faucet installation is one of the highest-payoff DIY plumbing jobs there is: no soldering, no permits, and modern fixtures are engineered for tool-light mounting. The whole job typically runs 45 to 90 minutes, and most of the difficulty is removing the old unit, not installing the new one. Here is the full process, including the snags that stall first-timers.
- Tools and Supplies to Stage First
- Step 1: Shut Off Water and Disconnect
- Step 2: Remove the Old Faucet
- Step 3: Set the New Faucet
- Step 4: Connect Supply Lines
- Step 5: Flush, Test, and Check for Leaks
- Upgrade the Shutoffs While the Cabinet Is Empty
- The Mistakes That Cause Callbacks
- Special Cases Worth Knowing
- Cost and Time Summary
Tools and Supplies to Stage First
Gather everything before you crawl into the cabinet — the job goes twice as fast when you are not climbing out for a wrench. You will need:
- Basin wrench ($15 to $25) — the long-shaft tool made specifically for the nuts hiding behind the sink bowl. Do not attempt the job without one.
- Adjustable wrench and channel-lock pliers
- New braided stainless supply lines, 3/8-inch compression ($8 each) — never reuse old ones
- Plumber’s putty or silicone sealant (check your faucet’s instructions; some gaskets need neither)
- Penetrating oil, flashlight or headlamp, bucket, and towels
- Safety glasses — debris falls straight into your eyes under a sink
Confirm hole count before opening the box. Sinks have one to four holes on 4-inch or 8-inch centers; a single-handle faucet with a deck plate covers three holes, but no faucet gracefully covers four unless you use the fourth for a soap dispenser or sprayer.
Step 1: Shut Off Water and Disconnect
Close both angle stops under the sink, then open the faucet fully to bleed pressure and confirm the valves actually hold — a surprising number weep after decades untouched. If they will not close completely, shut the house main and plan to replace the stops while you are in there ($10 to $15 each, quarter-turn ball style). Set a bucket under the connections, then loosen the supply-line coupling nuts at the faucet tailpieces with the basin wrench. Expect a cup of trapped water.
Step 2: Remove the Old Faucet
This is the fight. The mounting nuts securing the faucet to the deck are corroded, awkward to reach, and often plastic wing nuts that crumble. Hit metal nuts with penetrating oil and give it ten minutes. Work the basin wrench jaws onto the nut and turn counterclockwise (as viewed from below). For a kitchen faucet with a sprayer or pull-down hose, disconnect the hose weight and quick-connect first. Once the nuts are off, lift the faucet out from above — it may need persuasion if old putty has hardened into a gasket. Scrape the deck clean with a plastic putty knife and scrub off mineral rings with vinegar. A clean, flat deck is what prevents future base leaks.
If a nut absolutely will not move, a mini hacksaw or an oscillating multi-tool through the plastic nut ends the standoff in five minutes. The old faucet is trash anyway.
Step 3: Set the New Faucet
Dry-fit first. Feed the supply tailpieces and any pull-down hose through the deck holes and check that the faucet sits flush and faces square to the sink. Most modern faucets include a rubber or foam gasket that seals the base without putty; if yours does not, roll a 1/4-inch rope of plumber’s putty around the base perimeter (use silicone instead on granite, quartz, or marble — putty oils can stain natural stone).
From below, thread on the mounting hardware. Designs vary: a single large plastic nut, a metal bracket with two screws, or Delta’s newer top-mount systems that tighten from above. Snug is correct — over-torqued plastic nuts crack, and the gasket does the sealing, not the clamping force. Have a helper hold the faucet square from above while you tighten, or hold it with painter’s tape.
Step 4: Connect Supply Lines
Thread the new braided lines onto the faucet tailpieces first (easier before things get cramped), then to the angle stops — hot on the left, cold on the right. Hand-tighten, then add a quarter to half turn with a wrench. Compression fittings need no thread tape; the seal is in the ferrule and gasket, and tape on those threads actually invites leaks. Never cross-thread: if a nut resists after one turn, back it off and restart it square.
On pull-down kitchen faucets, connect the spray hose to the outlet tube via the quick-connect clip until it clicks, then attach the counterweight to the hose at the marked position. Route the hose so it cannot snag the shutoff valves or garbage disposal cord when the head is pulled.
Step 5: Flush, Test, and Check for Leaks
Unscrew the aerator or spray head before the first run — this matters. Open both angle stops slowly, then run hot and cold full-blast for 60 seconds to flush manufacturing debris and dislodged pipe scale that would otherwise clog the aerator instantly. Reinstall the aerator, then dry every joint with a paper towel and inspect: supply nuts at both ends, base gasket, and hose quick-connect. Run the faucet again, then check once more after 15 minutes. A single sheet of dry newspaper laid in the cabinet overnight is a cheap leak detector — any drip shows as a spot by morning.
Upgrade the Shutoffs While the Cabinet Is Empty
You will never have better access to the angle stops than right now, so evaluate them honestly before the new faucet goes in. Old multi-turn stops with rubber washers seize, weep at the packing nut, and fail exactly when you need them; modern quarter-turn ball-valve stops cost $10 to $15 each and swap in minutes on compression fittings — no soldering. Hold the supply pipe steady with one wrench while loosening the old valve’s compression nut with another, leave the existing brass ferrule on the pipe (a new valve tightens onto it fine), and snug the new stop into place. While the water is off anyway, this five-dollar-a-side upgrade means the next faucet project, or the next emergency, starts with valves that actually close. Check the escutcheons against the wall too; replacements cost two dollars and hide decades of paint rings.
The Mistakes That Cause Callbacks
Four errors account for nearly every leaking new install. Reusing old supply lines tops the list — the rubber gaskets take a compression set and rarely reseal. Overtightening comes second: plastic mounting nuts crack, compression fittings deform, and a quarter-turn past hand-tight is genuinely the spec. Third is skipping the debris flush, which packs manufacturing grit into the new aerator and cartridge and produces the dreaded “brand-new faucet, terrible flow” call. Fourth is putting thread tape on compression threads, where it prevents the metal-to-metal seating that actually seals the joint. Tape belongs only on tapered pipe threads, like a garden-hose adapter or an old-style iron pipe connection. Avoid those four and the odds of a dry cabinet on the first try are excellent.
Special Cases Worth Knowing
A few installs deviate from the standard playbook. Vessel-sink faucets need spout height checked against the bowl rim before buying. Widespread bathroom faucets (8-inch, three-piece) add 30 minutes for connecting the valve bodies to the spout tee under the deck. Wall-mount faucets are a different animal entirely — the valve lives inside the wall and belongs in the remodel category, not the afternoon-swap category. Tub and shower fixtures likewise involve in-wall work; our guide on how to install a bathtub faucet covers that separate process. And if your new faucet drips from day one, do not tear it back out — debris in the cartridge is the usual cause, and clearing it falls under basic faucet repair rather than reinstallation.
Cost and Time Summary
Budget $8 to $25 in supplies beyond the fixture itself, plus a basin wrench if you do not own one — still a $250-plus saving over a service call. First-timers should block out 90 minutes; the second faucet you ever install will take 40. The two mistakes that cause 90 percent of callbacks are reused supply lines and skipping the flush step, and both are free to avoid. Take the hour, do it once, and the only evidence will be a faucet that works exactly the way the showroom promised.