
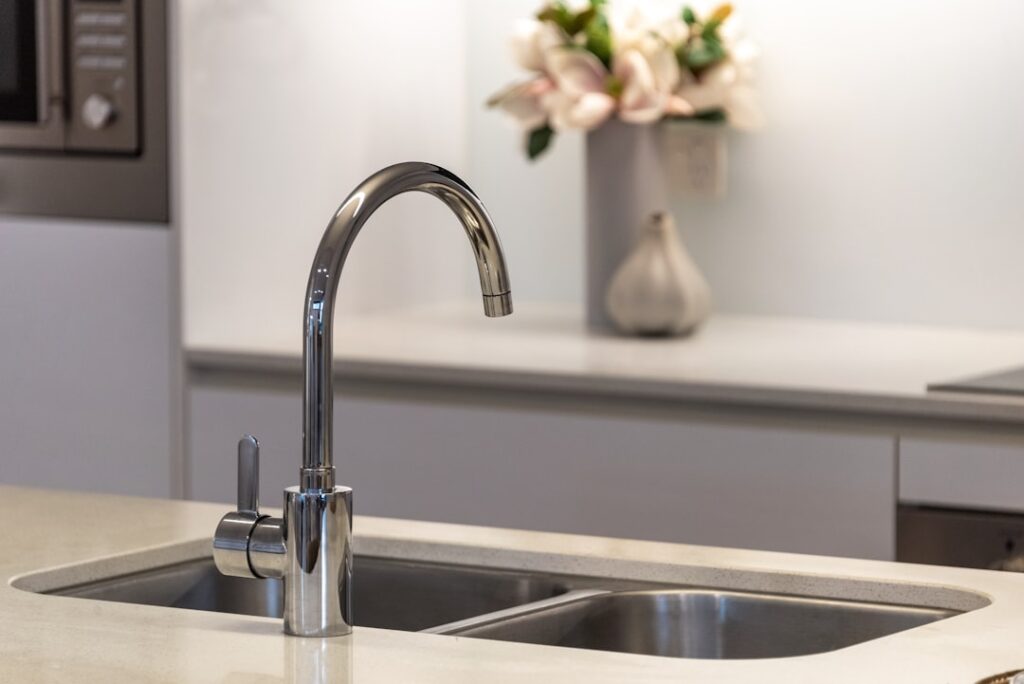
Learning how to replace kitchen faucet fixtures is one of the most rewarding weekend plumbing projects a homeowner can tackle, and it usually takes less than two hours with basic tools. A new faucet instantly refreshes the look of a kitchen, stops a nagging drip, and can be done for the cost of the fixture alone if you skip the plumber. This guide walks you through the entire process, from shutting off the water to testing for leaks, plus the mistakes that slow people down.
Part of our Kitchen Remodeling guide — explore the full guide →
- What You Will Need
- Step 1: Turn Off the Water
- Step 2: Disconnect the Supply Lines
- Step 3: Remove the Old Faucet
- Step 4: Prep and Set the New Faucet
- Step 5: Secure the Faucet Underneath
- Step 6: Connect the Water Lines
- Step 7: Flush and Test for Leaks
- Common Mistakes to Avoid
- Understanding Faucet Types Before You Buy
- Dealing With Old or Corroded Connections
- When to Call a Plumber
- Final Checks and Cleanup
What You Will Need
Gather your tools before you start so you are not crawling out from under the sink mid-project. Most jobs require:
- A basin wrench, the single most useful tool for tight faucet nuts
- An adjustable wrench and a set of channel-lock pliers
- A bucket and towels to catch residual water
- A flashlight or headlamp
- Plumber’s putty or silicone caulk
- Teflon (PTFE) thread tape
- New supply lines if the old ones are corroded or stiff
Faucets range from $50 for a basic single-handle model to $400 or more for a pull-down or touchless designer fixture. Buying new braided stainless supply lines for $8 to $15 is cheap insurance against a future leak.
Step 1: Turn Off the Water
Locate the two shutoff valves under the sink, one for hot and one for cold, and turn them fully clockwise. Then open the faucet to release pressure and confirm the water is truly off. If your shutoffs are stuck, corroded, or missing, shut off the main water supply to the house instead. This is also a good moment to consider replacing old multi-turn valves with modern quarter-turn ball valves while you have everything apart.
Step 2: Disconnect the Supply Lines
Place a bucket under the connections to catch the water still sitting in the lines. Using your adjustable wrench, unscrew the supply line nuts where they meet the faucet tailpieces. Have a towel ready because a cup or two of water will spill out. If your faucet has a sprayer or a soap dispenser, disconnect those hoses as well.
Step 3: Remove the Old Faucet
This is where the basin wrench earns its keep. Reach up behind the sink basin and loosen the mounting nuts that hold the faucet to the sink deck. These are often corroded and awkward to reach, which is why the long-handled basin wrench beats a standard wrench. Once the nuts are off, lift the old faucet out from the top. Scrape away the old plumber’s putty, silicone, or the rubber gasket residue, and clean the deck thoroughly with a mild abrasive so the new faucet seats flat.
Step 4: Prep and Set the New Faucet
Read the manufacturer’s instructions, because mounting hardware varies. Most modern faucets come with a rubber or foam gasket that seals the base, so plumber’s putty is not always needed. If your faucet base is flat metal without a gasket, roll a rope of plumber’s putty and press it around the base, or use a thin bead of silicone. Feed the supply lines and any hoses down through the mounting hole, then set the faucet into place and align it straight with the backsplash.
Step 5: Secure the Faucet Underneath
From below, thread on the mounting nut or bracket and hand-tighten it, then snug it down with the basin wrench. Do not overtighten, especially on thin stainless or composite sinks, because you can crack the deck or distort the base gasket. Check from above that the faucet is centered and square before you fully tighten.
Step 6: Connect the Water Lines
Connect the supply lines to the shutoff valves. Wrap the threads with two or three turns of Teflon tape in the clockwise direction, then hand-tighten the nuts and give them a quarter to half turn more with a wrench. Do not crank them; braided lines seal with the rubber washer inside, not brute force. Match hot to hot and cold to cold, the hot line is on the left when facing the faucet.
Step 7: Flush and Test for Leaks
Before you fully reassemble a pull-down sprayer, remove the aerator from the faucet tip. Turn the shutoff valves back on slowly and run both hot and cold water for a minute to flush out any debris from the new lines, which protects the aerator screen. Then reinstall the aerator. Now inspect every connection with a dry paper towel: the supply valve joints, the faucet tailpieces, and the sprayer hose. A slow drip will darken the towel and pinpoint the leak. Snug any weeping connection a bit more, but if it still leaks, take the joint apart and check the washer.
Common Mistakes to Avoid
- Overtightening supply nuts, which crushes washers and causes the very leaks you are trying to prevent.
- Forgetting to flush the lines, letting debris clog the new aerator.
- Reusing old, hardened supply lines that crack weeks later.
- Skipping the deck gasket or putty, which lets water seep under the base and rot the countertop.
- Not fully seating the pull-down hose weight, so the spray head will not retract properly.
Understanding Faucet Types Before You Buy
Before you replace a faucet, it helps to know what mounting configuration your sink supports so the new fixture actually fits. Sinks come drilled with one, three, or four holes. A single-hole sink takes a single-handle faucet, while a three-hole sink accepts a centerset (handles 4 inches apart) or widespread (8 to 16 inches apart) faucet. If you are switching from a three-hole setup to a sleek single-hole faucet, you will need a deck plate, also called an escutcheon, to cover the unused holes. Pull-down and pull-out sprayer faucets have become the default in most kitchens because the integrated sprayer eliminates the separate side sprayer that used to leak. Touchless faucets add a motion sensor and battery or transformer power, which adds a step to installation but is still well within DIY reach.
Dealing With Old or Corroded Connections
The biggest surprise in many faucet swaps is not the faucet itself but the condition of the parts around it. Mounting nuts under an old faucet are frequently rusted in place, and this is where a basin wrench and a shot of penetrating oil earn their keep; let the oil soak for 15 minutes before wrenching. If a supply line will not budge, hold the valve steady with one wrench while you turn the nut with another so you do not twist the valve and crack the pipe behind the wall. Old chrome supply tubes that are stiff or kinked should always be replaced with new braided stainless lines rather than reused. And if the shutoff valves themselves weep or will not fully close, plan to replace them, since a faucet swap is the ideal moment to upgrade to modern quarter-turn valves while the cabinet is already open.
When to Call a Plumber
Most faucet swaps are firmly in DIY territory, but call a pro if the shutoff valves are frozen and need replacing on live lines, if the supply pipes are old galvanized steel that flakes when disturbed, or if you discover corrosion and leaks in the drain assembly while you are down there. A plumber typically charges $150 to $350 to replace a faucet, so the DIY route saves real money, especially if you are already comfortable with basic hand tools.
Final Checks and Cleanup
Run the faucet through its full range, swivel the spout, test the sprayer, and cycle the temperature to confirm smooth operation. Wipe up any water, clear your tools, and check the connections again after a full day of normal use, since a slow leak sometimes takes hours to reveal itself. Once you know how to replace a kitchen faucet, you will find it is a skill you use again and again, and it opens the door to bigger plumbing projects with confidence.


