
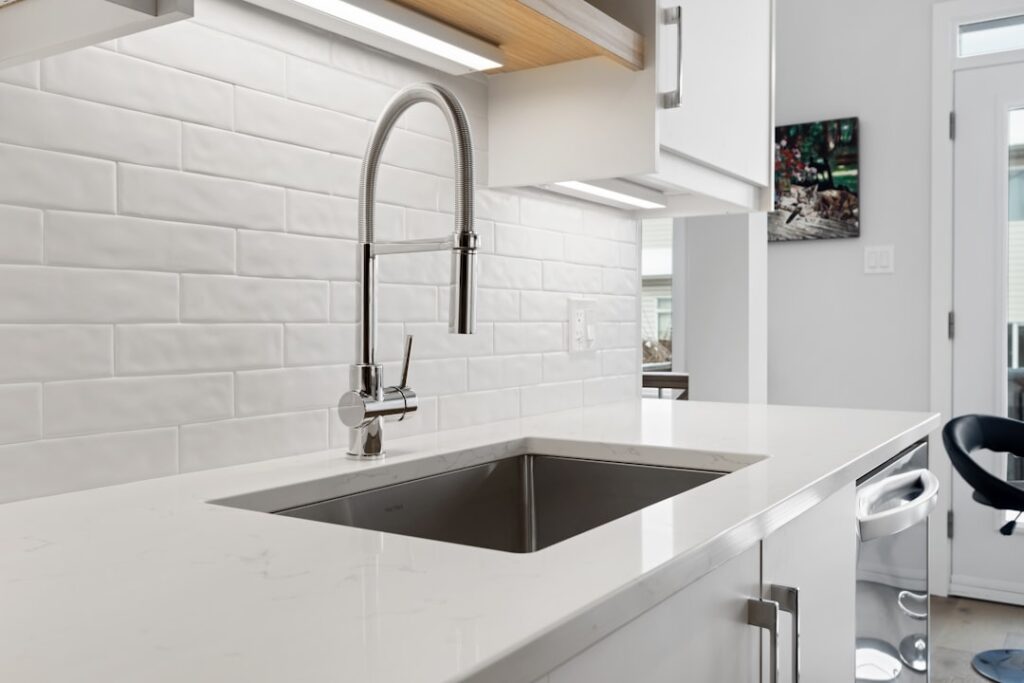
Learning how to change a kitchen faucet is one of the most satisfying and money-saving DIY plumbing projects you can tackle. A new faucet instantly updates the look of your sink, and swapping one out yourself saves the $150 to $350 a plumber typically charges for labor. Most homeowners can complete the job in one to two hours with basic tools. This guide walks you through every step, from gathering supplies and shutting off the water to removing the old unit and installing the new one leak-free, plus troubleshooting the snags that trip people up.
Part of our Kitchen Remodeling guide — explore the full guide →
- Tools and Materials You'll Need
- Step 1: Shut Off the Water
- Step 2: Disconnect the Supply Lines
- Step 3: Remove the Old Faucet
- Step 4: Check Your Sink Hole Configuration
- Step 5: Install the New Faucet
- Step 6: Connect the Water Supply Lines
- Step 7: Turn On the Water and Test for Leaks
- Common Problems and Fixes
- Tips for a Smoother Job
- Choosing the Right Replacement Faucet
- Upgrading Shutoff Valves and Supply Lines
Tools and Materials You’ll Need
Before you start, gather everything so you’re not crawling out from under the sink mid-job:
- The new faucet and any included parts
- Basin wrench (the key tool for reaching cramped mounting nuts)
- Adjustable wrench and channel-lock pliers
- Bucket and towels
- Plumber’s putty or silicone (if not supplied)
- Plumber’s tape (PTFE thread tape)
- Flashlight or headlamp
- New braided stainless supply lines (recommended to replace old ones)
A basin wrench is worth buying for a few dollars; the mounting nuts sit in a spot no other wrench can reach.
Step 1: Shut Off the Water
Look under the sink for two shutoff valves, one for hot and one for cold, and turn both clockwise until they stop. Then turn on the faucet to release pressure and confirm the water is off; only a trickle should come out. If you don’t have shutoff valves or they won’t close, turn off the home’s main water supply. Place a bucket under the valves to catch drips, and keep towels handy.
Step 2: Disconnect the Supply Lines
Using your adjustable wrench, disconnect the supply lines where they meet the shutoff valves. A little water will spill, so have the bucket ready. If your old supply lines are corroded or more than a decade old, plan to replace them with new braided stainless steel lines, they’re cheap insurance against future leaks. Also disconnect any sprayer hose and, on faucets with a dishwasher or filtered-water connection, note how those attach.
Step 3: Remove the Old Faucet
This is usually the hardest part because the mounting nuts sit high up behind the sink basin in a tight space. Reach up with your basin wrench and loosen the mounting nuts that hold the faucet to the sink or countertop, turning counterclockwise. Old nuts can be corroded; penetrating oil like WD-40 helps free stubborn ones. Once the nuts are off, lift the old faucet out from the top. Scrape away any old plumber’s putty, silicone, or grime from the sink deck so the new faucet seats cleanly.
Step 4: Check Your Sink Hole Configuration
Before installing, confirm your new faucet matches the number of holes in your sink. Kitchen sinks commonly have one to four holes. A single-handle faucet uses one hole; a widespread or faucet with a separate sprayer or soap dispenser may use three or four. If your new faucet needs fewer holes than your sink has, use the included deck plate (escutcheon) to cover the extras, or buy a hole cover. Matching hole count now prevents an unpleasant surprise later.
Step 5: Install the New Faucet
Now the rewarding part. Follow these steps, adjusting for your model’s instructions:
- If using a deck plate, set it on the sink with the supplied gasket or a bead of silicone underneath.
- Feed the new faucet’s supply lines and mounting shank down through the sink hole(s).
- From below, thread on the mounting nut or bracket and tighten it with your basin wrench until the faucet is snug and won’t twist. Don’t overtighten.
- Make sure the faucet is straight and facing forward before final tightening.
- Connect the pull-down sprayer hose and any weight per the instructions.
Step 6: Connect the Water Supply Lines
Attach the supply lines to the shutoff valves, matching hot to the left and cold to the right. Wrap the threads with a few turns of plumber’s tape if the connection isn’t a self-sealing compression or rubber-washer type, then hand-tighten and give a final quarter to half turn with a wrench. Don’t overtighten, snug is enough, since crushing the washer causes leaks. If you installed new braided lines, connect them at both the faucet and the valve.
Step 7: Turn On the Water and Test for Leaks
Slowly open both shutoff valves. Remove the faucet aerator first, then turn on the faucet and let it run for a minute to flush out any debris from the lines, this protects the aerator screen. Reinstall the aerator. Now carefully inspect every connection under the sink with a flashlight and a dry paper towel; even a tiny drip will show. Check the supply-line connections, the sprayer hose, and around the faucet base. If you find a leak, tighten that connection a bit more or reseat the washer.
Common Problems and Fixes
- Leak at the supply connection: Re-tighten gently or replace a damaged washer; add plumber’s tape on threaded fittings.
- Low water pressure: Usually a clogged aerator, unscrew and rinse it, or debris in the new lines that flushing clears.
- Faucet wobbles: The mounting nut isn’t tight enough; snug it with the basin wrench.
- Sprayer won’t retract: The hose weight is misplaced or the hose is catching on something under the sink.
- Leak under the base: Reseat the deck plate gasket or add silicone.
Tips for a Smoother Job
A few pro habits make the project easier. Take a photo of the old connections before you disconnect anything so you remember how things go back. Lay a towel and a small pillow or foam pad under the sink, you’ll be on your back for a while. Keep a bowl for the old nuts and parts. Always replace old supply lines rather than reusing them. And if your shutoff valves are old, corroded, or won’t fully close, consider replacing them while you’re already under there, or call a plumber for that part.
Choosing the Right Replacement Faucet
Before you even start the swap, picking a compatible faucet saves frustration. Count the mounting holes in your sink or countertop, since kitchen sinks have one to four. A single-hole faucet needs one hole; if your sink has more, use a faucet that includes a deck plate to cover the extras, or add a separate soap dispenser or air gap in the spare hole. Decide on a style, single-handle faucets are easier to use one-handed and simpler to install, while two-handle faucets give separate hot and cold control. Consider a pull-down or pull-out sprayer for flexibility, and check the spout height and reach so it clears your sink and any window behind it. Match the finish to your other fixtures, and confirm the faucet is compatible with your water lines. Buying the right configuration up front means the installation goes smoothly instead of stalling when a part doesn’t fit.
Upgrading Shutoff Valves and Supply Lines
While you’re under the sink is the ideal time to address aging valves and lines that could fail later. Old multi-turn gate valves often seize or won’t fully close; replacing them with quarter-turn ball valves makes future work far easier and gives a reliable shutoff. If you’re comfortable, you can swap valves yourself by shutting off the main water supply, though soldered connections may call for a pro. Always replace the flexible supply lines with new braided stainless steel ones rather than reusing old rubber or plastic lines that can crack or burst, a burst supply line is a leading cause of household water damage, and new lines cost only a few dollars each. Choose lines long enough to reach without stretching but not so long they kink. Tightening these connections just snug, then a slight extra turn, and testing for leaks completes a faucet job that’s built to last, not just to work today.
Changing a kitchen faucet is a genuinely doable weekend project that rewards you with an updated sink and real savings on labor. The keys are shutting off the water fully, using a basin wrench to reach those hidden mounting nuts, matching your faucet to the sink’s hole configuration, and testing thoroughly for leaks before you call it done. Take your time, replace the supply lines while you’re in there, and you’ll have a fresh, leak-free faucet you installed yourself, an upgrade you’ll appreciate every time you turn on the tap.


