A recessed washing machine outlet box pulls the hot and cold shutoff valves, the standpipe drain, and often a 120V electrical outlet into one tidy panel set flush in the wall. Getting a washing machine outlet box installation right means the machine slides closer to the wall, the hoses stop kinking, and you have one accessible place to shut off water fast when a hose bursts.
What a Washer Outlet Box Actually Is
The box is a plastic or metal enclosure that recesses into the wall cavity between two studs. Inside it you’ll find two quarter-turn valves — one hot, one cold — feeding threaded hose bibs, plus a drain port that ties into a 2-inch standpipe and P-trap. Many boxes also include a knockout or a molded pocket for a 120V receptacle so the washer power cord and the plumbing live behind the same faceplate.
Standard framing is 16 inches on center between studs, and most single boxes fit that bay with room to nail the flanges. Combination water-and-power boxes run wider, so confirm the box footprint against your stud spacing before you cut anything.
Why bother recessing it at all? A surface-mounted pair of valves and an exposed standpipe force the washer to stand 3 to 4 inches off the wall, and the fill hoses bend sharply where they meet the bibs — the exact spot where rubber hoses crack and flood a laundry room. Sink the box flush and the machine tucks back tight, the hoses run straight, and every shutoff sits behind one snap-on cover you can reach in seconds.
Shut Off BOTH Water and Power First
This box combines plumbing and electricity in one wall pocket, so you have two separate systems to make safe before you open the wall:
- Water: Shut off the supply feeding this branch — the main house valve or a closer branch valve — and open a faucet downstream to bleed pressure and drain the lines.
- Power: Switch off the breaker for the laundry circuit at the panel, then confirm the outlet is truly dead with a non-contact voltage tester. Don’t trust the label on the panel; test it.
Working on wet plumbing next to a live 120V outlet is how people get hurt. Kill both, verify both, and keep the breaker off until every wire is landed and the cover is on. Adding a brand-new circuit or a new receptacle where none existed is electrical work that requires a licensed electrician and, in almost every jurisdiction, a permit and inspection. If you’re only re-plumbing an existing box and the outlet stays untouched, that’s within reach for a confident DIYer — but the moment new wiring enters the picture, hand it off.
Tools and Materials You’ll Need
- Recessed washer outlet box (water-only or water-plus-power)
- Two quarter-turn valves, usually included with the box
- 1/2-inch supply line — PEX, copper, or CPVC to match your existing plumbing
- 2-inch PVC for the standpipe and P-trap
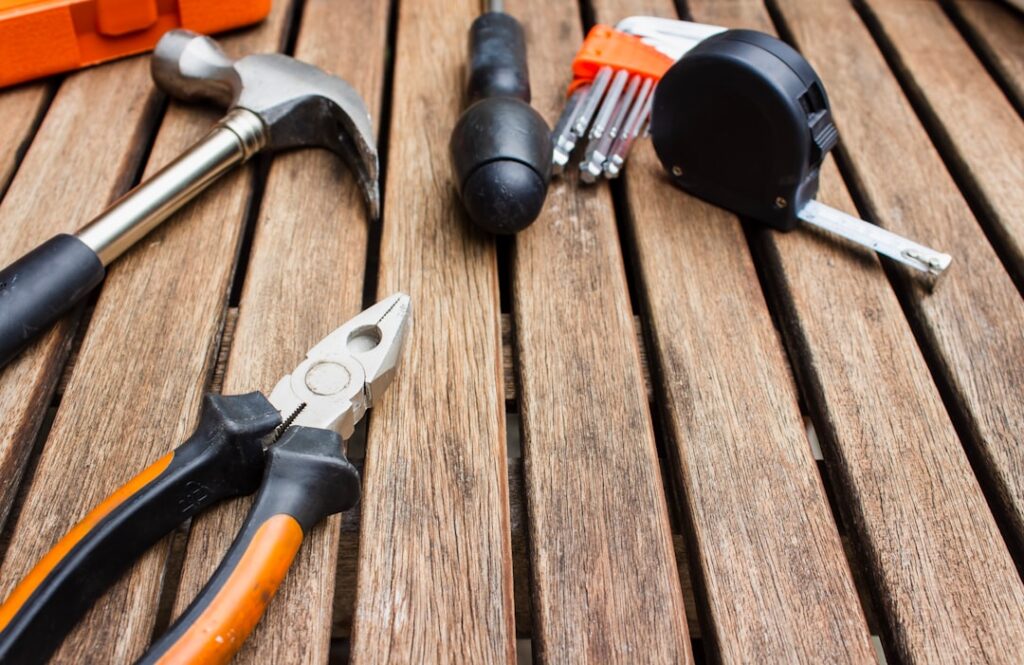
- Drywall saw, stud finder, level, tape measure
- PEX crimp tool or copper sweat/press fittings as applicable
- PVC primer and cement, plumber’s tape
- For power: 12-gauge cable on a 20-amp circuit (electrician’s scope)
Buy the box before you cut the hole — brands vary by an inch or two, and you want the rough opening to match the box you actually own.
Setting the Right Height and Location
Mount the box so the drain and valves sit above the washer’s flood level but low enough that the hoses reach without strain. Field-standard numbers:
- Box centerline: roughly 42 to 48 inches off the finished floor puts the valves and outlet at a comfortable reach behind a standard 36-inch-tall washer.
- Standpipe height: the top of the drain standpipe must sit between 18 and 42 inches above the trap weir — code-driven to prevent siphoning and overflow. The 2-inch standpipe is now standard; 1.5-inch is undersized for modern high-flow pumps.
- Horizontal position: center the box behind where the machine will sit, offset a few inches to one side if you want easier hose access.
Hold the box against the wall, level it, and trace the opening. Cut just inside the line so the flanges have drywall to grab.
Plumbing the Hot and Cold Valves
With the wall open and both studs exposed, mount the box to the framing through its side flanges. Then run supply:
- Rough in 1/2-inch hot and cold lines to the box’s inlet ports. Keep hot on the left, cold on the right so it matches every washer hose you’ll ever connect.
- Make your connections per material — crimp rings on PEX, sweat or press on copper. If the box comes with valves pre-installed, connect to their inlets; if not, thread the quarter-turn valves in with plumber’s tape.
- Secure the supply lines to the studs with clamps so they don’t rattle or work loose behind the wall.
- Tie the drain port into the 2-inch standpipe and P-trap, then run the trap arm to your drain line. Prime and cement every PVC joint.
Quarter-turn valves are worth the small upgrade over old multi-turn stops — you can slam both shut in a second if a hose ever fails, and you should close them anytime the machine sits unused for a week or more. Some boxes ship with a single-lever “auto-shutoff” valve that closes both hot and cold with one flip; it costs a few dollars more and is the closest thing to cheap flood insurance you’ll find.
A quick note on hose choice while you have everything apart: replace old black rubber fill hoses with braided stainless steel lines rated for at least 125 psi. Rubber hoses are the single most common cause of catastrophic laundry-room floods, and they’re graded to be swapped every five years. Stainless braided hoses cost about $12 to $20 a pair and outlast the rubber several times over. Do it now while the machine is pulled out and the valves are already closed.
The 120V Outlet: Electrician Territory
Laundry receptacles for a standard washer are 120V, and code wants them on a dedicated 20-amp circuit with 12-gauge wire. On a combination box, the receptacle mounts in the upper compartment, isolated from the plumbing side. Here’s the honest line on scope:
- If a properly wired outlet already serves this location and you’re just relocating it into the new box’s pocket, that’s a straightforward swap — with the breaker off and verified dead.
- If you’re running a new circuit from the panel, adding a breaker, or extending wiring to a spot that never had power, that is work for a licensed electrician. It almost always requires a permit and an inspection, and modern code may require GFCI protection for a laundry receptacle.
Don’t improvise here. A miswired 20-amp circuit behind a wall next to water hoses is a fire and shock risk you won’t see until it’s too late. Pay the electrician, pull the permit, and get it signed off.
Testing, Sealing, and Finishing Up
Before you close the wall, pressure-test your work. Turn the main water back on with the box valves closed, then open each valve and watch every joint for weeping. Leave it under pressure for 15 minutes and re-check. Pour a bucket of water down the standpipe to confirm the trap and drain flow without backing up.
- Patch the drywall around the box flange, tape, and mud so the faceplate sits flush.
- Snap on the box cover once the outlet cover plate and valves are in place.
- Connect the washer’s fill hoses — hot to hot, cold to cold — and hand-tighten plus a quarter turn with pliers. Don’t overtighten and crack the plastic bibs.
- Restore power at the breaker only after everything is buttoned up, then run a short rinse cycle and watch for leaks at the hoses and drain.
Done properly, a clean washing machine outlet box installation gives you flush hoses, fast shutoff, and a professional finish that adds resale appeal to the laundry room. Keep water and power on separate scopes: plumbing you can own with care, and any new wiring belongs to a licensed electrician with a permit in hand.