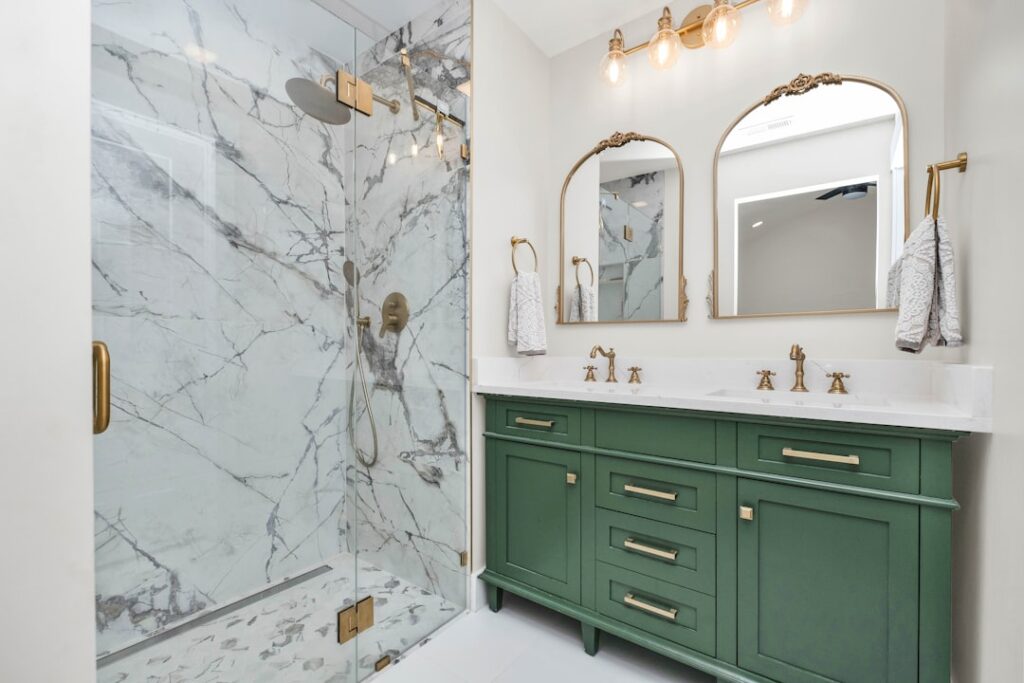
A window inside a shower is both a gorgeous design move and a plumbing gamble. Light floods in, ventilation improves, and the whole bathroom feels larger. Skip a single flashing detail and the same window becomes a slow-motion disaster hidden inside the wall. Waterproof window in shower installations require different materials, different framing, and different waterproofing protocols than a standard bedroom window. This guide covers every detail that actually matters, from sill slope to glass selection.
Why Shower Windows Fail
Most failures come down to four causes: wood frames where vinyl or fiberglass should have been used, flat or reverse-sloped sills that pond water, inadequate flashing at the rough opening, and grout or caulk applied in the wrong order. Water does not care how good your tile work looks. It will find the path of least resistance and rot framing lumber silently for years.
A proper shower window assembly treats the window as an independent waterproofing layer inside a larger waterproofed wall assembly. Every joint overlaps shingle-style from top to bottom. Every material that touches water is rated for continuous wet exposure.
Choosing the Right Window Frame Material
Wood frames, even clad on the exterior, are a no-go inside a shower. Interior-side moisture condenses on cold surfaces, rots the frame from the inside, and voids most manufacturer warranties. Here are the frame materials that work:
- Vinyl frames: economical, waterproof, available in white or tan
- Fiberglass frames (Pella Impervia, Marvin Ultrex): premium, stable, paintable
- Aluminum frames: commercial option, colder surface, condensation-prone
- Solid composite (Andersen 100 Series): waterproof and paintable
- Glass block: traditional shower choice, no frame at all
Any wood-frame window converted to a shower enclosure needs to be replaced, not wrapped in membrane. Trying to save a $600 wood window inside a shower is a guaranteed service call within 5 years.
Glass Options and Privacy
Standard annealed glass is the minimum, but most codes require tempered safety glass in wet areas within 60 inches of the floor. Frosted, rain-pattern, or reeded glass provides privacy without sacrificing light. Newer smart-glass options electrify from clear to opaque on demand, though they start around $800 per square foot installed.
Obscure privacy films are a budget workaround, but water exposure eventually lifts the adhesive edges. Specify the glass obscuring at the factory instead.
Sill Slope: The Single Most Important Detail
A flat sill ponds water. A reverse-sloped sill routes water into the wall. The sill inside a shower window must slope outward at 1/4 inch per foot minimum, and ideally 1/2 inch per foot. Stone sills (marble, granite, quartz) with a poured slope work well. Solid-surface sills like Corian or a custom sloped stone threshold are ideal.
Tile sills can work if the slope is built into the mortar bed underneath, not created by grout lines. Never use a flat stone tile as a shower window sill. I have seen installers pitch the sill visually by eye and still end up flat; use a torpedo level and confirm the slope with water poured from a cup before moving to the next step.
Flashing the Rough Opening
This is where professional installs diverge from DIY failures. The sequence matters. Use a liquid-applied flashing like Prosoco FastFlash or a high-quality self-adhered membrane like Grace Vycor Plus or Henry Blueskin VP100.
- Install the back dam at the sill: a 3/4-inch bevel that slopes water outward
- Apply sill pan flashing extending 12 inches up each jamb
- Set the window in sealant along the top flange only, leaving sides and bottom weep
- Apply jamb flashing over the nailing flanges
- Apply head flashing over the jamb flashing
- Integrate with the wall WRB in a shingle fashion
Interior Waterproofing Layer
Inside the shower, the window sits inside the tiled waterproofing membrane. A proper system uses a liquid-applied membrane like Schluter Kerdi-Fix or a sheet membrane like Kerdi-Band at every corner and transition. The membrane must extend over the window frame and seal to the glazing bead.
Do not rely on silicone caulk alone. Caulk has a 5 to 10 year life in continuous wet exposure and should be the last line of defense, not the only one. The membrane is the primary waterproofing; caulk is the cosmetic finish.
Caulking and Sealant Schedule
Use only 100 percent silicone sealant rated for continuous water immersion. Avoid latex caulks, siliconized acrylics, and anything labeled “paintable.” Brands I specify: GE Silicone II Kitchen and Bath, DAP 100 percent Silicone, Sashco Lexel. Apply in a clean, dry, primed bead and tool immediately with a finger or specialty tool for a concave profile that sheds water.
Plan to inspect and recaulk the window-to-tile joints every 3 to 5 years. Cut out old caulk completely, clean with isopropyl alcohol, mask with tape, and apply a fresh bead. Rushed recaulking jobs fail faster than the originals.
Ventilation and Condensation Control
A waterproof window in shower assembly also needs ventilation to prevent condensation in the wall cavity. Run an exhaust fan rated at least 1 CFM per square foot of bathroom, running for at least 15 minutes after each shower. Consider a humidistat-controlled switch that kicks on automatically above 60 percent RH.
In cold climates, low-E argon-filled double glazing minimizes condensation on the interior glass surface. Triple glazing is worthwhile north of Zone 5 where winter temperatures routinely drop below 0 degrees F.
Cost Expectations
- Vinyl shower window, 3×3 feet, installed: $700 to $1,400
- Fiberglass shower window, 3×4 feet, installed: $1,200 to $2,400
- Tempered obscure glass upgrade: $150 to $400 extra
- Proper flashing and waterproofing labor: $500 to $1,200
- Sloped stone sill: $250 to $800 fabricated and installed
- Total waterproof window in shower project: $1,800 to $5,000
Final Pro Tips
Install the window before tiling starts, not after. Build the mockup sequence with the tile setter so everyone understands the order. Pressure-test with a garden hose against the closed window for 15 minutes before tiling; any leaks will show up on the inside before they can ruin anything. And photograph every flashing step for your records. When the shower window lasts 30 years without a drop of wall damage, you will know every detail was handled correctly the first time.