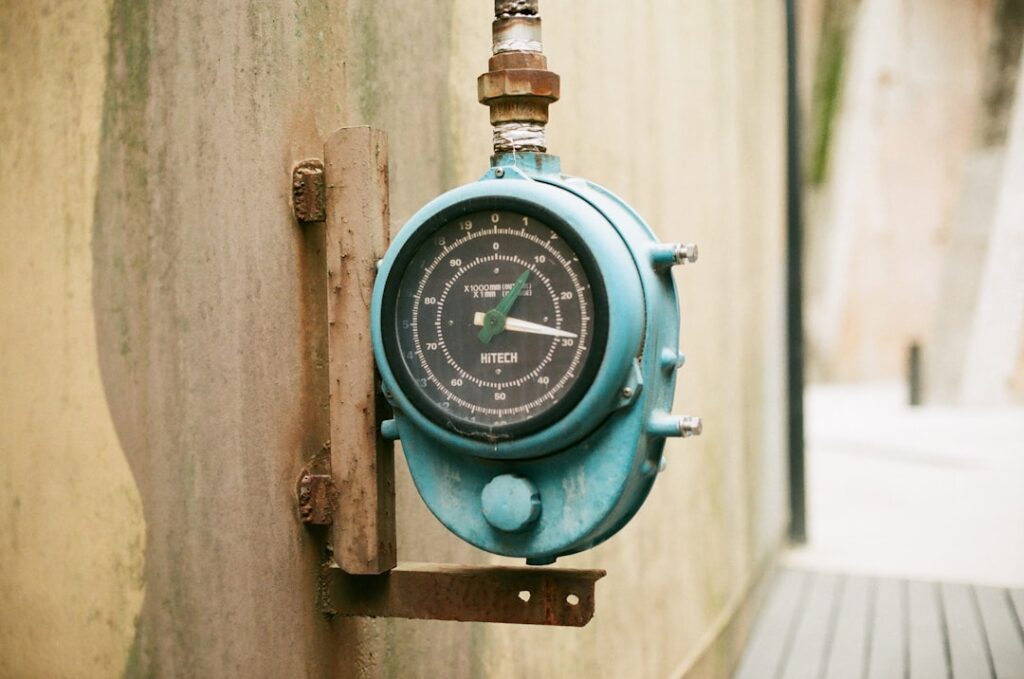
The well pump pressure switch is the small but critical device that tells your well pump when to turn on and off, keeping steady water pressure throughout your home. When it fails, you get no water, low pressure, or a pump that short-cycles itself to death. Understanding how it works — and how to test and replace it safely — can save you an emergency plumber call. Because it involves 240-volt power and a pressurized tank, safety comes first: always cut power at the breaker before touching it.
- What the Pressure Switch Does
- Signs of a Failing Pressure Switch
- Critical Safety Warnings
- How to Test the Pressure Switch
- Adjusting the Pressure Switch
- Replacing the Pressure Switch
- Don’t Overlook the Pressure Tank
- When to Call a Professional
- Understanding Your Pressure Settings
- Preventing Future Switch Problems
- The Bottom Line
What the Pressure Switch Does
Your well system stores water in a pressure tank so the pump doesn’t run every time you open a faucet. The pressure switch monitors that tank’s pressure and controls the pump accordingly. It’s set to a range, commonly 30/50, 40/60, or 20/40 psi:
- When pressure drops to the low number (the cut-in), the switch closes its contacts and turns the pump on.
- When pressure rises to the high number (the cut-out), the switch opens its contacts and turns the pump off.
That 20-psi spread between cut-in and cut-out is what gives you consistent pressure without the pump running constantly. The switch is a simple electromechanical device — a diaphragm sensing water pressure, pushing against a spring, opening and closing electrical contacts.
Signs of a Failing Pressure Switch
A bad switch produces distinctive symptoms:
- No water at all — the switch fails to close and the pump never starts.
- Pump won’t shut off — contacts stuck closed, pump runs continuously (dangerous, can burn out the pump).
- Short-cycling — pump rapidly clicks on and off, often from a waterlogged tank or a failing switch.
- Low or fluctuating pressure — switch cutting in and out at the wrong points.
- Chattering or clicking from the switch, or visible arcing/burning at the contacts.
- Tripping the breaker repeatedly.
Before blaming the switch, rule out a waterlogged pressure tank (lost air charge) and a tripped breaker — both mimic switch failure.
Critical Safety Warnings
This job carries real hazards. Read these before you touch anything:
- 240 volts of shock risk. Most well pumps run on 240V. Contact can be fatal. Turn off the pump breaker in your electrical panel before removing the switch cover, and verify power is off with a non-contact tester.
- Capacitor and stored charge. Some control setups hold a charge; treat wires as live until verified dead.
- Pressurized water. The tank and lines are under pressure. Relieve pressure by opening a faucet before disconnecting the switch’s pressure fitting.
- When in doubt, call a licensed pro. If you’re not comfortable working near 240V wiring, this is a $150 to $300 service call — cheap next to an electrical injury.
How to Test the Pressure Switch
With power off and confirmed dead, you can check a few things:
- Read the tank gauge. Note the pressure. Run water and watch: does the pump kick on at the cut-in and off at the cut-out? Wrong points or no response points to the switch.
- Inspect the contacts. Remove the cover (power off) and look at the two sets of electrical contacts. Blackened, pitted, or burned contacts are a common failure — the switch needs replacing.
- Check the pressure port. A clogged port or corroded tube under the switch can prevent it from sensing pressure. Debris in that small tube fools the switch.
- Tap test (careful, power off). Sometimes stuck contacts will free momentarily, confirming they’re worn — but that’s a temporary diagnostic, not a fix.
Adjusting the Pressure Switch
The switch has two adjustment nuts under the cover, and getting this right matters:
- The large spring nut adjusts both cut-in and cut-out together (the whole range up or down).
- The small spring nut adjusts the differential (the gap between cut-in and cut-out) — turn it and only the cut-out changes.
To raise overall pressure, turn the large nut clockwise a turn at a time, then cycle the pump and re-check the gauge. Make small changes and test between each. Important: your pressure tank’s air pre-charge must be set 2 psi below the cut-in (e.g., 28 psi for a 30/50 switch), checked with the system depressurized. If you change the switch settings, adjust the tank pre-charge to match, or you’ll get short-cycling.
Replacing the Pressure Switch
A new switch costs just $10 to $30, making replacement far cheaper than a service call if you’re qualified to do it. General steps, power off and confirmed dead:
- Cut power at the breaker and verify with a tester.
- Relieve water pressure by opening a nearby faucet.
- Photograph the wiring so you can match it exactly.
- Label and disconnect the wires from the old switch.
- Unthread the switch from its pressure fitting (1/4-inch NPT tube), noting orientation.
- Apply thread sealant to the new switch’s threads and hand-tighten it onto the fitting, then snug with a wrench.
- Reconnect the wires to match your photo — line (power) to one set, load (to pump) to the other, ground to the green screw.
- Restore power and watch it cycle through cut-in and cut-out on the gauge.
Buy a switch that matches your existing pressure range (30/50, 40/60, etc.) and amperage. Some switches include a low-pressure cutoff that shuts the pump off if the well runs dry — a worthwhile feature that protects the pump.
Don’t Overlook the Pressure Tank
Many “switch” problems are actually tank problems. A pressure tank has an air bladder that can lose its charge or rupture, causing short-cycling that looks like a switch fault. Check the tank’s air pre-charge with a tire gauge (system depressurized) — it should read 2 psi below cut-in. If the tank is waterlogged (no air), recharge it or replace it. Swapping the switch won’t fix a bad tank, so diagnose both.
When to Call a Professional
Handle the switch yourself only if you’re confident around 240V wiring. Call a licensed well or electrical pro when:
- You’re unsure about the wiring or the power source.
- The pump itself is suspected (submersible pump replacement is a major job).
- There’s electrical damage, scorching, or repeated breaker trips.
- The problem persists after a new switch and a checked tank.
A service call runs $150 to $300; a full pump replacement is $800 to $2,500.
Understanding Your Pressure Settings
The two numbers stamped on your pressure switch — like 30/50 or 40/60 — tell you exactly how the system behaves, and matching everything to them is the key to smooth operation. The first number is the cut-in (pump turns on), the second is the cut-out (pump turns off). The 20-psi spread between them is standard and gives you steady household pressure. Higher settings like 40/60 deliver stronger pressure at upstairs fixtures but make the pump work harder; 30/50 is gentler on the equipment. Whichever you run, your pressure tank’s air pre-charge must sit 2 psi below the cut-in — 28 psi for a 30/50 switch, 38 psi for a 40/60. Check it with a tire gauge on the tank’s air valve while the system is drained of pressure. Get that relationship wrong and the pump short-cycles, which is the fastest way to burn out an expensive pump.
Preventing Future Switch Problems
A pressure switch is a wear item, but you can extend its life and avoid surprise failures:
- Keep the pressure port clear. Sediment and iron in well water can clog the small tube that lets the switch sense pressure. A periodic cleaning keeps it responsive.
- Maintain the pressure tank. A waterlogged tank makes the pump cycle rapidly, which hammers the switch contacts. Check the air charge yearly.
- Choose a switch with a low-pressure cutoff if your well ever runs low — it shuts the pump off before it runs dry and burns up.
- Watch for early warnings. Chattering, arcing, or a faint burning smell at the switch means the contacts are wearing; replace it before it fails completely.
- Keep the cover on. Moisture and insects inside the switch housing corrode the contacts.
The Bottom Line
The well pump pressure switch is a cheap, simple part that controls your entire water supply by turning the pump on at the cut-in pressure and off at the cut-out. Learn to spot the symptoms — no water, short-cycling, a pump that won’t stop — and check the pressure tank charge before blaming the switch. A replacement costs $10 to $30, but the wiring runs on 240 volts: cut power at the breaker, verify it’s dead, and relieve tank pressure first. If you’re not comfortable with that, a pro handles it for $150 to $300.