When people watch me finish a tile job, the part that transforms the wall isn’t setting the tile — it’s the last hour, when the joints get filled and the whole surface suddenly reads as finished. That step is grouting: filling the spaces between tiles with a cement- or resin-based material that locks the assembly together, keeps debris and water from collecting in the joints, and gives the installation its final visual character. It sounds like a detail. It’s actually a third of what makes tile work. Here’s everything a beginner needs to understand — the types, the choices, the process, and the mistakes that separate a crisp professional finish from a mess you’ll stare at for years.
Why Tile Needs Grout at All
Tiles are never butted tight against each other, and there are real engineering reasons. Joints absorb the small size variations between tiles (even rectified porcelain varies slightly; handmade tile varies a lot), they accommodate the expansion and contraction of the substrate beneath, they let the installer keep lines straight over long runs, and — the standards bodies are explicit on this — they’re required: ANSI standards call for a minimum joint of 1/16″ for rectified tile and 3/32″ or wider for standard tile. Grout then fills those joints to stop water, food, and grime from packing into open crevices, to add compressive strength across the field, and to frame each tile visually. What grout does not do is waterproof anything — cement grout is porous, and the waterproofing in a shower is the membrane behind the tile, never the grout itself. Beginners get that backwards constantly.
The Main Types of Grout
| Type | Joint Size | Cost (typical bathroom) | Best For |
|---|---|---|---|
| Sanded cement | 1/8″–1/2″ | $15–$25/bag | Floors, wide joints |
| Unsanded cement | 1/16″–1/8″ | $15–$25/bag | Walls, tight joints, glass, polished stone |
| High-performance cement (polymer-modified) | 1/16″–1/2″ | $25–$45/bag | One-bag-does-all upgrade; better color consistency |
| Epoxy | 1/16″–3/8″ | $50–$100/unit | Showers, countertops, commercial; stain-proof |
| Pre-mixed urethane/acrylic | 1/16″–1/2″ | $40–$70/pail | DIY-friendly, no sealing needed |
Sanded vs. unsanded is the classic beginner question: the sand is structural filler that keeps wide joints from shrinking and cracking, but it will scratch glass, polished marble, and some glazes — hence unsanded for tight wall joints and delicate surfaces. Epoxy is the performance king — chemically cured resin that’s stain-proof, waterproof in itself, and never needs sealing — but it costs three to four times more, sets fast, and punishes sloppy cleanup, so it’s a confident-DIYer or pro product. Pre-mixed urethane/acrylic grouts are the modern middle path I recommend to most first-timers: open the pail, apply, no mixing errors possible, no sealing ever, forgiving working time.
Grout Color: The Biggest Visual Decision
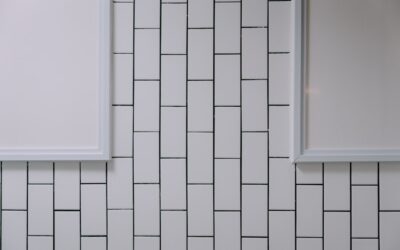
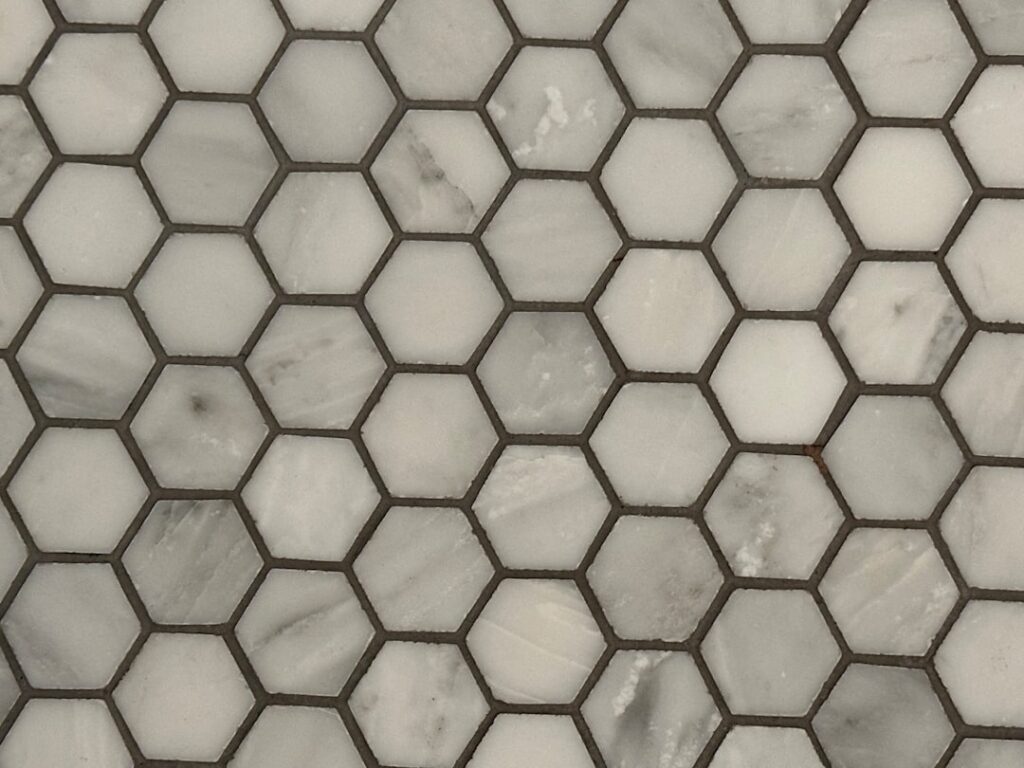
Same tile, three grout colors, three completely different rooms. Matching grout (within a shade of the tile) makes the surface read as one calm field and hides imperfect joint work — my standing advice for beginners. Contrasting grout (dark on light or reverse) turns the layout into graphic pattern and broadcasts every wobble in your lines. And for anything you walk on or cook near, mid-tone grays, greiges, and sands hide life’s evidence dramatically better than bright white, which on a kitchen floor is a permanent scrubbing commitment. Remember grout dries lighter than it looks wet — judge nothing until 72 hours have passed.
How Grouting Is Actually Done
The process, whether it’s my crew or your first weekend project:
- Wait for the thinset to cure — 24 hours minimum after setting tile. Grouting too early traps moisture and can shift tiles.
- Clean the joints. Vacuum dust, rake out any thinset that squeezed up (it will show through as light spots), pull all spacers.
- Mix to smooth peanut-butter consistency, let it slake 10 minutes, remix. Add powder to water, not the reverse, and mix small batches — cement grout has a 20–30 minute working life.
- Pack the joints. Load a rubber float and sweep diagonally across the joints at 45 degrees, pressing firmly so the joints fill completely, then strike off excess with the float edged nearly upright. Diagonal strokes keep the float from digging grout back out of the lines.
- First wipe at 15–30 minutes, when the grout firms and hazes: a damp, wrung-out sponge in light diagonal passes, rinsing constantly, shaping the joints slightly concave and even. A too-wet sponge is the classic beginner error — it drags pigment out and leaves weak, blotchy joints.
- Buff the haze once the surface dries to a film — dry microfiber cloth. Stubborn next-day haze comes off with a nylon pad or a dedicated haze remover.
- Cure and seal. Cement grout wants 72 hours before heavy use and a penetrating sealer ($15–$30) after it fully cures (check the sealer’s window, often 48–72 hours). Epoxy and urethane grouts skip sealing entirely.
One rule that outranks all of these: grout never goes in a joint that moves. Tile-to-tub, inside corners, floor-to-wall — those get flexible silicone caulk, color-matched to the grout. Grouted corners crack within the year, every time.
Living With Grout: Care and Repair
Maintenance is simple if you do the sealing: clean with pH-neutral cleaners (harsh acids eat cement grout and bleach can lighten pigment unevenly), re-seal cement grout every 1–2 years in wet areas — the water-drop test tells you when: if a drop soaks in and darkens the joint instead of beading, it’s time. Stained beyond cleaning? Grout colorant paint-pens and rollers ($15–$40) genuinely work on cement grout and buy years. Cracking or crumbling joints get raked out with a $10 carbide grout saw or an oscillating tool and re-grouted — a very achievable DIY repair. Widespread cracking, though, is a symptom, not a grout problem: it usually means the substrate flexes or movement joints were skipped, and new grout will crack the same way until the cause is fixed.
What Grouting Costs
Materials are cheap: $15–$45 covers grout for a typical bathroom in cement products, $50–$100 in epoxy. Hired as part of tile installation, grouting is baked into the $8–$25 per square foot labor. Standalone regrouting — the refresh trade for tired showers — runs $10–$25 per square foot professionally, or roughly $25–$50 in total materials as a weekend DIY, which is one of the highest-payoff cosmetic projects in a bathroom: fresh grout makes fifteen-year-old tile look reinstalled.
Beginner Questions I Answer Constantly
“Can I grout over old grout?” Only if you remove at least 1/8″ of depth first — new grout needs something to key into, and a skim coat over glazed old grout peels within months. Rake first, then regrout.
“How long until I can shower?” Cement grout: 72 hours before soaking, longer before sealing. Epoxy: usually 24 hours. Urethane premix: read the pail — some want a full 7 days in wet areas, and this is the spec people miss most.
“Why did my grout dry two different colors?” Uneven water. Too-wet sponging pulls pigment; adding water to a stiffening batch (“retempering”) weakens and lightens it; and drafts or sun drying one wall faster than another shows as shade variation. Mix consistently, sponge stingily, and let the room dry evenly.
“How much grout do I need?” Depends on tile size and joint width — bigger tiles mean fewer joints per square foot. As a rough guide, a 25-pound bag covers 100–200 square feet of 12×24 tile with 1/8″ joints, but only 40–75 square feet of 2×2 mosaic, whose dense joint network drinks grout. Every manufacturer publishes a coverage calculator on the bag; trust it over guesswork and buy one bag more than it says.
“Sealed means waterproof, right?” No — penetrating sealers slow absorption and buy you cleaning time; they don’t make grout a membrane. Showers stay watertight because of the waterproofing layer behind the tile.
So, what is grouting? It’s the finishing trade within the tiling trade — equal parts filler, structure, and frame. If you’re heading into your first tile project, take the beginner-friendly path I’d give a family member: choose a pre-mixed urethane grout in a color that matches your tile, work small sections with a barely damp sponge, caulk the corners instead of grouting them, and give everything its full cure before you judge the color or take a shower. Grout rewards patience and punishes rushing, and the difference is visible from across the room for the next twenty years.
Prefer to explore on your own?
See how new flooring looks in your actual room in seconds — free, no signup.
Try the free Floor Studio →