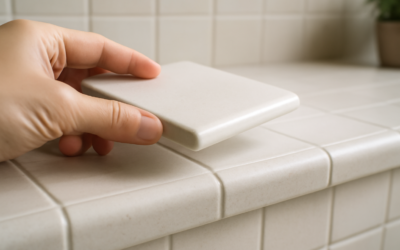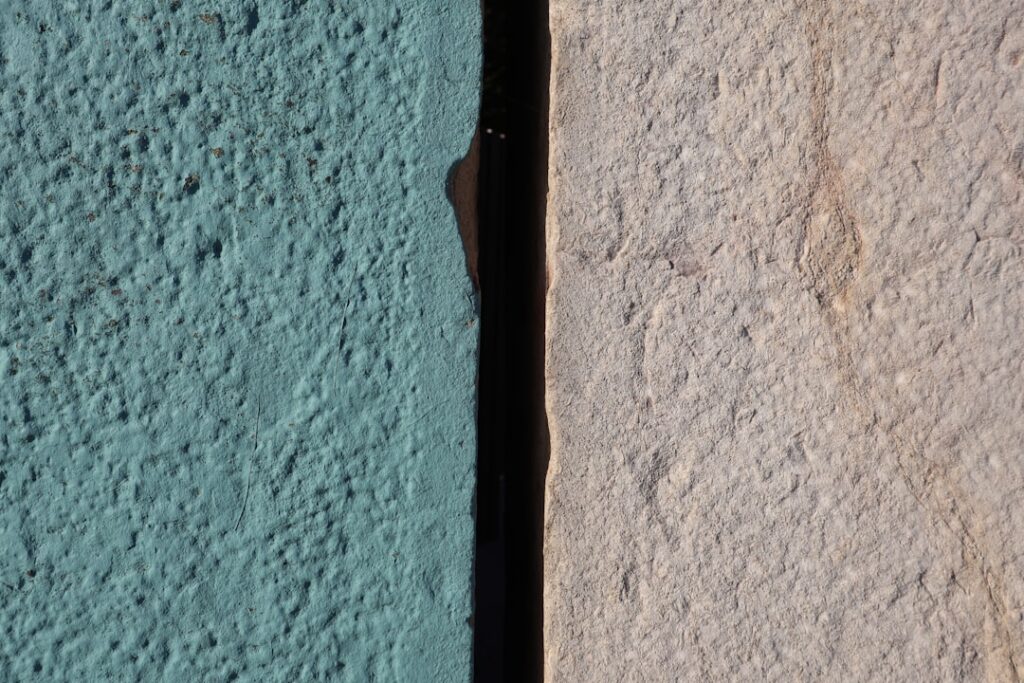
Pick the wrong grout and you either crack it out within a year or scratch a $30-per-square-foot marble tile the moment you spread it. The difference between sanded and unsanded grout is not marketing fluff. It comes down to one measurable thing on your job: how wide the joints between your tiles are, and what those tiles are made of. Get that match right and the grout does its job quietly for decades.
What Actually Separates the Two
Both products are cement-based and both fill the gaps between tiles, but the recipe differs. Sanded grout has fine silica sand blended into the cement. That sand acts as an aggregate, giving the joint bulk and mechanical strength so it resists shrinking and cracking in wider gaps. Unsanded grout skips the sand and relies on a smoother, stickier cement-and-polymer mix that clings to vertical surfaces and packs into hairline joints.
Think of it the way you would concrete versus mortar. You would not pour a driveway with pure cement paste because it would crack apart, and you would not butter a thin brick line with gravel-filled mix. Same logic applies at the scale of your tile joints.
The Joint-Width Rule That Decides Everything
Here is the number that settles most arguments on the jobsite: 1/8 inch. If your grout lines are 1/8 inch or wider, reach for sanded grout. The sand keeps the wider joint from slumping and shrinking as it cures. Common uses include floor tile, subway tile spaced with 1/8-inch spacers, and most porcelain installs where a wider line looks intentional.
If your joints are narrower than 1/8 inch, down to those tight 1/16-inch rectified-tile lines, use unsanded grout. Sanded product simply will not pack into a gap that thin, and you will end up with voids that let water through. Unsanded flows into the hairline and stays put.
- 1/8 inch and wider: sanded grout
- 1/16 inch to just under 1/8 inch: unsanded grout
- Above 1/2 inch: use a wide-joint sanded grout rated for it, or a specialty product
Strength and Shrinkage
Sanded grout is the stronger of the two under compression and foot traffic, which is why it dominates floor work. The aggregate resists the shrinkage that plagues thick beads of plain cement. Unsanded grout, while perfectly durable in the right spot, will crack if you force it into a wide floor joint because there is nothing structural inside it to hold the volume together as water evaporates during cure.
On a bathroom floor with 1/4-inch joints, unsanded grout is a callback waiting to happen. On a polished-marble backsplash with 1/16-inch lines, sanded grout is a scratch complaint waiting to happen. Neither product is better overall; each is better somewhere.
The Scratching Problem With Delicate Tile
This is where a lot of DIYers get burned. The sand in sanded grout is abrasive. Drag it across the surface of polished marble, honed limestone, glass tile, or a soft glazed ceramic and you can leave fine scratches that only show up once the light hits them. For those materials, unsanded grout is the safe choice even when the joint width would otherwise call for sanded.
If you have wide joints on a scratch-prone stone and you are boxed in, you have two outs: use a non-sanded, high-performance grout rated for wider joints, or seal and test on a spare tile first. When in doubt with any polished or glass surface, spread a small batch on an offcut and check for marring before you commit to the whole wall.
Where Each One Belongs
A quick field guide based on the rooms I grout most often:
- Shower floors and mud-set floors: sanded, for the wider joints and traffic
- Rectified porcelain walls with tight lines: unsanded
- Glass mosaic backsplash: unsanded, always, to avoid scratching
- Polished marble or travertine: unsanded, regardless of joint size
- Standard 3×6 subway with 1/8-inch spacers: sanded
Working Characteristics
Unsanded grout is stickier and easier to push up a vertical wall, which is part of why it suits backsplashes and shower walls with tight joints. Sanded grout is grittier under the float and can feel like it fights you on a wall, though it packs floors beautifully. Mix either one to a peanut-butter consistency, let it slake for the time on the bag (usually 5 to 10 minutes), and remix before you spread.
Cleanup differs too. Sanded grout hazes more aggressively, so stay on top of your damp-sponge passes and plan for a grout-haze cleanup a day or two later. Both need sealing if they are cement-based and unsealed, though many modern bags are polymer-fortified and shed water better out of the box.
A Note on Epoxy and Pre-Mixed Options
Epoxy grout sidesteps the sanded-versus-unsanded question in one sense because it comes in both grades and is nearly stain-proof, but it is pricier and less forgiving to install. Pre-mixed urethane grouts in a tub are convenient for small backsplashes and skip the mixing, yet they cure slowly in wet areas and are not ideal for a shower floor. For most homeowners, standard cement grout in the correct sanded or unsanded grade remains the practical, budget-friendly answer.
Sealing and Long-Term Maintenance
Both sanded and unsanded cement grouts are porous unless they are epoxy or a modern polymer-fortified formula, which means they absorb water and stains over time. Sealing is the step that protects your investment. Apply a penetrating grout sealer once the grout has fully cured, usually 48 to 72 hours after installation, and reapply every year or two in wet areas like showers and busy floors. A sealed joint resists mildew, soap scum, and the graying that turns fresh white grout dingy within months.
Maintenance differs slightly between the two. Sanded grout on floors takes more abrasion, so it benefits from resealing on a regular schedule and a pH-neutral cleaner rather than harsh acids that eat cement. Unsanded grout on walls and backsplashes sees less traffic but more soap and hard-water buildup, so a gentle scrub and periodic reseal keeps it looking new. Whichever you use, avoid vinegar and other acidic cleaners on cement grout; they slowly dissolve the binder and open the pores back up.
Common Mistakes to Avoid
A few errors show up on nearly every failed grout job. Forcing sanded grout into a hairline joint leaves voids that leak. Using unsanded grout in a wide floor joint invites cracking. Mixing grout too wet weakens it and causes shrinkage and color inconsistency. And wiping the surface with a soaking sponge during cleanup pulls color and binder out of the joint, leaving a blotchy, weak line. Mix to a firm paste, pack the joints full, and clean with a barely damp sponge in gentle circles.
Bottom Line
The whole decision boils down to two questions. How wide are the joints, and is the tile scratch-prone? Wide joints and durable tile get sanded. Narrow joints, or any polished stone and glass, get unsanded. Understanding the difference between sanded and unsanded grout is the single easiest way to keep your tile job from failing early or looking marred, and it costs nothing but a moment of thought before you open the bag.
Prefer to explore on your own?
See how new flooring looks in your actual room in seconds — free, no signup.
Try the free Floor Studio →