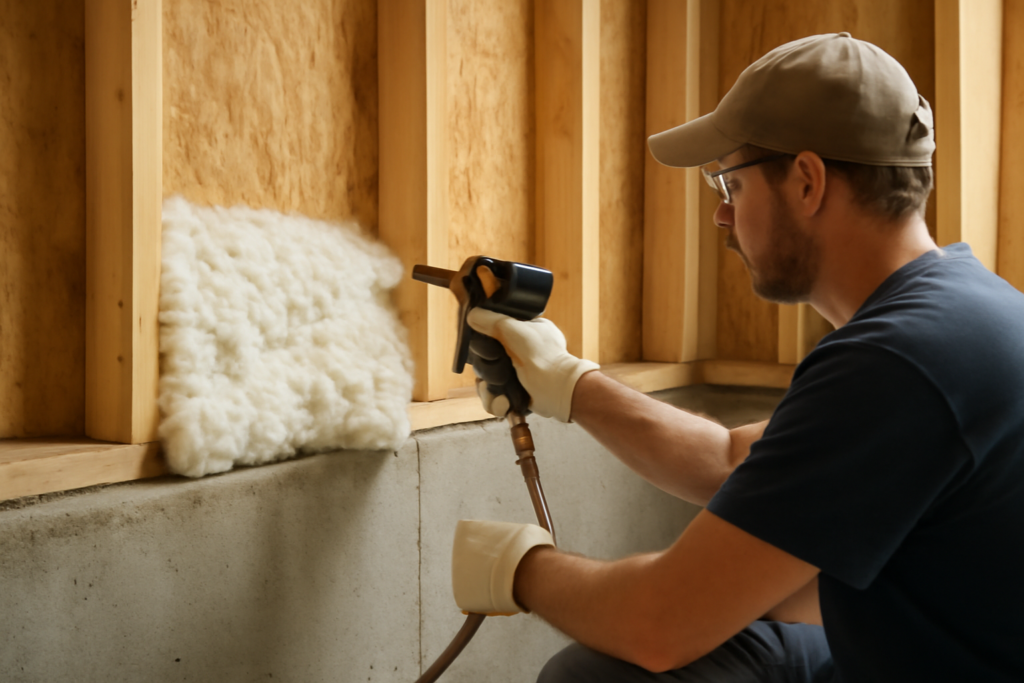
When you are trying to close large wall cavities, seal a wide band around a rim joist, or fill an oversized gap that a can straw can’t reach, wide spray foam insulation is the tool that gets it done in a single expanding pass. Wide-spray products and applicators lay down a broad fan of foam instead of a narrow bead, letting you cover more area faster while still sealing air leaks and adding R-value. Understanding how coverage, foam type, and cost work together will help you choose the right approach and avoid the messy, expensive mistakes that trip up first-timers.
What “Wide” Spray Foam Means
The term covers a couple of related ideas. In DIY products, some cans and two-part kits ship with a wide-spray nozzle or gun attachment that fans the foam out to cover several inches of width at once, rather than the pencil-thin bead a standard gaps-and-cracks can produces. In professional work, contractors use spray rigs that apply a wide, even blanket of foam across entire wall cavities, attic decks, and crawl space walls. In both cases the goal is the same: efficient coverage of a large surface with a material that both insulates and air-seals.
Open-Cell Versus Closed-Cell
Before anything else, decide which foam you need, because the two types behave very differently.
- Open-cell foam: Lighter, softer, and cheaper. It expands a lot, filling cavities well, and offers roughly R-3.5 to R-3.7 per inch. It is vapor-permeable, so it lets some moisture pass, and it is a good sound dampener. Best for interior walls and attics where you want air sealing plus insulation without a high price.
- Closed-cell foam: Denser and more rigid, at roughly R-6 to R-7 per inch, the highest R-value per inch of common insulations. It resists water, adds structural rigidity, and works as a vapor barrier. Best for rim joists, crawl spaces, basements, and anywhere moisture or maximum R-value in a thin space matters.
Closed-cell costs more but delivers more performance per inch, which matters when cavity depth is limited.
Coverage and What You Actually Get
Coverage is where homeowners get surprised. Two-part DIY foam kits are rated in board feet, where one board foot equals a square foot at one inch thick. A kit labeled 600 board feet does not cover 600 square feet at a useful depth; at 3 inches thick it covers only about 200 square feet. Always calculate: area in square feet times desired thickness in inches equals board feet needed. Then buy 10 to 15 percent extra for waste, overspray, and the foam left curing in the hose at the end.
Wide-spray cans list coverage too, but real yield depends heavily on temperature, technique, and how much the foam expands. Cold cans and cold surfaces dramatically reduce output and produce poor cell structure, so warming the cans and working in the recommended temperature range, usually above 60 degrees Fahrenheit, is essential.
Real Costs
Costs vary widely by scale and method. Single-component wide-spray cans run $8 to $20 each and suit small jobs. Two-part DIY kits, such as the Froth-Pak or similar spray systems, cost roughly $300 to $700 for a 600-board-foot kit, which pencils out to somewhere around $1 to $2 per board foot in materials.
Hiring a professional is priced by the square foot at a given thickness. Open-cell typically runs $0.45 to $1.50 per board foot installed, while closed-cell runs $1 to $2.50 per board foot installed. For a whole-house or attic job, professional spray foam commonly totals $3,000 to $8,000 or more. The pro price includes proper equipment, protective gear, and expertise that meaningfully affects the result.
DIY Versus Hiring a Pro
Small wide-gap sealing with cans is squarely DIY. Rim joists, small crawl space sections, and filling oversized gaps are reasonable weekend projects with a two-part kit, provided you respect the safety requirements. Whole walls, attics, and large crawl spaces are better left to professionals, because large-scale spray foam demands precise mixing ratios, controlled temperatures, and experience reading how the foam is curing. A bad large-scale DIY job can off-gas, fail to adhere, or trap moisture, and correcting cured foam is a nightmare because it does not come off easily.
Safety You Cannot Skip
Spray foam chemistry is not forgiving. The isocyanates in the foam are hazardous during application. You need a respirator rated for organic vapors, not a dust mask, along with goggles, gloves, and a disposable suit, because overspray sticks to skin, hair, and clothing and does not wash out. Ventilate the space and keep occupants and pets out during application and curing. Cured foam is inert and safe, but the spraying window requires real precautions. Also protect anything you do not want foamed; overspray drifts and bonds to floors, tools, and windows permanently.
Common Mistakes
The classic errors are underbuying due to the board-foot confusion, spraying in cold conditions that ruin expansion and adhesion, and applying foam too thick in one pass. Thick single passes trap heat as the foam cures, which can scorch the foam and, in rare cases, create a fire risk; build up depth in lifts of a couple inches instead. Another mistake is over-filling a cavity so the foam bulges past the studs, which then has to be trimmed flush with a saw, wasting material and time. Finally, forgetting a required thermal or ignition barrier over exposed foam in living spaces can violate code.
Code and Fire Considerations
Most building codes require spray foam in living spaces and attics to be covered with a thermal barrier such as half-inch drywall, or an approved ignition barrier in unfinished attics and crawl spaces, because the foam is combustible when exposed. Check your local requirements before leaving foam bare. This is one more reason large jobs often go to pros who know the local code and inspection process.
Where Wide Spray Foam Pays Off Most
Some areas of a home return far more comfort and energy savings per dollar of foam than others. Rim joists, the band of framing where the floor meets the foundation, are notorious air-leak sites and an ideal target for closed-cell foam, sealing dozens of small gaps that let cold air pour into basements. Attic hatches, around plumbing and wiring penetrations, and the gaps around recessed lights (using fire-rated foam) all deliver outsized results because they stop air movement, not just conductive heat loss. In a crawl space, closed-cell foam on the walls creates a sealed, conditioned space that dramatically reduces moisture problems and floor drafts above.
Because air sealing is where spray foam beats fiberglass batts most decisively, prioritizing the leaky transitions and penetrations often gives a bigger comfort improvement than simply adding more foam to an already-insulated wall. A blower-door test by an energy auditor can pinpoint exactly where your home is leaking, so you spend foam where it counts.
Comparing Foam to Other Insulation
Spray foam is not always the right answer. Fiberglass batts and blown cellulose cost far less per square foot and, for open attic floors and standard stud cavities, insulate perfectly well when installed carefully with attention to air sealing. Spray foam earns its premium where you need air sealing plus insulation in one step, where space is tight and you need high R-value per inch, where moisture resistance matters, or where irregular cavities are hard to fill with batts. Many homes use a hybrid approach: closed-cell foam to seal and insulate critical air-leak zones like rim joists, then cheaper fiberglass or cellulose over broad, easy areas. That flash-and-batt strategy captures foam’s sealing benefit without the cost of foaming the entire house.
The Bottom Line
Wide spray foam insulation is a powerful way to seal and insulate large areas quickly, combining air sealing and high R-value in one product. Choose open-cell for economical interior insulation and closed-cell where you need moisture resistance and maximum R-value in a thin space. Do the board-foot math so you buy enough, respect the temperature and safety rules, and be honest about scale: small gaps and rim joists are DIY-friendly, while whole homes belong to professionals. Get those judgments right and the payoff is a tighter, quieter, more comfortable home with lower energy bills.