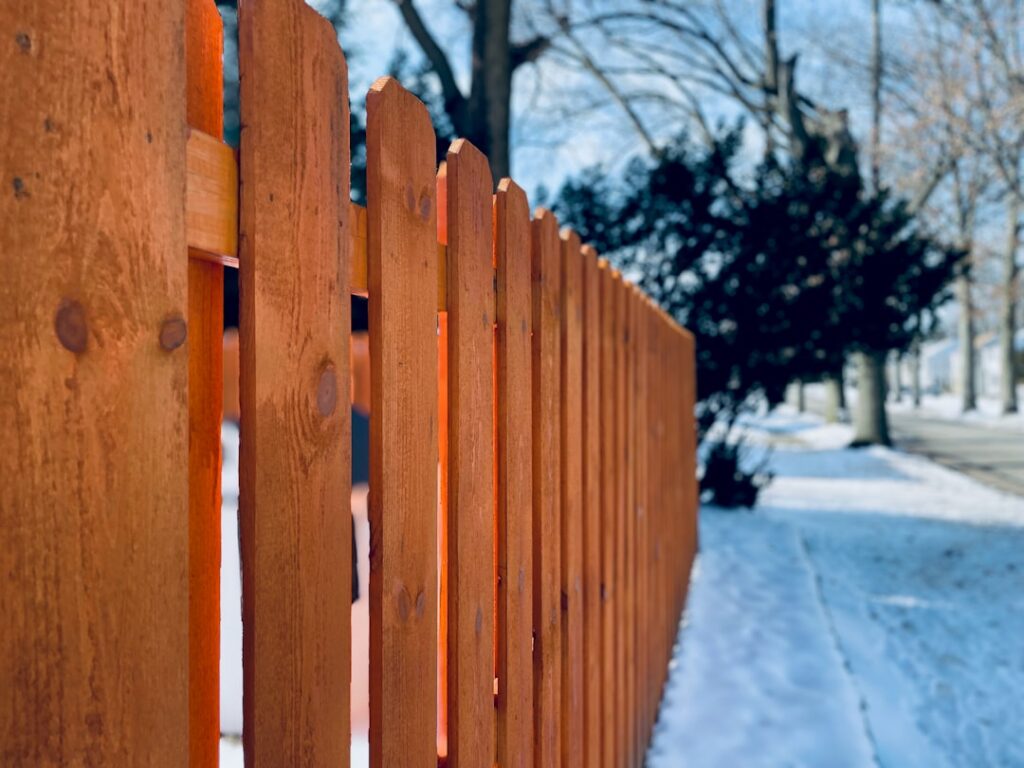
Walk any neighborhood and you will spot it: a solid fence with one sagging, dragging gate that no longer latches. A wood fence gate is the hardest-working part of any fence, swinging open and shut hundreds of times while gravity and moisture conspire to pull it out of square. The good news is that a gate that lasts comes down to a few well-understood principles: a rigid frame, a properly oriented diagonal brace, and hardware sized for real weight. This guide shows you how to build and hang a gate that stays square and swings true for years.
Why Gates Fail
A gate is essentially a small door hung from a post, and it faces forces a fence panel never does. Every time it swings, its full weight cantilevers off the hinge side, trying to rack the frame into a parallelogram. Add wet wood that swells and shrinks, undersized hinges, and a post that leans, and sagging is almost guaranteed.
Understanding those forces is the key to defeating them. A gate that resists racking, sheds its weight through a diagonal brace, and hangs from a rock-solid post will not sag, no matter how often the kids slam it.
Start With Solid Posts
No gate can outperform its posts. The hinge post takes the entire load and must not move. Set gate posts deeper and in more concrete than line posts, ideally 1/3 of the post length in the ground and fully encased in concrete.
For a heavy or wide gate, use a 6-by-6 hinge post rather than a 4-by-4, and let the concrete cure fully before hanging anything. A leaning hinge post is the most common reason a perfectly built gate still drags within a month.
Building a Rigid Frame
The frame is the skeleton, and it must be square and stiff. Build it from straight, dry lumber, typically 2-by-4s laid flat or on edge to form a rectangle slightly narrower than the opening.
- Cut the horizontal rails and vertical stiles to size, allowing about a 1/2-inch gap on the latch side
- Assemble the rectangle and check it is perfectly square by measuring both diagonals; equal diagonals mean square
- Fasten the corners with exterior screws and, ideally, corner brackets or half-lap joints for strength
- Attach the pickets to the frame only after the frame is confirmed square
A frame that starts out of square will never swing right, so spend the extra minute measuring those diagonals before you drive a single picket screw.
The Diagonal Brace: Get It Right
This is the single most important detail, and it is the one people get backwards. A wood compression brace must run from the bottom of the hinge side up to the top of the latch side. In that orientation, the gate’s weight pushes down through the brace into the bottom hinge, holding the gate square.
If you run the brace the other way, from the top hinge corner down to the bottom latch corner, it does nothing useful because wood is weak in tension, and the gate will sag. Remember the rule: the low end of the brace lives on the hinge side. If you prefer a steel cable-and-turnbuckle brace instead, it works in tension and runs the opposite direction, from the top hinge corner to the bottom latch corner.
Choosing the Right Hinges
Undersized hinges doom a gate. Use heavy-duty exterior gate hinges rated for the weight of your gate, and use three hinges rather than two on any tall or heavy gate. T-hinges and strap hinges spread the load across more of the frame than small butt hinges.
- Use galvanized or stainless hardware to survive the weather
- Fasten hinges with long structural screws or through-bolts into solid framing, not just pickets
- Add a third hinge in the middle for gates over 4 feet tall
- Self-closing spring hinges are worth it for pool or child-safety gates
Latches and Hardware
Pick a latch that matches how you use the gate. A simple gravity latch or thumb latch works for most backyard gates. A lockable latch or a keyed gate lock adds security for a side-yard entrance. For pool enclosures, code requires a self-latching mechanism mounted high enough to be out of a child’s reach.
Install a gate stop, a small block or trim piece on the latch post, so the gate cannot swing past its closed position and stress the hinges. A gate handle on both sides makes daily use easier.
Hanging the Gate
Hanging is a two-person job made easy with a simple trick. Prop the gate in the opening on blocks or shims to set the correct height off the ground, leaving about 2 inches of clearance so it clears grass and frost heave.
- Shim the gate to the right height and center it in the opening with even gaps
- Mark and attach the hinges to the hinge post first
- Swing it open and shut to confirm it clears and does not bind
- Install the latch and gate stop last, adjusting for a clean catch
Test the swing before you remove the shims, and make small adjustments while everything is still easy to tweak.
Sizing the Gate Opening
Get the width right before you build, because a gate that is too wide sags no matter how well you brace it. For a single walk-through gate, 3 to 4 feet is the sweet spot, wide enough to carry a trash can or a wheelbarrow through and narrow enough to stay rigid. Anything wider than about 4 feet on a single swinging gate puts heavy leverage on the hinges.
For a driveway or a wide opening where you need to move a mower, a trailer, or a vehicle, build a double gate, two leaves that meet in the middle, rather than one massive single gate. Each leaf stays a manageable width, and a drop rod or cane bolt holds the inactive leaf steady while the active one swings. This keeps both leaves square and light on their hinges.
Adding a Wheel or Anti-Sag Kit
Even a well-built gate on a long span can benefit from extra support. A gate wheel, a spring-loaded caster mounted on the latch side, rolls along the ground and carries some of the gate’s weight as it swings, taking strain off the hinges. It is a cheap insurance policy for wide or heavy gates, though it requires a fairly smooth, level path.
An anti-sag kit is the other common fix. It is a steel cable and turnbuckle that runs diagonally across the gate frame, from the top hinge corner to the bottom latch corner, and works in tension. As the gate begins to droop over time, you simply tighten the turnbuckle to pull it back square. Many builders install one from the start on gates wider than 4 feet as a built-in adjustment for the years ahead.
Weatherproofing and Seasonal Care
A gate takes more abuse from the elements than the rest of the fence because it moves and its end grain is exposed at every cut. Seal or stain every surface, paying special attention to the top edge and the bottom, where water wicks up from the ground and down from rain. Reapply a quality exterior stain every two to three years.
Each season, run through a quick checklist: tighten the hinge and latch screws, adjust the anti-sag turnbuckle if the gate has dropped, and clear debris from where the gate closes so it seats cleanly. Oil the hinges once a year to keep them swinging quietly. A few minutes of seasonal attention keeps a gate operating smoothly and prevents the slow slide toward sagging that ruins so many gates.
Keeping It Swinging True
Seal or stain the gate on all six sides, including the top and bottom end grain, since that is where water wicks in and causes swelling and rot. Recheck and tighten the hinge screws each season, and adjust a cable brace’s turnbuckle if the gate begins to droop.
Build it square, brace it correctly, hang it from a solid post, and use hardware sized for the real weight, and your wood fence gate will swing smoothly and latch cleanly for years while your neighbors fight with theirs. The whole build takes a weekend, and getting the brace direction right is the detail that makes all the difference.