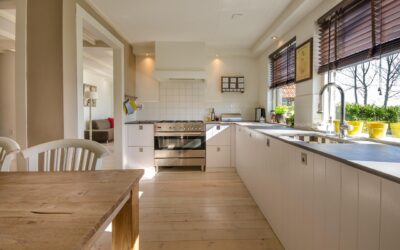
Everyone loves the warmth of wood in a kitchen, but nobody wants to caulk and reseal a real wood plank behind a sink for the rest of their life. A wood tile backsplash solves that perfectly, delivering the grain, tone, and character of hardwood in a porcelain or ceramic tile that laughs off water, grease, and steam. It is one of the smartest ways to add organic warmth to a kitchen or bath without inviting the maintenance headaches real wood brings to a wet zone.
Why Wood-Look Tile Beats Real Wood on a Backsplash
A backsplash lives in the splash zone, catching water from the sink, grease from the stove, and steam from cooking. Real wood in that environment is a losing battle. It absorbs moisture, swells, stains, and eventually delaminates or grows mildew no matter how carefully you seal it.
Wood-look porcelain sidesteps all of it. The material is fired clay with a photographic wood image and a matching embossed texture, so it is fully waterproof, non-absorbent, and impervious to grease. You get the look you love and simply wipe it clean, with none of the sealing, oiling, or warping worry.
- Waterproof and stain-proof right behind the sink and stove
- No sealing or oiling ever required
- Heat-resistant next to a cooktop, where real wood would be a hazard
- Scratch and dent resistant against pots, utensils, and cleaning
Choosing the Right Wood-Look Tile
Backsplash tile is smaller-scale than floor plank, and that works in your favor. Narrow wood-look planks, often 3 to 6 inches wide, keep the grout lines proportional to the wall. Look for tiles with realistic embossed texture, varied plank faces so the pattern does not repeat obviously, and a matte finish that reads like natural wood rather than a shiny fake.
Color sets the mood. Warm honey and oak tones feel cozy and traditional, gray-washed and weathered planks lean modern and coastal, and deep walnut or espresso adds drama against light cabinets. Bring home samples and view them against your countertop and cabinets before committing.
Layout Options
The plank shape opens up layout choices that a square tile cannot. The pattern you pick dramatically changes the feel of the wall:
- Horizontal running bond: the classic look, planks stacked in offset rows, visually widening the space
- Vertical stack: planks run floor to counter, drawing the eye up and making low ceilings feel taller
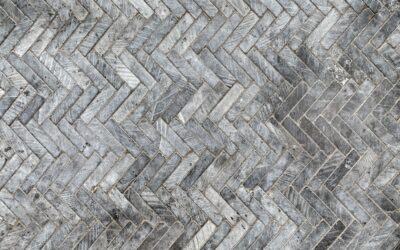
- Herringbone: planks set at 45 degrees for a rich, high-end pattern that suits a feature wall behind a range
- Chevron: mitered planks meeting in a clean V for a bolder, more contemporary statement
Herringbone and chevron use more material and labor because of the extra cuts, but they turn a backsplash into a focal point.
Grout: The Detail That Makes or Breaks It
Grout color is what separates a backsplash that looks like real planks from one that looks obviously tiled. To mimic the tight seams of real wood flooring, choose a grout color that closely matches the tile’s dominant tone. A matched grout makes the joints nearly disappear so the eye reads continuous wood.
If you want the planks to stand out individually, a slightly contrasting grout defines each one, though this reads more clearly as tile. Either way, use a quality stain-resistant grout, since it sits in a kitchen’s messiest zone. Keep grout lines as narrow as the tile’s edges allow, typically an eighth of an inch or less, for the most wood-like result.
Installation Considerations
Wood-look tile installs like any porcelain, but the plank shape adds a couple of wrinkles. Long, thin tiles can show lippage if the wall is uneven or if you offset planks too far, so many installers stagger joints by only a third rather than the traditional half. Use a high-quality thinset and check each plank against the plane as you go.
Plan your cuts around outlets and the ends of runs so partial planks land in less visible spots. A wet saw gives clean edges on porcelain, and finishing the exposed edges with a matching bullnose, a metal trim strip, or a caulk-filled reveal gives the installation a professional finish.
Where Else It Works
Beyond the kitchen, a wood tile backsplash brings the same waterproof warmth to a bathroom vanity wall, a laundry room, a wet bar, or even a full accent wall. Because it is genuine tile, it goes anywhere real wood would fail, including behind a bathroom sink or in a powder room that sees constant humidity.
Pairing With Cabinets and Countertops
A wood tile backsplash does not exist in isolation, so the surrounding cabinets and counters determine whether it sings or clashes. The goal is warmth and contrast without the whole kitchen turning into one wood tone.
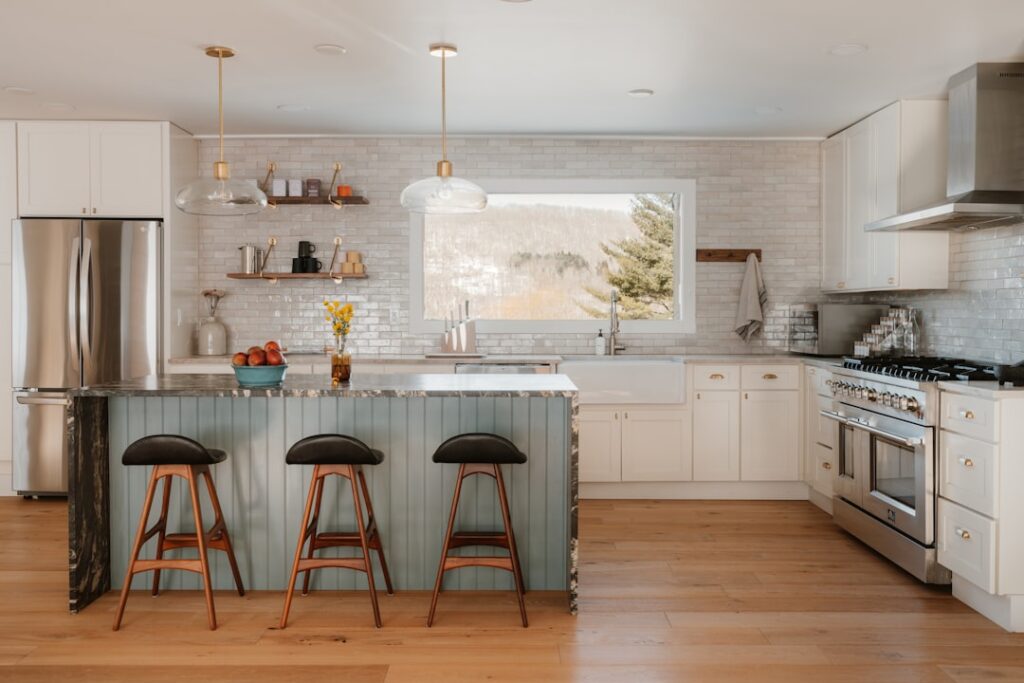
- White or painted cabinets: a warm oak or walnut wood-tile backsplash pops against crisp white for a modern-farmhouse feel
- Natural wood cabinets: choose a backsplash tone a few shades lighter or darker so it complements rather than competes
- Dark cabinets: a lighter weathered-gray or honey plank backsplash adds contrast and keeps the space from feeling heavy
- Stone or quartz counters: pull a warm undertone from the counter and echo it in the wood tile for cohesion
The safest approach is to treat the backsplash as an accent that bridges your cabinets and counters, borrowing an undertone from each so it feels like it belongs.
Cost and Value
Wood-look tile is genuinely budget-friendly for a backsplash because you need relatively little material. Tile itself runs roughly $3 to $8 per square foot for quality porcelain plank, and a typical backsplash is a small area, so material cost stays modest. The bigger variable is labor, which climbs with intricate layouts like herringbone or chevron that require many precise cuts.
Compared to a real reclaimed-wood backsplash, the tile version wins on both price and longevity, since real wood in a splash zone needs constant sealing and still risks water damage. Weighed against standard subway tile, wood-look plank costs a little more but delivers far more warmth and character, which is why so many homeowners consider it money well spent for a focal wall behind the range or sink.
The Bottom Line
A wood tile backsplash gives you the best of both worlds: the inviting warmth of natural wood grain with the bulletproof performance of porcelain tile. Choose a realistic plank, pick a layout that fits your style, and match your grout carefully to sell the wood illusion. The result is a backsplash that looks like it belongs in a woodworker’s kitchen and cleans up with a single wipe. It is one of those rare upgrades that delivers real character without adding maintenance, letting you enjoy the warmth of wood in the messiest zone of the house. Choose your plank and grout thoughtfully, and this backsplash will still look sharp long after a real wood version would have warped.
Prefer to explore on your own?
See how new flooring looks in your actual room in seconds — free, no signup.
Try the free Floor Studio →