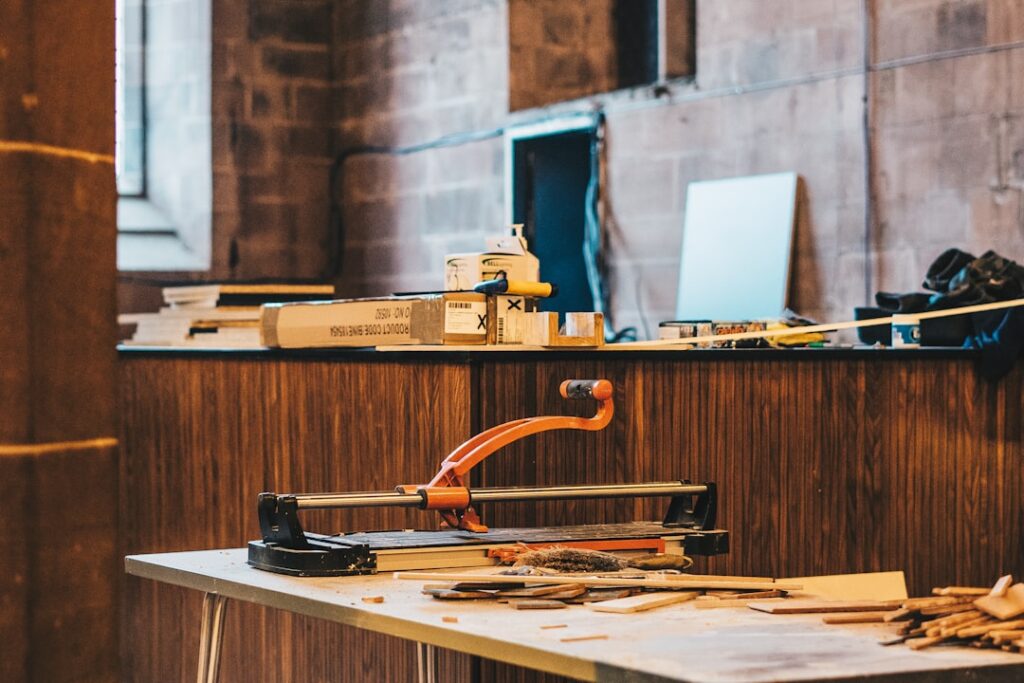
A 24 inch tile cutter is a manual snap cutter sized to score and break tiles up to roughly 24 inches across, making it the right tool for the large-format tiles that have become so popular in modern kitchens and bathrooms. Where a small handheld scorer or a 12-inch cutter falls short on big planks and oversized floor tiles, a 24-inch model gives you the bed length and the leverage to make long, clean cuts in a single confident motion. For homeowners tackling a tiling project, it offers professional-quality straight cuts without the noise, water, and expense of a wet saw.
This guide explains how a manual tile cutter works, how to choose and use one, what it can and cannot do, and the safety habits that keep the job smooth.
How a Manual Tile Cutter Works
A manual snap cutter has a flat base, one or two rails, a sliding carriage with a scoring wheel, and a breaking foot. You place the tile on the base against an alignment fence, run the scoring wheel across the surface once to cut the glaze, then press the handle down so the breaking foot snaps the tile cleanly along that scored line. There is no motor, no blade spinning, and no water involved.
The principle is the same as scoring and snapping glass. A clean, even score line is what produces a clean break, so the quality of the scoring wheel and the smoothness of your stroke matter more than brute force. A good 24-inch cutter has a long, sturdy rail that keeps the carriage from flexing across the full width of a large tile.
Why Choose a 24 Inch Model
Cutter size is measured by the maximum tile it can cut, so a 24-inch cutter handles tiles up to about that dimension on a straight cut and even longer on a diagonal in some designs. Large-format tiles, wood-look plank tiles, and big porcelain floor tiles all need that extra reach. Trying to cut a 20-inch tile on a 12-inch cutter simply will not work.
- Capacity: Cuts large-format and plank tiles a smaller cutter cannot reach.
- Clean edges: A sharp scoring wheel produces a smooth snapped edge ready for grout.
- No water or power: Quieter, dust-light, and usable anywhere indoors.
- Lower cost: A quality manual cutter is far cheaper than a comparable wet saw.
- Portability: Light enough to move room to room as the job progresses.
Manual Cutter vs Wet Saw
A manual cutter excels at straight cuts and is the faster, cleaner tool for most floor and wall installations. A wet saw, which uses a diamond blade cooled by water, is the better choice when you need L-shaped cuts, notches around pipes, curved cuts, or when working with very hard, thick, or dense porcelain that resists snapping. Many homeowners own or rent both, reaching for the manual cutter for the bulk of straight cuts and the wet saw for the handful of tricky pieces.
Material matters too. Standard ceramic and most porcelain snap well on a manual cutter. Very thick natural stone, glass mosaic, and extremely dense porcelain can be unpredictable to snap and are often better handled on a wet saw with the proper blade.
Speed is another consideration on a big job. Because there is no setup, no water to manage, and no blade to wait on, a manual cutter lets you fly through a stack of straight cuts. On a typical bathroom floor or backsplash, you can score and snap a tile in seconds, which keeps you in a productive rhythm as you work across the room. The wet saw, by contrast, is slower to set up and clean up, so reserving it for the handful of specialty cuts usually makes the most sense.
How to Make a Clean Cut
Good results come from setup and a steady hand, not strength. Measure and mark your cut line, then follow a consistent routine for every tile. Practice on a scrap piece first to get a feel for the scoring pressure your particular tile needs.
- Set the tile flat against the alignment fence so your mark lines up with the scoring wheel’s path.
- Position the wheel at the near edge and apply firm, even pressure as you push the carriage across in one smooth pass.
- Score only once; repeated passes create a ragged line and a poor break.
- Lower the breaking foot over the scored line and press down decisively to snap the tile.
- Smooth any sharp edge with a rubbing stone or sanding pad before setting the tile.
Choosing and Maintaining Your Cutter
When shopping, look for a rigid base, smooth-gliding rails with little play, and a high-quality tungsten carbide scoring wheel. Models with two rails generally resist flex better on long cuts, which is exactly where a 24-inch cutter earns its keep. A built-in measuring guide and an angle stop for repeatable cuts are worthwhile features.
Maintenance is simple. Keep the rails clean and lightly lubricated so the carriage slides freely, and wipe dust off the base after each session. The scoring wheel is a wear part; a dull wheel skips and produces bad breaks, so replace it when scoring quality drops. A well-maintained cutter will deliver reliable cuts across many projects.
Match the wheel to the tile when you can. Many cutters accept different scoring wheel diameters, and a larger wheel often suits thicker tile while a finer wheel handles delicate glazed ceramic. Check the manufacturer’s recommendation for the tiles you are cutting, and keep a spare wheel on hand so a sudden drop in cut quality does not stall your project mid-room.
Safety First
A manual snap cutter is one of the lower-risk power-free tools in tiling, but it is not risk-free. Freshly snapped tile edges can be razor sharp, and small shards can fly when a tile breaks. Always wear eye protection while scoring and snapping, and consider cut-resistant gloves when handling broken pieces. Work on a stable surface and keep the base clear of debris that could throw off your cut.
If your project requires a wet saw for those curved or notched cuts, treat it with more caution. Keep the water reservoir filled so the blade stays cool, wear both eye and ear protection, and never remove the blade guard. Follow the manufacturer’s instructions for any cutter you use. With the right tool and steady technique, a 24 inch tile cutter lets you achieve crisp, professional cuts and a finished installation you can be proud of.
Prefer to explore on your own?
See how new flooring looks in your actual room in seconds — free, no signup.
Try the free Floor Studio →