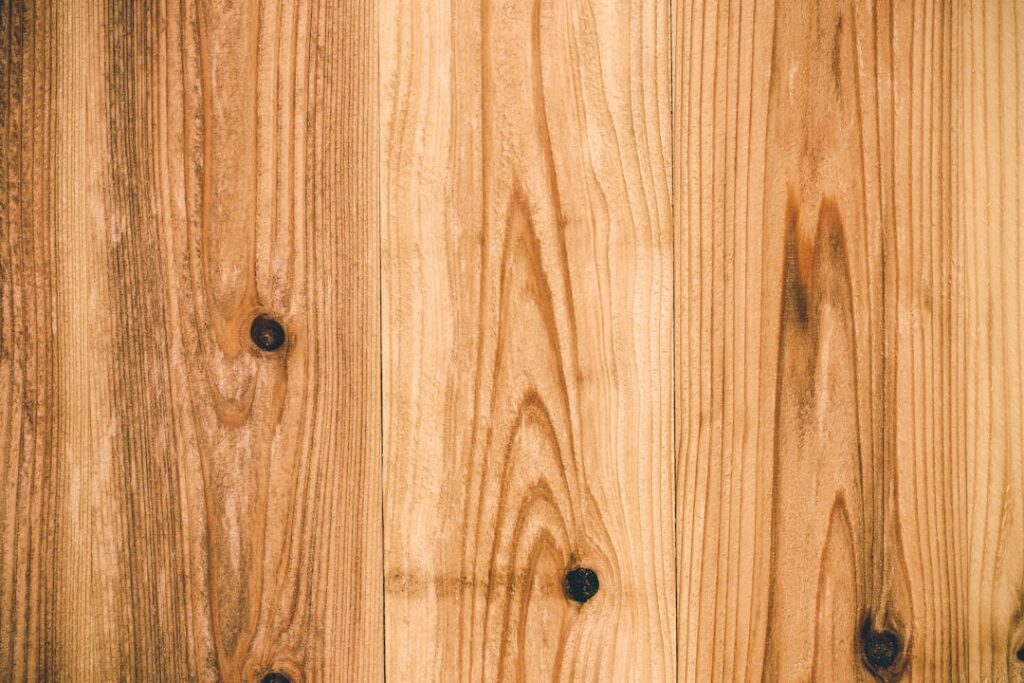
Few floors carry the warm, lived-in character of solid pine, and for good reason it has covered American homes for centuries. 3/4 tongue and groove pine flooring gives you a full-thickness solid wood floor that can be sanded and refinished for generations, at a price well below oak or maple. The 3/4-inch thickness is the standard for solid nail-down flooring, and the tongue-and-groove milling lets each board lock tightly to the next for a flat, gap-free surface. This guide covers grades, widths, costs, and the exact steps to buy and install it right.
- Why 3/4-Inch Solid Pine
- Types of Pine and Grades
- Board Widths and Their Effect
- What It Costs
- Acclimation: Do Not Skip It
- Installing 3/4 Tongue and Groove Pine Flooring
- Finishing Your Pine Floor
- Where Pine Flooring Works Best
- Living With a Pine Floor
- Solid Pine vs. Engineered and Laminate Look-Alikes
- Frequently Asked Questions
Why 3/4-Inch Solid Pine
The 3/4-inch (0.75 inch, or nominally 25/32 inch) thickness is the industry standard for solid strip and plank flooring because it gives enough wood above the tongue to be sanded five or six times over an 80- to 100-year life. Pine is a softwood, so it dents more easily than oak, but that patina is exactly the appeal for farmhouse, cottage, and rustic interiors. A dinged pine floor looks intentional; a dinged laminate just looks damaged.
Tongue-and-groove milling means one edge of each board has a protruding tongue and the opposite edge a matching groove. The tongue seats into the neighboring groove, so you blind-nail through the tongue and hide every fastener. The result is a mechanically interlocked floor with no visible nails across the field.
Types of Pine and Grades
Not all pine is equal. The species and grade you choose set both the look and the durability.
- Eastern White Pine: Soft, light, knotty, and classic New England character. Dents readily but ages beautifully.
- Southern Yellow Pine: Much harder and denser than white pine, with dramatic grain. A top choice where you want pine’s look with more dent resistance.
- Heart Pine: Reclaimed old-growth longleaf pine, extremely hard and rich amber in color. The premium option, priced accordingly.
Understanding Grades
- Clear or Select: Few or no knots, uniform color, most expensive.
- Standard or #1 Common: Some knots and color variation, the popular middle choice.
- Rustic, Cabin, or #2 Common: Heavy knots, streaks, and character marks, lowest cost and most farmhouse charm.
Board Widths and Their Effect
Pine flooring commonly comes in widths from 3 inches up to 12 inches. Narrow strips (3 to 5 inches) look more formal and traditional and move less with humidity. Wide planks (7 to 12 inches) deliver that coveted colonial and farmhouse look but expand and contract more across their width, so wide boards need extra care with acclimation and fastening. A 10-inch-wide plank can gap 1/8 inch or more in a dry winter; expect and plan for seasonal movement.
What It Costs
Pine is one of the most affordable solid hardwood-category floors. Standard-grade white or yellow pine runs roughly $3 to $6 per square foot for the material. Clear or select grades climb to $6 to $9, and reclaimed heart pine can hit $10 to $18 per square foot. Professional installation adds $3 to $6 per square foot, plus finishing at $2 to $4. For a 200-square-foot room in standard-grade pine, budget about $600 to $1,200 for materials and $1,600 to $3,200 installed and finished.
Acclimation: Do Not Skip It
Solid wood must equalize to your home’s humidity before it goes down, or it will cup, gap, or buckle later. Deliver the flooring at least 5 to 7 days ahead and stack it loosely in the actual room where it will be installed, with the HVAC running at normal living conditions (60 to 80°F, 30 to 50 percent relative humidity). Check moisture content with a meter; the flooring should be within 2 to 4 percent of the subfloor’s moisture reading before you nail a single board.
Installing 3/4 Tongue and Groove Pine Flooring
A 3/4-inch solid floor is a nail-down installation over a wood subfloor. Here is the workflow.
- Cover the subfloor with 15-pound asphalt felt or rosin paper as a moisture and squeak barrier.
- Snap a chalk line for the first row and leave a 1/2- to 3/4-inch expansion gap at every wall.
- Face-nail the first row near the wall (it will be hidden by baseboard), then blind-nail through the tongue at a 45-degree angle.
- Use a flooring nailer or stapler with 2-inch cleats spaced every 8 to 10 inches, and within 1 to 2 inches of each board end.
- Stagger end joints at least 6 inches from row to row for strength and looks.
- Rack out several rows ahead, mixing boards from different bundles to blend color and knots.
- Tap each board tight with a tapping block and a mallet, never striking the tongue directly.
For wide planks, many installers add a bead of construction adhesive or supplement the nailing with countersunk and plugged screws for extra hold, since wide boards exert more force as they move.
Tools You Will Need
- Pneumatic flooring nailer or stapler with a mallet
- Compressor and 2-inch flooring cleats or staples
- Miter saw and table saw or jamb saw for the final row rip
- Tapping block, pull bar, and pry bar
- Moisture meter, chalk line, and spacers
Finishing Your Pine Floor
Because pine is soft, the finish does much of the protecting. Sand progressively from 60 or 80 grit up to 100 or 120 grit, being careful not to gouge the soft wood with an aggressive drum sander. Vacuum thoroughly and tack the floor before finishing.
For durability, a water-based or oil-based polyurethane in two to three coats is the workhorse choice; oil-based ambers over time and deepens pine’s honey tone, while water-based stays clearer. Some homeowners prefer a penetrating tung or hardwax oil for a matte, easily spot-repaired finish. Whatever you choose, let each coat cure per the manufacturer, and keep foot traffic off for at least 24 hours between coats and 72 hours before moving furniture back.
Where Pine Flooring Works Best
Pine suits homes where character trumps hardness. Farmhouses, cottages, cabins, and craftsman bungalows wear it naturally, and it pairs beautifully with painted trim and vintage furniture. It is an excellent choice for bedrooms, living rooms, dining rooms, and hallways. Kitchens are fine with a durable finish and rugs at the sink. The one place to think twice is a high-traffic mudroom or a home with large dogs, where the soft surface will show wear fast, though many owners simply lean into that rustic patina.
Southern yellow pine and reclaimed heart pine are the better picks where you want pine’s warmth with more resistance to denting. Eastern white pine is the softest and most forgiving to install, but plan on it collecting dings quickly. There is no wrong answer here, only a question of how much character you want your floor to accumulate over time.
Pros and Cons of Pine Flooring
- Pros: Affordable, refinishable for a century, warm authentic look, easy to source in wide planks
- Cons: Dents and scratches easily, moves more with humidity than oak, wide planks can gap seasonally
Living With a Pine Floor
Expect dents and scratches, and embrace them as character. Use felt pads under furniture, area rugs in high-traffic paths, and keep indoor humidity stable year-round with a humidifier in winter to minimize gapping. When the finish wears in a few decades, a full 3/4-inch board has plenty of thickness left for a fresh sanding.
Solid Pine vs. Engineered and Laminate Look-Alikes
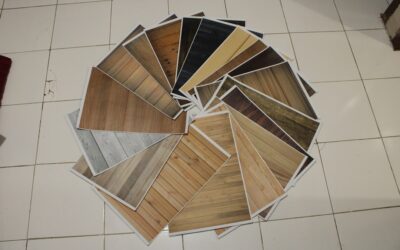
Shoppers often weigh solid pine against engineered wood and pine-look laminate. Engineered pine exists but is less common, and its thin wear layer limits refinishing to once or twice. Laminate and vinyl can print a convincing knotty-pine image for less money and better dent resistance, but they cannot be sanded, and they lack the depth and repairability of real wood. The entire value of 3/4-inch solid pine is that century of refinishing life, so if you want that heirloom quality, the solid board is the only one that delivers it.
Frequently Asked Questions
Can pine flooring go over a concrete slab?
Not directly with a nail-down install, since you cannot nail into concrete easily and the slab holds moisture. Build a plywood subfloor over a moisture barrier first, or use sleepers, then nail the pine to the plywood.
Does pine need to be stained?
No. Many owners simply seal raw pine with a clear finish and let it amber naturally into a honey tone. Pine can be blotchy when stained, so if you do stain, apply a wood conditioner first and test on a scrap board.
Chosen and installed with care, 3/4 tongue and groove pine flooring delivers timeless warmth and a floor your grandchildren could refinish.
Prefer to explore on your own?
See how new flooring looks in your actual room in seconds — free, no signup.
Try the free Floor Studio →