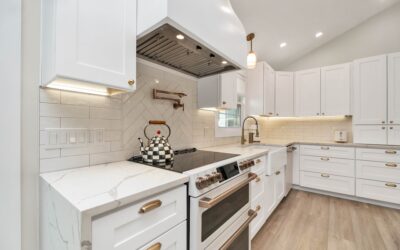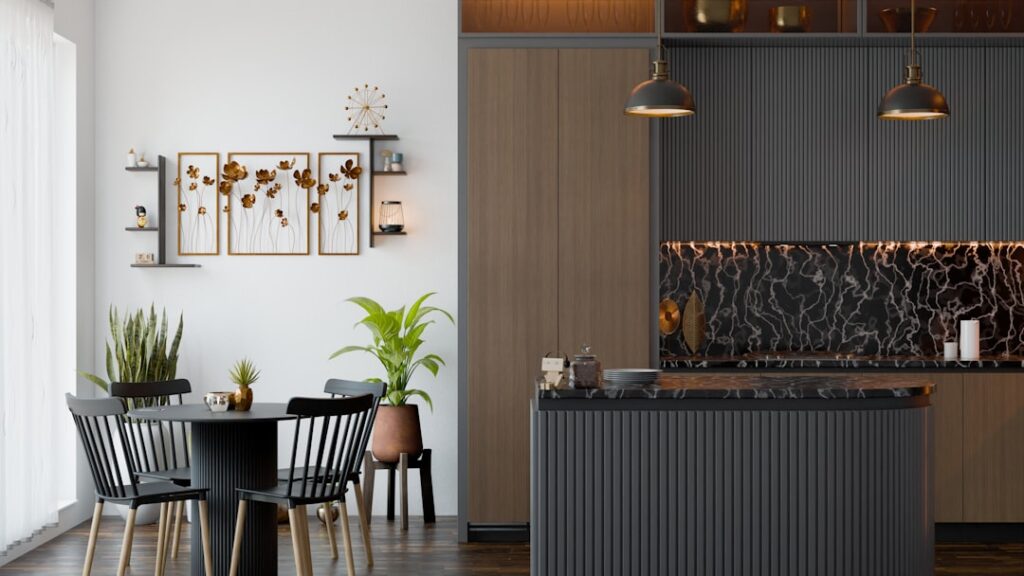
A 4 inch backsplash kitchen setup features a short strip of countertop material, usually stone or laminate, that rises just four inches up the wall behind the counter. This modest ledge, often called a standard or short backsplash, has protected kitchen walls for decades and remains a practical, budget-friendly choice. If you are weighing a 4 inch backsplash kitchen design against a full-height tile wall, understanding the trade-offs will help you decide.
Part of our Kitchen Remodeling guide — explore the full guide →
The short backsplash is not just a leftover of older kitchens. Many homeowners deliberately choose it for its clean lines, low cost, and seamless match with the countertop. Others find it dated and prefer floor-to-cabinet tile. The right answer depends on your style, budget, and how the wall behind your counters actually gets used.
What Is a 4 Inch Backsplash
A 4 inch backsplash is a continuous piece of the same material as your countertop, cut into a four-inch-tall strip and mounted flush against the wall along the back edge of the counter. When it is fabricated from the same slab, it creates a seamless, monolithic look because the color, pattern, and finish match exactly.
Granite, quartz, marble, butcher block, and laminate counters all commonly include a 4 inch backsplash option. The height is not a strict rule; some fabricators offer 3-inch or 6-inch versions, but four inches has become the informal industry standard because it covers the most common splash zone while remaining subtle.
Advantages of a 4 Inch Backsplash
The short backsplash carries several genuine benefits that keep it popular:
- Lower cost: It uses far less material than a full-height backsplash and requires minimal extra labor, often adding only a small charge to your countertop order.
- Seamless match: Cut from the same slab, it blends perfectly with the counter for a cohesive look.
- Easy cleaning: With just one horizontal seam and no grout lines, it wipes clean in seconds.
- Wall protection: It shields the most splash-prone lower section of wall from water and food.
- Design flexibility above: The painted wall above can be repainted anytime without touching tile.
For homeowners who want a clean, understated kitchen or who plan to change wall colors over the years, these advantages add up quickly.
Disadvantages to Consider
The short backsplash also has real limitations. The biggest is protection: it guards only the bottom four inches of wall, leaving the area behind the cooktop and above the counter exposed to splatter. In a heavy-cooking kitchen, grease and sauce can stain the painted wall above, requiring frequent touch-ups.
Style is the other consideration. Full-height tile backsplashes have become the design standard in modern kitchens and real estate listings, and a bare wall above a 4 inch ledge can read as dated or unfinished to some buyers. If you are renovating to sell, a full backsplash may offer a stronger visual return, even though the short version costs less.
4 Inch vs Full-Height Backsplash
The choice comes down to budget, protection, and taste. A full-height backsplash runs tile from the counter to the underside of the upper cabinets, typically 18 inches, fully protecting the wall and creating a bold design feature. It costs more in material and labor and locks you into a tile choice that is harder to change later.
A 4 inch backsplash costs a fraction as much, cleans effortlessly, and lets you refresh the wall color easily, but offers less protection and a more traditional look. Some homeowners split the difference: they keep a 4 inch stone backsplash along most of the counter and add full-height tile only behind the range, where splatter is worst.
Cost Comparison
A 4 inch backsplash is usually priced by the linear foot as an add-on to your countertop. For quartz or granite, expect roughly $10 to $25 per linear foot, meaning a typical kitchen might add $150 to $400 to the counter cost. Laminate versions cost even less.
A full-height tile backsplash, by contrast, involves tile at $2 to $40 per square foot plus $10 to $25 per square foot in labor, easily reaching $800 to $3,000 or more for an average kitchen. The short backsplash clearly wins on upfront cost, which is a major reason it remains common in builder-grade and budget-conscious kitchens.
When a 4 Inch Backsplash Makes Sense
The short backsplash is the right call in several situations:
- You are working with a tight renovation budget and want to direct funds elsewhere.
- You love your countertop material and want a clean, seamless, uninterrupted look.
- You cook lightly and do not generate heavy splatter above the counter.
- You enjoy changing wall colors and want the freedom to repaint without redoing tile.
- You prefer a minimalist or traditional aesthetic over a bold tiled feature wall.
In these cases, the short backsplash delivers practical protection and a tidy appearance without overspending.
Design Ideas to Modernize a 4 Inch Backsplash
A short backsplash need not look dated if you style the wall above it well. Because the painted area is exposed and easy to update, you have room to be creative without the commitment of a full tile install. Many homeowners find that treating the wall above thoughtfully makes the short backsplash feel like a deliberate choice rather than a compromise.
Consider these approaches to give a 4 inch backsplash a fresh, current look:
- Paint the wall above in a durable, scrubbable satin or semi-gloss finish that wipes clean easily.
- Add floating shelves or a plate rail above the ledge to draw the eye upward with styling.
- Use a bold or moody wall color to make the counter and backsplash pop against it.
- Mount a decorative mirror or artwork in low-splatter zones away from the cooktop.
- Install a matching stone ledge on a bar or island for a consistent, intentional look throughout.
These low-cost touches keep the kitchen feeling contemporary while preserving the budget and cleaning benefits of the short backsplash.
Maintenance and Installation Notes
Caring for a 4 inch backsplash is simple. Wipe it with a damp cloth and mild cleaner, and reseal it along with the counter if it is natural stone. The one seam where it meets the countertop and wall should be caulked, not grouted, so it flexes with the house and stays watertight; recaulk that joint every few years to prevent moisture from seeping behind it.
Installation is typically handled by the countertop fabricator during counter installation, ensuring a perfect match and level fit. If you later decide you want more coverage, you can add tile above an existing 4 inch backsplash, though many designers prefer to remove the ledge first for a fully integrated tile look.
One detail worth checking is how the ledge meets an uneven wall. Older homes often have walls that bow or lean, leaving a visible gap behind a rigid stone backsplash. A quality installer scribes the backsplash to the wall or fills the gap with color-matched caulk so the joint looks clean. Inspect this seam after installation and before the final payment, since a sloppy caulk line is the most common complaint with short backsplashes. Weigh your cooking style, budget, and design goals, and the 4 inch backsplash may prove to be the smart, understated choice for your kitchen.