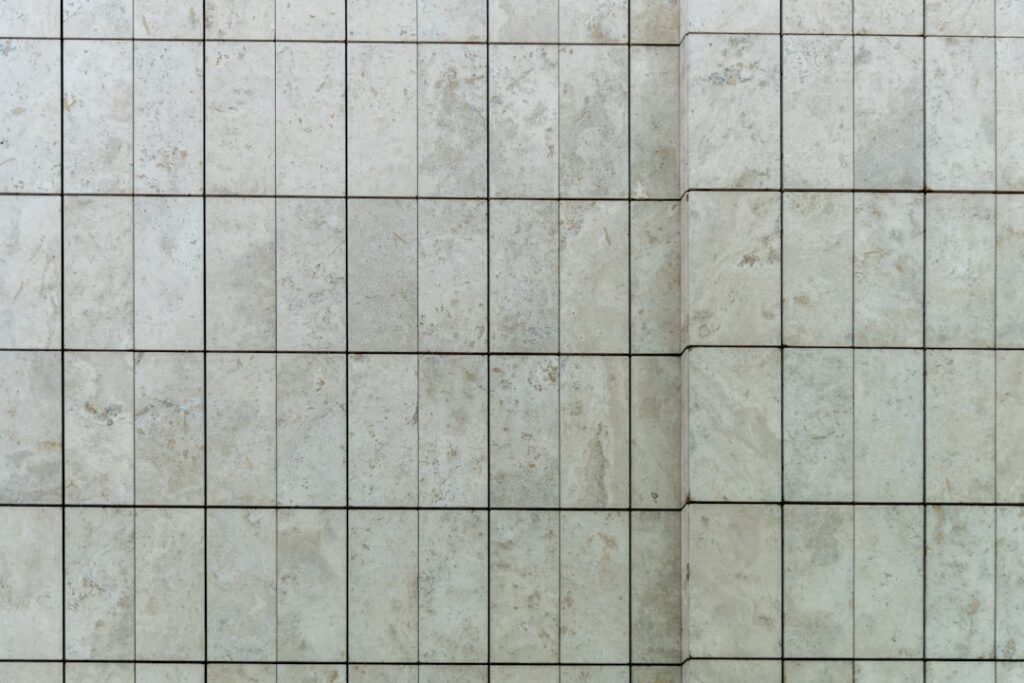
The classic 3-by-6 subway shape gets all the attention, but 4×10 subway tile has quietly become the format designers reach for when they want the same clean, timeless look with a more current, upscale feel. At 4 inches tall and 10 inches wide, this elongated rectangle cuts down on grout lines, stretches walls visually, and reads as intentional and modern rather than builder-standard. If you love the subway idea but want your project to look a step above the ordinary, this is the size to consider.
This guide covers what makes the 4×10 format different, the layouts that suit it, grout and material choices, real costs, and the rooms where it performs best. By the end you will know whether this proportion fits your project and how to install it for a polished result.
Why Choose the 4×10 Format
The appeal comes down to proportion and grout. A 4×10 tile covers about 2.3 times the area of a 3×6, so you set fewer pieces and end up with fewer grout joints. That means a cleaner, calmer wall and less grout to maintain over time. The elongated 2.5:1 ratio also draws the eye horizontally, which makes a room feel wider and a backsplash feel more expansive.
Compared to the busy, traditional feel of small subway tile, 4×10 subway tile lands in a sweet spot between classic and contemporary. It keeps the recognizable brick-lay heritage while feeling fresh, which is why you see it in magazine kitchens and boutique-hotel bathrooms. If you want the safety of a proven look without the risk of it feeling dated in five years, this format ages gracefully.
Best Layout Patterns for 4×10 Tile
Because the tile is long, layout choice has an outsized effect on how balanced the finished wall looks. Some patterns that work fine on a 3×6 create problems at 10 inches wide.
Third Offset (33 Percent)
This is my go-to for 4×10. Shifting each row by one-third of the tile length avoids the sagging “smile” line that a 50 percent offset creates on long tiles, where the center of one tile lines up with the joint below and the eye reads a droop. A one-third or one-quarter offset keeps the pattern crisp.
Vertical Stack
Standing the tiles upright in straight columns makes a low ceiling feel taller and delivers a clean, modern grid. This works beautifully in showers and behind floating vanities.
Straight Stack (Grid)
Aligning tiles in a perfect horizontal-and-vertical grid is the most contemporary option and shows off the elongated shape. It demands a dead-flat wall and precise spacing, since any drift is obvious with no offset to hide it.
Grout Choices That Make or Break the Look
With fewer grout lines, each one carries more visual weight, so color choice matters even more than with small tile. A grout that matches the tile creates a seamless, spa-like field, while a contrasting grout turns the elongated shape into a bold graphic statement.
For a soft, high-end kitchen backsplash, pair white 4×10 tile with a bright white or pale gray grout for a nearly monolithic surface. For a more architectural look, a warm gray or greige grout defines each tile without the harshness of black. Keep grout joints tight, around 1/16 inch, to reinforce the sleek, modern intent of the format. In wet or greasy zones, choose a stain-resistant epoxy or urethane grout so the wider joints stay clean.
Materials and What They Cost
4×10 subway tile comes in several materials, each with its own price and personality.
- Glazed ceramic — $3 to $9 per square foot, the most common and easiest to cut and clean.
- Porcelain — $5 to $12 per square foot, denser and better suited to high-moisture areas.
- Glass — $12 to $30 per square foot, luminous and reflective but requires careful setting.
- Handmade or zellige-style — $15 to $40 per square foot, with subtle color variation and an artisan face.
Installed, expect $12 to $25 per square foot for a standard ceramic backsplash and more for glass or handmade tile. A 30-square-foot backsplash typically lands between $400 and $750 with a professional, or roughly $150 to $350 in materials for a capable DIYer. Order 10 to 15 percent extra to cover cuts and future repairs, since matching a discontinued tile later is nearly impossible.
Where 4×10 Subway Tile Works Best
This format is a wall tile first. It excels as a kitchen backsplash, where its horizontal sweep pairs naturally with the run of a counter. Shower surrounds are another strong fit, especially in a vertical stack that emphasizes height. It also makes a refined fireplace surround, powder-room accent, or laundry-room feature wall.
Avoid using standard glazed 4×10 tile on floors. Most are rated for walls only and carry a slip rating unsuited to foot traffic. If you want a coordinated floor, choose a matching porcelain floor tile with a matte, textured finish rated for the space. Keep the wall tile on the walls and the format will reward you with years of easy, good-looking service.
Installation Tips for a Clean Result
Long tiles are less forgiving than small ones, so preparation pays off. Start by confirming the wall is flat within 1/8 inch over 10 feet, since any bow shows up as lippage where one tile edge sits proud of its neighbor. Use a self-leveling underlayment or float the wall if it is out of plane.
- Snap a level reference line and dry-lay a row to plan your cuts, aiming to avoid slivers at the ends.
- Comb a quality thinset with a 1/4-inch square-notch trowel and back-butter each tile to prevent hollow spots under the long body.
- Use 1/16-inch spacers and tile-leveling clips to fight lippage across the wide faces.
- Let the thinset cure 24 hours, then grout, clean the haze, and seal after 72 hours.
Back-buttering is the step DIYers skip most, and it is the one that prevents cracks and hollow-sounding tiles down the road. Take the extra minute per tile and the wall will last decades.
Common Mistakes to Avoid
The number one error with this format is choosing a 50 percent offset out of habit. On a 10-inch-wide tile, that half-brick pattern creates a visible sag down the middle of each course, and once you see it you cannot unsee it. Stick with a one-third offset, a one-quarter offset, or a clean stack, and the wall stays crisp.
The second common misstep is skipping substrate prep. Long tiles telegraph every hump and dip in the wall as lippage, where adjacent edges sit at different heights and catch the light. Homeowners also tend to underorder, forgetting that cuts and breakage eat into coverage, then discover mid-project that the dye lot has changed. Buy all your tile from a single lot up front, and set aside a few spare pieces in the garage for future repairs. Finally, do not neglect edge trim: a metal Schluter edge or a matching bullnose turns an exposed outside corner from raw and unfinished into a deliberate detail.
Is 4×10 Subway Tile Right for You
If you want a proven, timeless look with a modern edge and less grout to maintain, 4×10 subway tile is one of the smartest choices in the category. It flatters kitchens and baths, reads as high-end, and works in a range of budgets from affordable ceramic to artisan handmade. Nail the flat substrate, choose a one-third offset or clean stack, and be deliberate about grout color, and you will end up with a wall that looks custom and stays in style far longer than trend-chasing alternatives.
Prefer to explore on your own?
See how new flooring looks in your actual room in seconds — free, no signup.
Try the free Floor Studio →