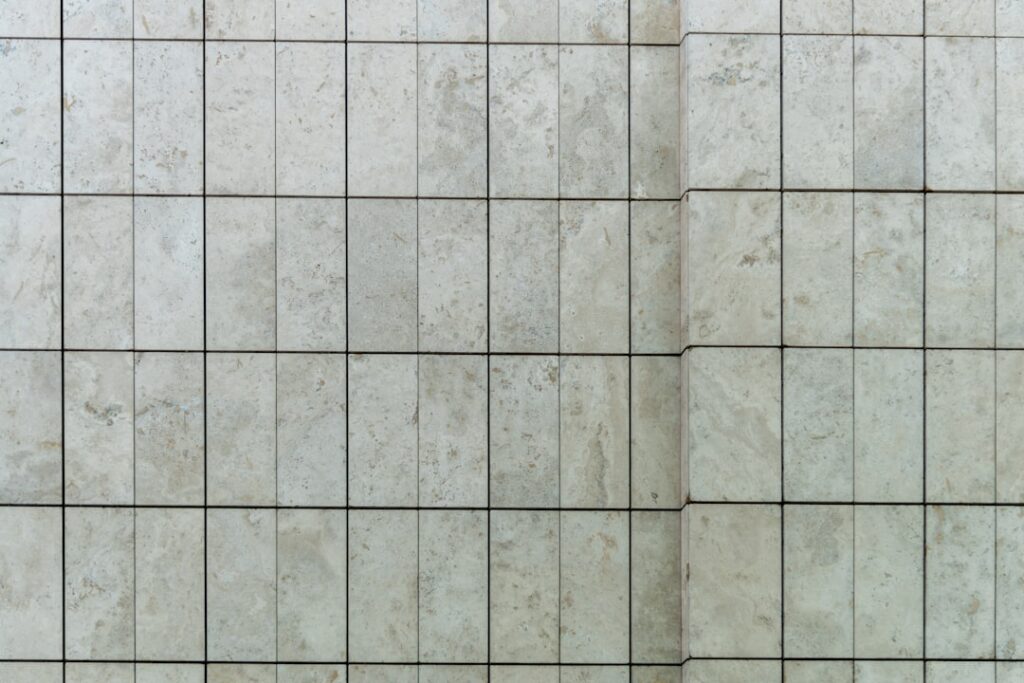
The classic 3×6 subway tile has ruled kitchens and bathrooms for a decade, but a slightly larger cousin is quietly taking over higher-end projects. A 4×8 tile keeps the familiar rectangular subway proportion while offering a cleaner, more contemporary scale with fewer grout lines. That single change makes a wall look calmer and more custom, and it is one of the easiest ways to signal quality without spending on exotic materials.
Part of our Tile & Grout guide — explore the full guide →
Whether you are planning a backsplash, a shower surround, or a feature wall, this guide covers everything you need to know about designing with and installing the 4-by-8-inch format.
What Makes 4×8 Tile Different
At 4 inches tall and 8 inches wide, this tile shares the same 1:2 ratio as traditional subway tile, so it drops into the same layouts. The difference is scale. A 4×8 covers nearly double the area of a 3×6, which means about 40 percent fewer grout joints across a given wall. Fewer joints read as a more seamless, upscale surface and cut down on grout cleaning over the years.
The format comes in ceramic, porcelain, glass, and natural stone, with finishes ranging from glossy to matte to hand-molded with subtle waves. That range lets a 4×8 tile fit a farmhouse kitchen or a sleek modern bath equally well.
Best Places to Use 4×8 Tile
This size shines anywhere a subway look works but where you want something a little more current. Its proportions flatter both large and small spaces.
- Kitchen backsplash: The larger face fills the space between counter and cabinets with fewer courses.
- Shower and tub surrounds: Fewer grout lines mean less grout to seal and scrub in a wet area.
- Accent and feature walls: A stacked or vertical layout turns a plain wall into a focal point.
- Fireplace surrounds: Heat-rated ceramic or porcelain handles the warmth while looking crisp.
Popular Layout Patterns
The way you set a 4×8 tile changes the entire feel of the room. The same tile can look traditional or thoroughly modern depending on the pattern.
Standard Running Bond
Offsetting each row by 50 percent gives the timeless brick-lay look. With a 4×8, designers often reduce the offset to one-third to avoid the “lippage” that longer tiles can show at the center of each piece.
Vertical Stack
Standing tiles on end in perfectly aligned columns creates a tall, contemporary grid that visually raises a low ceiling. This is a favorite in modern bathrooms.
Herringbone
Angling 4×8 pieces into a herringbone weave produces a dynamic, high-end pattern. It uses about 10 to 15 percent more tile due to cuts, so buy extra.
Choosing Grout Color
Grout is not an afterthought with this format because the joints define the pattern. A matching grout, such as a soft white with white tile, makes the wall read as one continuous surface and hides the grid. A contrasting grout, like charcoal against white, celebrates the geometry and gives that trendy, defined-line look. For a middle path, a warm gray grout softens contrast while still showing the pattern. Whatever you choose, seal cement grout after it cures to keep it from staining.
Cost of 4×8 Tile
Pricing tracks closely with material and finish rather than size. Understanding the ranges helps you budget the full project, not just the tile.
- Ceramic: $2 to $6 per square foot, the most budget-friendly option.
- Porcelain: $4 to $10 per square foot, denser and more durable.
- Glass: $10 to $25 per square foot, luminous but requires careful installation.
- Natural stone: $8 to $20 per square foot, each piece unique.
Add $8 to $15 per square foot for professional installation, more for intricate patterns like herringbone. A typical 30-square-foot kitchen backsplash in mid-grade porcelain lands around $500 to $900 installed.
Installation Tips
Longer tiles are less forgiving of an uneven wall because any dip shows up as lippage, where one tile edge sits proud of its neighbor. A few habits keep the surface flat and crisp.
- Check the wall for flatness and skim or float any low spots before you start.
- Use a leveling clip system to hold adjacent edges in plane while the mortar sets.
- Back-butter each tile for full coverage, especially on floors and showers.
- Limit the offset to one-third rather than one-half to minimize visible lippage.
- Use tile spacers sized to your grout plan, commonly 1/16 to 1/8 inch.
Let the mortar cure at least 24 hours before grouting, and give sealed natural stone extra time before it sees water.
How Much 4×8 Tile to Buy
Estimating quantity keeps you from the frustration of running short of a dye lot mid-project. Each 4×8 tile covers 32 square inches, so it takes about 4.5 tiles to cover one square foot. To plan a purchase, measure the wall or floor area in square feet, then add a waste allowance on top.
- Straight running bond: add 10 percent for cuts and breakage.
- Diagonal or herringbone: add 15 percent for the extra angled cuts.
- Complex walls with niches or windows: add up to 20 percent.
Buy it all at once so every box shares the same production batch. Tile color and finish vary slightly between dye lots, and a mismatched box bought later can stand out on a finished wall.
Common Design Mistakes to Avoid
A few missteps trip up first-time buyers of this format. Choosing a glossy finish for a busy floor invites scratches and slipping, so save gloss for walls and pick matte or textured for floors. Skipping a leveling clip system on a long tile almost guarantees visible lippage. And forgetting to account for the reveal at outside corners, where a metal trim profile or a mitered edge gives a far cleaner finish than a raw glazed edge, leaves the installation looking unfinished. Plan those details before the mortar comes out and the whole job looks more custom.
Maintenance and Longevity
Glazed ceramic and porcelain wipe clean with mild soap and water and resist stains without sealing. The grout is the part that needs attention: seal it once a year in wet areas to prevent mildew and discoloration. Natural stone 4×8 tile needs a penetrating sealer on both the tile and the grout, reapplied every 6 to 12 months depending on use. With that light upkeep, a properly installed wall will look sharp for 20 years or more.
4×8 Tile vs. Other Subway Sizes
It helps to see where this format sits against its rivals so you can choose with confidence. Each size carries a slightly different feel and installation cost.
- 3×6 (classic subway): The most traditional and lowest cost, but the busiest with the most grout lines.
- 4×8: A cleaner, more upscale version of the same proportion, with roughly 40 percent fewer joints.
- 4×12: Longer and more dramatic, great for horizontal emphasis but more prone to lippage.
- 2×8: A skinny, modern look that leans contemporary and industrial.
Among these, the 4×8 tile strikes the most balanced note. It updates the beloved subway shape without swinging into a trendy extreme, which is why it has become a designer favorite for kitchens and baths that need to look good for the long haul.
Is 4×8 Tile Right for Your Project
If you love the subway aesthetic but want something that feels a step above the standard, the 4×8 format is a smart, low-risk upgrade. It works with the layouts you already know, comes in every material and price point, and delivers a cleaner surface with less grout to maintain. For homeowners chasing a modern-classic look that will not feel dated in five years, a 4×8 tile hits the sweet spot between timeless and current, and it does so without stretching the budget.
Prefer to explore on your own?
See how new flooring looks in your actual room in seconds — free, no signup.
Try the free Floor Studio →