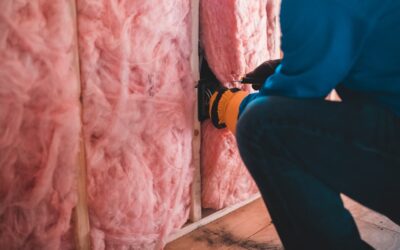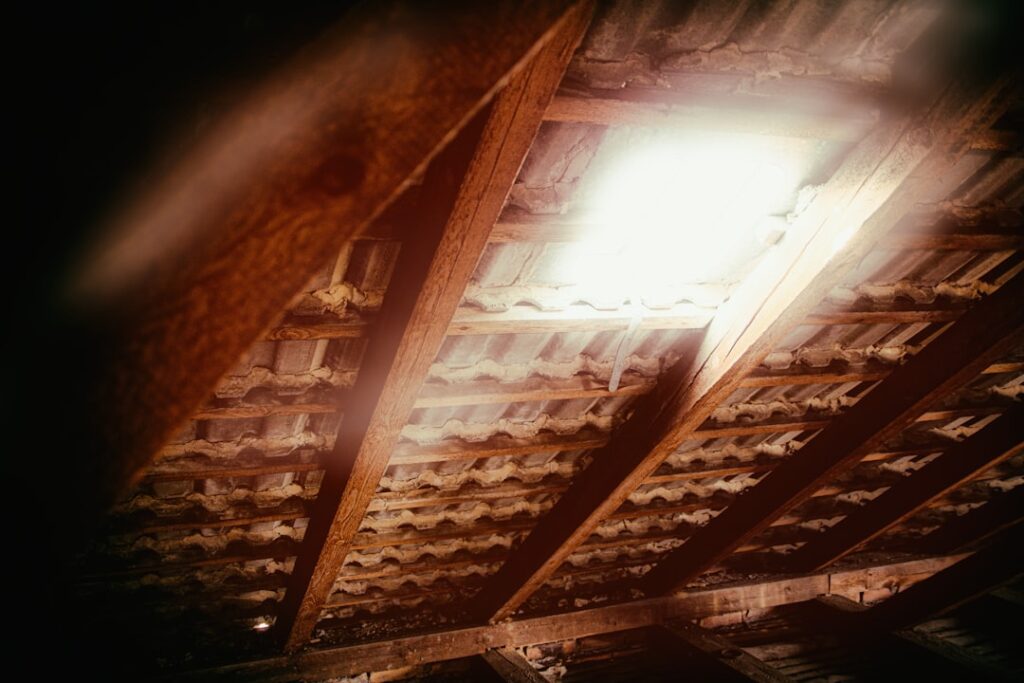
Attic ceiling insulation is the highest-payback energy upgrade most homeowners can make, because heat rises and your attic is where the biggest share of a home’s heating and cooling energy escapes. In winter, warm air leaks up through the ceiling and out the roof; in summer, a superheated attic radiates heat down into your living space, forcing your air conditioner to run harder. Adding or upgrading attic insulation slows that heat transfer in both directions, lowering energy bills, evening out temperatures between rooms and floors, and making the whole house more comfortable. It is also one of the most accessible projects, many homeowners can do it themselves, and it often pays for itself in just a few years. This guide covers the insulation types, recommended R-values, costs, the critical steps of air sealing and ventilation, and the mistakes that waste money and cause moisture problems.
Why the Attic Matters Most
The attic is the top of your home’s thermal envelope, and it is the easiest place to lose energy. The Department of Energy estimates that proper attic insulation and air sealing can save homeowners a meaningful chunk of their heating and cooling costs. Beyond the bills, good attic insulation:
- Keeps upstairs bedrooms from baking in summer or freezing in winter.
- Reduces ice dams in cold climates by keeping the roof deck colder.
- Improves comfort and reduces drafts.
- Lets your HVAC system run less, extending its life.
Types of Attic Insulation
You have several material choices, each with strengths:
- Blown-in (loose-fill) fiberglass or cellulose: The most common attic insulation. A machine blows loose material to fill the attic floor evenly, getting into odd cavities and around obstacles. Cellulose (recycled paper) has a slightly higher R-value per inch and is denser; fiberglass is lighter and does not settle as much. Blown-in is fast and ideal for topping up existing insulation.
- Fiberglass batts: Pre-cut rolls laid between joists. Cheap and DIY-friendly, but they leave gaps if not fitted carefully and are best where joist bays are clear and standard.
- Spray foam: Expanding foam that air-seals and insulates in one step. Open-cell and closed-cell versions offer high performance and can be applied to the attic floor or the underside of the roof deck (creating a conditioned attic). It is the most expensive option and usually professionally installed.
- Mineral wool: Fire-resistant and good for sound, used in batt or loose-fill form.
How Much Insulation You Need (R-Value)
R-value measures resistance to heat flow, and attics need a lot of it. The Department of Energy recommends attic insulation levels of roughly R-38 to R-60 for most US homes, depending on climate zone. In practical terms:
- Warm southern climates: around R-30 to R-49.
- Mixed climates: around R-38 to R-60.
- Cold northern climates: R-49 to R-60.
In depth, R-49 of blown fiberglass is roughly 16 to 18 inches deep, and cellulose a bit less. If your existing insulation is below the top of the ceiling joists (a common sign of an under-insulated older home), you almost certainly benefit from adding more. When topping up, use unfaced material so you do not create a second vapor retarder.
Air Sealing Comes First
The single most important and most overlooked step is air sealing before you add insulation. Insulation slows heat conduction, but it does not stop air leaks, and air moving through gaps carries far more energy (and moisture) than conduction alone. Before insulating, seal:
- Gaps around recessed lights (use IC-rated fixtures or airtight covers), plumbing stacks, wiring penetrations, and the attic hatch.
- The top plates of interior walls and any chases or dropped soffits open to the attic.
- Around chimneys and flues, using metal flashing and high-temperature sealant, never foam, next to hot flue pipes.
Use caulk and expanding foam for small gaps and fire-rated materials near heat sources. Air sealing plus insulation together deliver far more savings than insulation alone. Skipping it is the biggest mistake homeowners make.
Do Not Forget Ventilation
A properly vented attic needs airflow from the soffit vents up to the ridge or roof vents to carry away heat and moisture. When you add insulation, it is easy to accidentally bury and block the soffit vents at the eaves, which traps moisture and can cause mold and rot. Install baffles (rafter vents) at the eaves to keep an air channel open between the insulation and the roof deck. Maintaining that soffit-to-ridge airflow is essential in a traditional vented attic. (Spray-foamed roof-deck assemblies create an unvented conditioned attic and follow different rules.)
What Attic Insulation Costs
Costs depend on the material, the R-value target, and your attic’s accessibility:
- Blown-in insulation (installed): roughly $1.50 to $3.50 per square foot.
- Batts (installed): roughly $1.00 to $2.50 per square foot.
- Spray foam (installed): roughly $3 to $7+ per square foot, the priciest option.
- Typical attic top-up job: often $1,500 to $4,500 professionally.
DIY blown-in insulation is very achievable, home centers often lend or rent the blower machine free with a bulk bag purchase, and can cut costs significantly. Federal and utility energy-efficiency rebates and tax credits frequently apply to attic insulation, so check current incentives, which can offset a large share of the cost.
DIY vs. Hiring a Pro
DIY is realistic for blown-in top-ups and batts if you are comfortable working in a hot, cramped attic, can move safely on the joists (never step between them onto the ceiling), and take air sealing seriously. Hire a pro for spray foam, for attics with knob-and-tube wiring, suspected asbestos, or existing moisture and mold, or if your attic is difficult to access. Professionals also do a more thorough air-sealing job and can identify problems you might miss.
Common Mistakes to Avoid
- Adding insulation without air sealing first, leaving air leaks that waste much of the benefit.
- Blocking soffit vents, trapping moisture and inviting mold; always use baffles.
- Compressing insulation, which reduces its R-value; loose-fill should stay fluffy.
- Burying non-IC-rated recessed lights, a fire hazard; use IC-rated fixtures or airtight covers.
- Putting faced insulation over existing insulation, creating a moisture-trapping double vapor retarder.
- Stepping between joists and falling through the ceiling, always walk on the framing or lay boards.
- Insulating over a wet or moldy attic without fixing the moisture source first.
Signs Your Attic Needs More Insulation
Many homeowners do not realize how under-insulated their attic is until they look, or until the symptoms add up. A few reliable signs that your attic needs attention: rooms that are hard to keep comfortable, especially upstairs bedrooms that bake in summer and chill in winter; heating and cooling bills that climb year over year; uneven temperatures between floors; and, in cold climates, ice dams, those ridges of ice that form at the roof edge when heat escaping through the ceiling melts snow that refreezes at the cold eaves. Any of these points to heat moving through the attic floor when it should be blocked.
The simplest check is to look. Go into the attic and eyeball the insulation depth relative to the ceiling joists, which are typically 2×8 to 2×12, roughly 8 to 12 inches deep. If the insulation is level with or below the top of the joists, you are likely well under the recommended R-38 to R-60 and would benefit from adding more. Insulation that looks thin, patchy, dirty (dark streaks often indicate air leaking through), or compressed is a candidate for topping up. Homes built before modern energy codes are especially likely to be under-insulated.
A professional energy audit takes the guesswork out. An auditor uses a blower-door test to measure air leakage and often infrared cameras to reveal exactly where heat is escaping, then recommends a targeted plan of air sealing and insulation. Many utilities offer these audits free or at low cost, and some tie rebates to completing the recommended work. Given how much the attic drives whole-home comfort and energy use, an audit is often the best first dollar you can spend before deciding how much insulation to add and where.
Attic ceiling insulation delivers some of the best comfort and energy savings per dollar of any home improvement, and it is well within reach of a motivated DIYer or a modest professional budget. The winning formula is simple: air seal the leaks first, keep the soffit-to-ridge ventilation clear with baffles, and then build up to your climate’s recommended R-value with unfaced blown-in or batt insulation. Do it right and you will feel the difference in every season, notice it on your energy bills, and protect your roof and attic from moisture for years to come.