
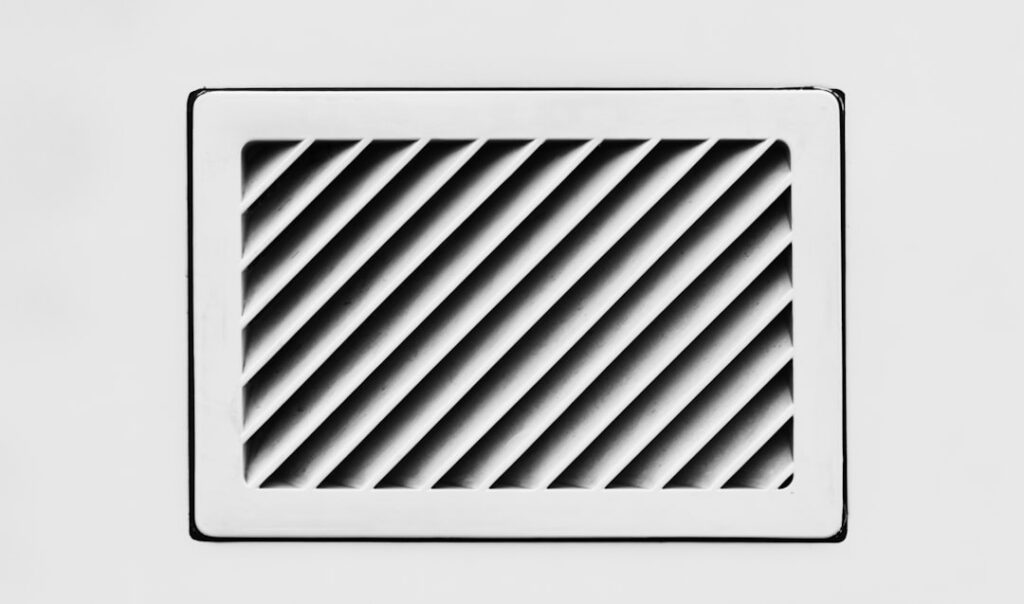
It is the small detail hiding in plain sight on your ceiling, and a grimy, cracked, or yellowed bathroom exhaust fan cover can drag down an otherwise clean bathroom. This grille does more than hide the fan motor; it directs airflow and keeps larger debris out of the housing. The good news is that removing, cleaning, or replacing one is among the easiest home projects there is, usually done in minutes with no tools beyond a step stool. Here is everything you need to know.
Part of our Bathroom Remodeling & Flooring guide — explore the full guide →
- What the Cover Does
- How to Remove the Cover
- Cleaning a Dirty Cover
- When to Replace Instead of Clean
- Finding the Right Replacement Size
- Installing the New Cover
- Common Mistakes to Avoid
- Keeping It Maintained
- Upgrading to a Decorative or Functional Cover
- Troubleshooting a Cover That Won’t Stay Up
- When the Cover Isn’t the Real Problem
What the Cover Does
The exhaust fan cover, also called the grille or louver, is the visible plastic or metal panel over your bathroom vent fan. It conceals the fan motor and wiring for a finished look, protects the mechanism from dust and larger objects, and shapes the airflow as the fan pulls humid air up and out. Over time it collects a felt-like layer of dust and lint drawn in by the fan, which restricts airflow and makes the fan work harder. Some covers also house a light or nightlight. Keeping the cover clean and intact directly affects how well your fan clears moisture.
How to Remove the Cover
Most fan covers attach one of two simple ways. The vast majority use spring clips: two stiff metal wire clips that squeeze into slots in the fan housing. To remove this type, gently pull the cover straight down a couple of inches until you see the V-shaped or U-shaped wire clips on either side, pinch each clip together to release it from its slot, and lower the cover away. Other covers use small screws or twist-lock tabs. Before touching anything, it is smart to switch off the fan (and the light circuit if the cover includes a light) at the wall or breaker.
Cleaning a Dirty Cover
A caked-on cover is one of the most common causes of a weak-feeling fan. To clean it:
- Remove the cover as described above.
- Vacuum off the loose dust with a brush attachment.
- Soak the cover in warm water with a little dish soap for several minutes to loosen grime.
- Scrub with a soft brush or old toothbrush, getting into the louver slots.
- Rinse thoroughly and let it dry completely before reinstalling.
While the cover is off, vacuum the visible dust from the fan blades and housing and wipe the motor area with a dry cloth (power off). This simple cleaning, done a couple of times a year, restores airflow and quiets a straining fan.
When to Replace Instead of Clean
Sometimes cleaning is not enough. Replace the cover if it is cracked or broken, permanently yellowed or stained, warped so it no longer sits flush, missing clips, or simply an outdated style you want to refresh. A new cover instantly brightens the ceiling and is far cheaper than a whole new fan. Cracked plastic covers are especially common in older bathrooms where heat and age have made the plastic brittle. Since a replacement grille costs only a few dollars, swapping it is an easy upgrade whenever the old one looks tired.
Finding the Right Replacement Size
The key to a smooth swap is matching the new cover to your fan. Two approaches work:
- Match the brand and model: Look for a model number stamped on the fan housing or the old cover, and buy the exact replacement grille from that manufacturer (Broan, NuTone, Delta, and Panasonic sell them).
- Buy a universal cover: Universal or “fits most” grilles use adjustable spring clips that flex to fit a range of housing openings, handy when you cannot identify the brand.
Measure the housing opening (the hole in the ceiling), not just the old cover’s outer flange, since the clips must catch inside that opening. Most residential fans use openings around 7 to 8 inches, and covers overlap the ceiling by an inch or two on each side.
Installing the New Cover
Installation reverses removal and is just as easy. For spring-clip covers, pinch the two wire clips together and insert their ends into the matching slots inside the fan housing, then push the cover up toward the ceiling; the springs expand into place and hold the grille flush. Make sure the cover seats evenly against the ceiling with no gaps. For screw-mount or twist-lock covers, align and secure per the design. If the cover includes a light, reconnect any bulb socket before seating it. Restore power and test the fan and light.
Common Mistakes to Avoid
A few missteps cause headaches. Forcing a cover that does not fit the housing opening can crack the plastic or leave it loose; always match the opening size. Reinstalling a cover before it has fully dried after washing traps moisture and streaks. Bending the spring clips too aggressively can weaken them so the cover sags. Forgetting to vacuum the fan blades while the cover is off wastes the opportunity to fully restore airflow. And leaving power on when a light is involved risks a shock. Take a minute to size correctly, dry fully, and cut power, and the job goes flawlessly.
Keeping It Maintained
To keep your fan performing and the cover looking fresh, add a quick clean to your seasonal routine. Every three to six months, pull the cover, vacuum it and the fan, wash the grille if needed, and reinstall. This small habit prevents the heavy buildup that strains the motor, keeps humidity clearing efficiently to protect against mold, and means your fan cover never reaches the grimy, yellowed state that prompts a replacement in the first place. A clean, intact cover is a small thing that keeps your whole bathroom feeling well kept.
Upgrading to a Decorative or Functional Cover
A cover swap is a chance to upgrade, not just replace. Beyond the standard flat white louvered grille, you can find decorative covers that dress up the ceiling, including designs with subtle patterns, square modern profiles, and low-profile flush styles that sit nearly flat. Some replacement covers add real function: grilles with an integrated LED light turn a plain fan into a fan-and-light combo, and covers with a built-in nightlight cast a soft glow for late-night trips. There are even decorative vent covers meant to blend into the ceiling nearly invisibly. When choosing a functional upgrade, confirm your fan’s wiring supports the added light and that the cover’s electrical connection matches your setup, or keep it simple with a purely cosmetic grille.
Troubleshooting a Cover That Won’t Stay Up
A common frustration is a cover that keeps sagging or falling out of the ceiling. This almost always traces to the spring clips: they may be bent, weakened, or not seated in the housing slots. Try gently bending the wire clips outward to increase their tension so they grip the housing more firmly, being careful not to overbend and snap them. Make sure each clip’s ends are fully inserted into the correct slots inside the fan housing, not just resting against the side. If the housing slots themselves are broken or the opening is oversized, a universal cover with adjustable, extra-strong clips or a slightly larger flange will bridge the gap. In stubborn cases, a small dab of removable mounting putty on the flange corners holds a light cover flush without permanent attachment.
When the Cover Isn’t the Real Problem
Sometimes a homeowner blames the cover when the fan itself is the issue. If your fan is loud, weak, or barely clearing steam even after you clean the grille and blades, the motor or the ductwork may be at fault. A grinding or rattling noise often means worn motor bearings, signaling that the whole fan unit is near the end of its life and due for replacement. Poor airflow despite a clean cover can indicate a crushed, disconnected, or improperly vented duct, or a fan that was undersized for the room to begin with. In those cases, a new cover only masks the symptom. Diagnose whether you truly need a cover, a full fan replacement, or duct repair before spending money, so you fix the actual cause rather than just the visible part.
Whether you are cleaning a dusty grille or swapping a cracked one for a crisp new panel, the bathroom exhaust fan cover is one of the simplest, most satisfying upgrades in the house. Match the housing opening, clean or replace as needed, and mind the power if there is a light, and you will have a fresh ceiling and a fan that breathes freely in just a few minutes.


