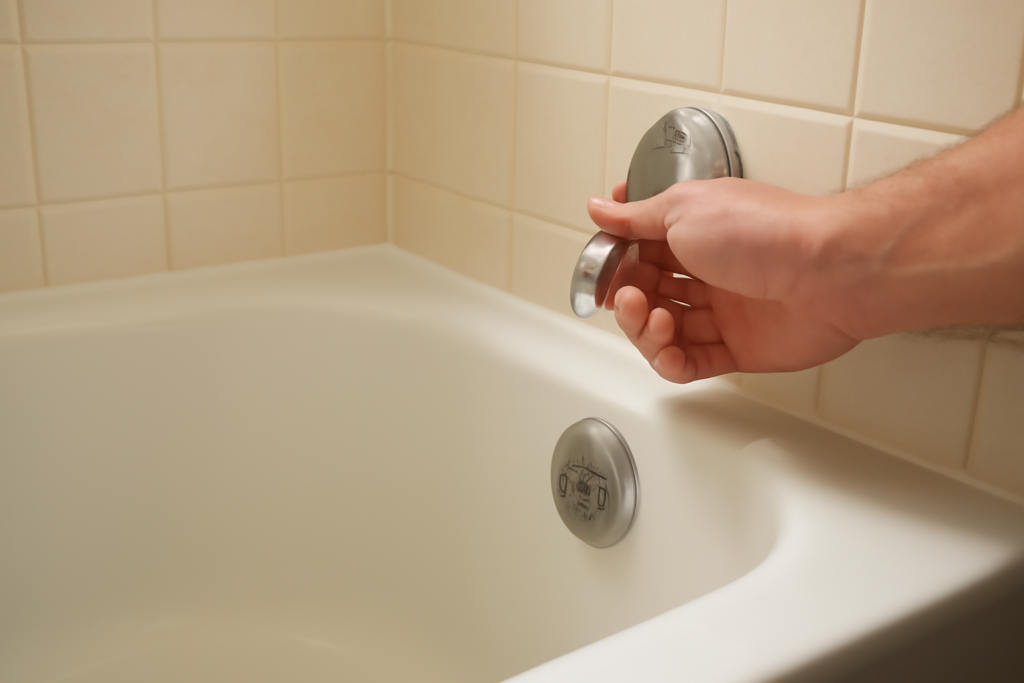
That little chrome flip switch on the overflow plate of your bathtub controls a 60-year-old mechanical system that almost nobody understands until something breaks. The bathtub trip lever connects to a brass linkage inside the overflow tube and either drops a plunger into the drain or lifts a stopper at the bowl. When the tub will not hold water or the drain refuses to open, the trip lever assembly is almost always the culprit. Replacing the whole kit takes 20 minutes and costs about $25.
Part of our Bathroom Remodeling & Flooring guide — explore the full guide →
How the Mechanism Works
Two trip lever styles dominate American homes. Knowing which one you have determines what to buy and how to fix it.
- Plunger style — flipping the lever lowers a brass weight inside a vertical tube; the weight blocks the drain channel below the tub but never touches the visible drain opening
- Pop-up style — flipping the lever pulls the brass linkage upward, which raises the spring that holds the visible stopper in the drain bowl
Plunger systems are more common in homes built before 2000. Pop-up systems are standard in modern construction because they are easier to clean and look better. Both attach to the same overflow plate behind the same chrome lever, so the visible parts look identical.
Common Symptoms and What They Mean
Before pulling anything apart, match the symptom to the likely failure point.
- Tub will not hold water — plunger weight is missing, linkage too short, or stopper seal worn
- Lever flops loose with no resistance — the linkage rod has come unscrewed from the lever arm
- Lever is stiff or stuck — corrosion or hair wrapped around the linkage
- Drain stays closed and water will not empty — plunger jammed or pop-up stopper stuck open
- Slow drain even with lever open — gunk on the linkage or in the drain shoe
The first three are mechanical issues with the trip lever itself. The last two can be either the trip lever or a downstream drain clog, so test with a snake before assuming the lever is at fault.
Tools You Need
Replacing a trip lever kit needs only basic hand tools. Round these up before starting.
- Phillips screwdriver, ideally #2
- Needle-nose pliers
- Old toothbrush and denatured alcohol for cleanup
- Replacement trip lever assembly matched to your tub style
- Plumber’s putty or silicone for the overflow plate gasket
- Flashlight to inspect the inside of the overflow tube
Removing the Old Assembly
Start at the overflow plate, the chrome cover with the lever screwed to the back wall of the tub above the drain.
Use a Phillips screwdriver to back out the two screws holding the plate to the tub. Pull the plate away from the wall slowly — the entire linkage rises with it. The whole assembly is one continuous piece: the lever attaches to a horizontal pivot, which connects to a vertical brass rod, which ends in either a weighted plunger or a spring connector.
If the lever pulls out easily and shows clean threads, the issue is corrosion or loose adjustment. If it comes out with hair, soap scum, or visible cracks in the brass, replacement is the right call.
Choosing a Replacement Kit
Brass trip lever kits sit on most hardware store shelves for $15 to $30. The Watco 901 is the long-running standard and fits roughly 80 percent of American tubs. The Danco 89236 is similar and slightly cheaper. Both come with adjustable linkage that fits overflow tubes ranging from 4 to 8 inches deep.
Match the style — plunger or pop-up — to whatever you removed. A pop-up kit will not work in a plunger drain because the visible stopper assembly is different. If the original was plunger style and you want the cleaner look of pop-up, you also need to replace the drain shoe and stopper at the bottom of the tub, which is a bigger job involving access to the drain from below.
Adjusting the Linkage Length
This step makes or breaks the install. Linkage that is too long stops the lever from fully tripping; linkage that is too short fails to seal the drain.
Start with the linkage at its longest setting. Insert the assembly into the overflow tube and screw the cover plate to the tub. Test by closing the lever — water should hold for at least an hour with no measurable drop. If it drains, shorten the linkage by one notch on the threaded rod and retest.
For pop-up systems, the stopper should sit flush with the drain bowl when closed and rise about half an inch when the lever is opened. Adjust until both positions look right. Most homeowners need three or four iterations to dial it in.
Sealing the Overflow Plate
The overflow plate has a foam or rubber gasket behind it that prevents water from seeping into the wall when the tub fills above the drain level. Inspect the old gasket; if it is brittle, cracked, or missing chunks, replace it with the new one in the kit.
Skip plumber’s putty on the gasket — it can degrade some rubber compounds. A thin bead of clear silicone around the perimeter is the modern standard. Press the plate firmly to the tub, drive the screws snug but not torqued, and let the silicone cure for 24 hours before filling the tub for a real test.
Hair and Gunk Maintenance
Even a brand-new assembly slows down within a year if hair wraps around the linkage. Most of the buildup forms at the bend where the horizontal lever arm meets the vertical rod.
Pull the assembly twice a year and clean it with denatured alcohol and a toothbrush. The job takes ten minutes and prevents 90 percent of trip lever failures. While you are in there, run a hair-catching tool down the drain to clear the trap. A 12-inch FlexiSnake or Drano Snake Plus costs about $5 and pulls out astonishing volumes of hair.
When to Call a Plumber
The trip lever itself is firmly DIY territory. Where it gets complicated is when the brass linkage breaks off inside the overflow tube and a piece falls down into the drain shoe. Retrieving it usually requires opening the wall behind the tub or pulling the drain from below, which means cutting access through a basement ceiling or crawl space.
If you face that scenario, get a plumber. The hour of labor — usually $120 to $200 — is far cheaper than the drywall and tile work that follows a botched fishing attempt. Otherwise, the bathtub trip lever job is one of the simpler bathroom repairs in the homeowner toolkit.