Few weekend projects add as much character for as little money as a bead board accent wall. That crisp pattern of narrow vertical planks separated by rounded grooves — the “bead” — brings instant farmhouse, cottage, or classic coastal charm to a flat, boring wall. Better still, it hides imperfect drywall, stands up to bumps and scuffs far better than paint alone, and can be installed by a determined homeowner in a day or two. This guide covers the panel options, how to plan the layout, the step-by-step installation, and the finishing details that separate a polished result from an obvious DIY job.
What Bead Board Is and Where It Shines
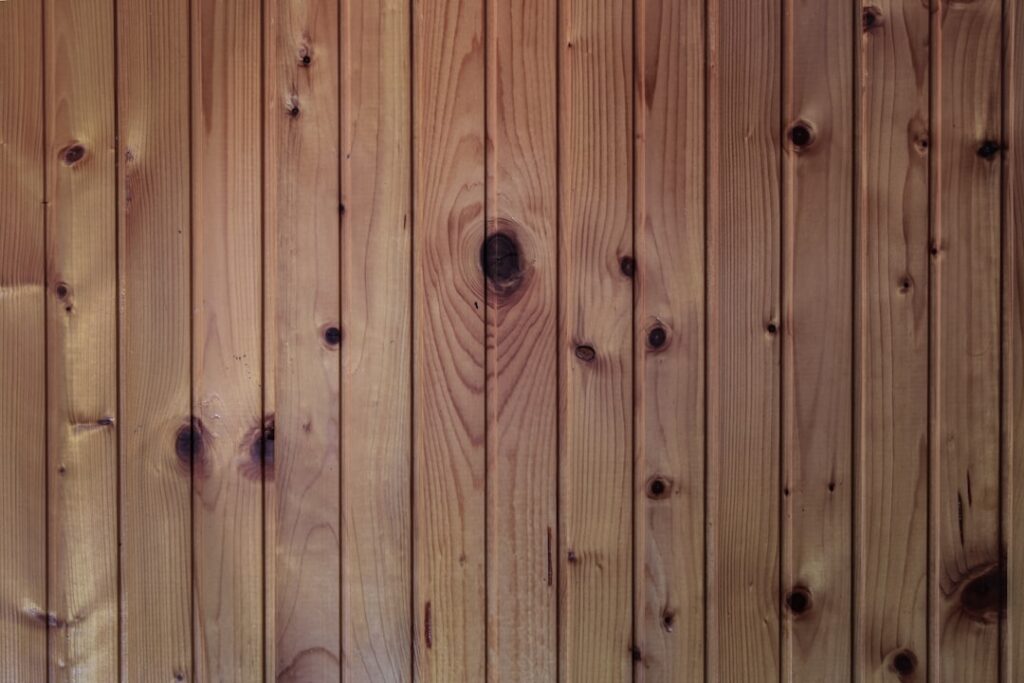
Bead board is a paneling style defined by evenly spaced vertical grooves running the height of the boards. It originated as tongue-and-groove plank paneling in old homes and porches, and today it comes in both individual planks and large sheet panels that mimic the look. The vertical lines draw the eye upward, making ceilings feel taller and rooms feel more finished.
It works almost anywhere, but it is especially at home in entryways, dining rooms, bathrooms, mudrooms, and bedrooms. As a full accent wall it makes a bold statement; as wainscoting on the lower third of the wall it adds a timeless, tailored detail. Because it takes abuse well, it is a smart choice for high-traffic zones like hallways and stair walls where painted drywall gets scuffed.
Choosing Your Bead Board Material
The material you pick affects cost, durability, and how the finished wall looks. There are three main routes:
- Sheet panels (MDF or plywood): Large 4-by-8-foot sheets with the bead pattern pressed or routed in. They are the fastest and cheapest option at roughly $20 to $40 per sheet, and they cover a wall quickly with few seams. MDF gives a smooth, paint-ready surface but hates moisture, so use moisture-resistant panels in bathrooms.
- Individual tongue-and-groove planks: Real wood planks that lock together for an authentic, dimensional look with genuine depth in the grooves. They cost more and take longer to install but deliver the most convincing result.
- PVC bead board: Waterproof plastic planks ideal for bathrooms, laundry rooms, and other damp areas where wood or MDF would swell.
For most first-time accent walls, MDF sheet panels hit the sweet spot of low cost, easy handling, and a smooth surface that paints beautifully.
Planning the Layout
A little planning prevents the most common mistakes. Decide first how much of the wall you want to cover — a full floor-to-ceiling accent, or wainscoting that stops at a chair-rail height around 32 to 36 inches. Then think about the beads themselves.
Measure your wall and dry-fit the panels or planks before nailing anything. You want to avoid ending with a sliver of a plank in the corner. If you are using sheet panels, plan where the seams will fall and try to place them where a piece of furniture or trim will disguise them. Sketch the wall on paper with your measurements so you know exactly how many sheets or planks to buy, adding about 10 percent for waste and cuts.
Tools and Materials You’ll Need
Gather everything before you start so you are not running to the store mid-project:
- Bead board panels or planks
- Construction adhesive (panel adhesive)
- Brad nailer or hammer and finish nails
- Circular saw or table saw for rip cuts, jigsaw for outlet cutouts
- Level, tape measure, and pencil
- Stud finder
- Caulk, wood filler, sandpaper, primer, and paint
- Trim: baseboard, cap rail, and any inside/outside corner pieces
Step-by-Step Installation
With planning done, the install goes quickly. Work methodically and check level often.
- Prep the wall: Remove baseboards and outlet covers, and turn off power to any outlets in the wall. Mark the stud locations.
- Cut to fit: Measure and cut panels to height, and cut openings for outlets and switches with a jigsaw.
- Apply adhesive: Run zig-zag beads of construction adhesive on the back of each panel.
- Set the first piece plumb: Press the first panel to the wall, check it dead plumb with a level — this reference piece sets every panel after it.
- Nail it home: Drive brad nails into the studs and along the grooves where nail holes hide easily.
- Continue across the wall: Butt or interlock each following piece, checking plumb as you go.
- Trim the edges: Add a cap rail on top, reinstall or upgrade the baseboard at the bottom, and finish corners with trim.
Finishing for a Professional Look
The finishing is what makes a bead board wall look built-in rather than tacked-on. Fill every nail hole with wood filler, sand it flush, and caulk all the seams — where panels meet, along the cap rail, at the baseboard, and in the corners. Caulk is the secret weapon here; those clean, filled lines are what read as craftsmanship.
Prime the entire wall, especially raw MDF edges, which soak up paint and swell if left unsealed. Then apply two coats of a durable paint. A satin or semi-gloss finish suits bead board best because it wipes clean and highlights the crisp grooves. Classic white and soft off-whites are timeless, but a moody navy, deep green, or charcoal turns the same wall into a dramatic modern feature.
How Much It Costs
One of bead board’s biggest draws is how affordable it is compared to other wall treatments. For a typical accent wall, the material cost is modest and the tools are ones many homeowners already own. Here is a rough breakdown for an average 8-by-10-foot wall:
- MDF sheet panels: two to three 4-by-8 sheets at $20 to $40 each, so roughly $60 to $120.
- Adhesive, nails, and caulk: about $30 to $50.
- Trim (cap rail, corners, baseboard): $30 to $80 depending on profile.
- Primer and paint: $40 to $70 for quality product.
All told, a DIY bead board accent wall usually lands between $150 and $300 in materials — a fraction of what paneling, tile, or a professional install would run. Individual tongue-and-groove planks push the cost higher, but even then the project remains one of the most budget-friendly upgrades in the home.
Wall Height and Where to Stop the Board
A key design decision is how high to run the bead board, because the stopping point sets the whole character of the wall. There is no single right answer, but there are proven proportions that look intentional rather than arbitrary.
For traditional wainscoting, stop the board at about one-third of the wall height — roughly 32 to 36 inches — and cap it with a chair rail. For a bolder, more modern look, run it two-thirds up the wall, around 60 inches, which feels fresh and gives the room more presence. And for maximum drama, take it floor to ceiling as a full accent wall. Whatever height you choose, keep the cap rail level all the way around and avoid stopping the board at an awkward spot like exactly halfway, which can look unresolved.
Design Ideas and Color Choices
Bead board flexes to fit many styles depending on how you finish it. Crisp white bead board wainscoting under a warm wall color gives that classic cottage or farmhouse feel. A full accent wall in a saturated color behind a bed or dining table reads as intentional and contemporary. Painting the bead board the same color as the surrounding trim creates a cohesive, tailored look, while a contrasting color makes it pop as the room’s focal point.
Consider the direction, too. Standard vertical bead board lifts the eye and heightens the room, but running it horizontally gives a more modern, shiplap-adjacent look. Match the choice to the effect you want.
Final Thoughts
A bead board accent wall delivers a huge return for a modest budget and a weekend of effort. Choose MDF sheet panels for speed and value, real tongue-and-groove for authenticity, or PVC for wet rooms. Plan your layout to avoid slivers in the corners, set that first panel perfectly plumb, and take the time to fill, caulk, and prime before painting. Do that, and you will end up with a durable, characterful wall that looks like it was part of the house from the day it was built.