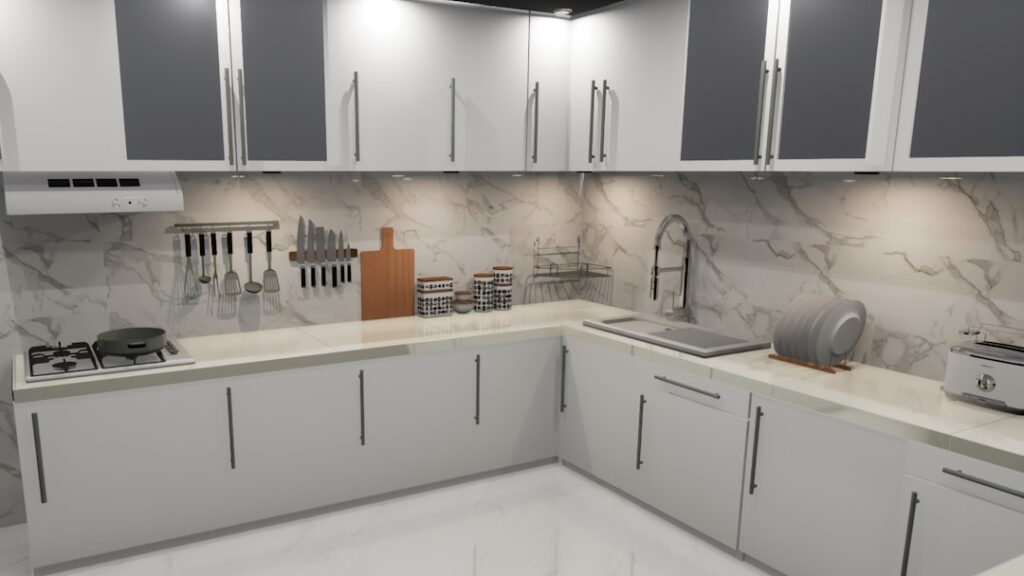
If you want cottage charm or a clean farmhouse look without gutting your kitchen, beadboard kitchen walls deliver more character per dollar than almost any other finish. I’ve installed beadboard in dozens of kitchens, from tight galley layouts to open great rooms, and the results hold up when you pick the right material and prep the surface correctly. This guide walks you through the types, where to run it, how to install it, and what you’ll actually spend.
Part of our Kitchen Remodeling guide — explore the full guide →
What Beadboard Actually Is
Beadboard is paneling with evenly spaced vertical grooves, called beads, milled every 1.5 to 2 inches. The look originated in 19th-century homes where individual tongue-and-groove boards were nailed up one at a time. Today you can still buy those individual planks, but most homeowners use 4×8 sheets that mimic the same profile in a fraction of the labor.
The bead spacing changes the feel of a room. Narrow 1.5-inch beads read as traditional and busy, while wider 3- to 4-inch “nickel gap” profiles look more modern and calm. Hold a sample on the wall before committing, because the scale reads very differently in person than it does in a store bin.
Beadboard Types: Panels vs Planks vs MDF vs PVC
Material choice matters more in a kitchen than anywhere else in the house because of grease, steam, and the occasional splash near the sink.
- Plywood or solid-wood planks: The most authentic and the most labor. Real wood tolerates a little moisture but must be sealed and primed on all sides. Expect $2.50 to $5 per square foot in material alone.
- MDF sheets and panels: Smooth, affordable, and paints beautifully at roughly $0.70 to $1.50 per square foot. The catch is that MDF swells permanently if it gets soaked, so keep it away from the sink splash zone and never use it as a primary backsplash.
- PVC and vinyl beadboard: Completely waterproof, wipeable, and ideal behind ranges or near sinks. It runs $1.50 to $3 per square foot and won’t rot, but it can look slightly plasticky up close, so reserve it for high-moisture spots.
- Polystyrene/foam panels: Lightweight peel-and-stick options exist for renters, but they dent easily and I rarely recommend them in a working kitchen.
Wainscoting vs Full Wall
Most kitchens look best with beadboard run as wainscoting, meaning it covers the lower portion of the wall and stops at a horizontal cap rail. The standard height is 32 to 36 inches, but two other heights work well: 48 inches for a bolder statement, or right up to the underside of the upper cabinets so the field cabinets appear to float on a paneled base.
Full-wall beadboard, running floor to ceiling, suits ceilings under 9 feet and reads as a true farmhouse or coastal style. On taller walls it can feel like a lot, so break it with a plate rail or stop it at a picture-rail line around 60 inches. Whatever height you choose, keep it consistent with door casing and window aprons in the room.
Using Beadboard as a Backsplash
Beadboard makes a charming backsplash, but only PVC or well-sealed solid wood belongs directly behind a sink or cooktop. The grooves trap grease, so plan on wiping it down more often than tile. Install a bead of clear silicone where the panel meets the countertop and seal every cut edge. Behind a range, keep combustible wood paneling at least the clearance distance your range hood and stove require, and consider a stainless or tile insert at the heat zone.
Installation Step by Step
This is a strong weekend DIY project if you own a brad nailer and a miter saw. Here’s the sequence I follow:
- Acclimate panels flat in the kitchen for 48 hours so they adjust to indoor humidity.
- Find and mark the studs, then snap a level line at your finished height.
- Cut panels to fit, accounting for outlets. Kill the power and box-extend any outlets so they sit flush with the new surface.
- Apply construction adhesive in a serpentine pattern, press the panel to the wall, and pin it with 1.5-inch brad nails into the studs.
- Add a base shoe at the floor and a cap rail or chair-rail molding at the top to hide the cut edge.
- Caulk all seams, fill nail holes, and sand smooth.
For an average 30-square-foot wainscot run, budget four to six hours start to finish.
Priming and Painting
Paint is where a cheap panel starts to look custom. Always prime first, even on pre-primed MDF, with a quality bonding primer. Use a 3/8-inch nap roller for the flat field and a 2-inch angled brush to drag paint into the beads, then immediately back-roll to avoid drips pooling in the grooves. Two finish coats of a scrubbable satin or semi-gloss enamel give you a surface you can wipe down. Bright white, soft greige, and muted sage are the most requested colors in kitchens right now.
Handling Moisture in a Kitchen
Kitchens swing between 40 and 70 percent humidity when you’re cooking, so manage that or your panels will telegraph it. Run the exhaust hood, seal every exposed edge, and leave a 1/4-inch gap at the floor for expansion hidden behind the base shoe. In a busy household, I lean toward PVC near the sink and reserve MDF for the dining-side walls where water rarely reaches.
What Beadboard Kitchen Walls Cost
For a DIY install, materials and supplies typically land between $3 and $7 per square foot once you add adhesive, trim, primer, and paint. Hiring a carpenter pushes the installed cost to roughly $7 to $15 per square foot depending on your region and how much trim detail you want. A typical 40-square-foot wainscot project therefore runs about $150 to $300 in materials, or $400 to $600 installed. Compared with tile, beadboard is one of the cheapest ways to add real architectural interest, and a well-painted run of beadboard kitchen walls can last 15 years or more before it needs a refresh.
Styles That Work
Beadboard flexes across more looks than people expect. Pair white wainscoting with butcher block and brass for farmhouse. Run a deep navy full wall behind open shelving for coastal. Use wide-bead PVC with a flat cap for a clean, transitional kitchen. The grooves are a neutral texture, so the color and the cap profile do most of the styling work for you.