A steep backyard is one of the most frustrating pieces of property a homeowner can inherit. You cannot put a patio on it, the kids cannot play on it, and every heavy rain sends mulch and topsoil sliding toward the house. The before and after sloped backyard retaining wall transformation is one of the most dramatic upgrades in all of landscaping precisely because it takes dead, unusable grade and turns it into flat, functional living space. In this guide I will walk you through what actually changes, what it costs, and how the project unfolds from that discouraging “before” to the “after” you will actually use.
- The "Before": What a Problem Slope Looks Like
- The "After": Level, Usable Terraces
- Single Wall vs. Terraced Walls
- Materials and What They Cost
- How the Transformation Happens: The Build
- Don't Skip Drainage and Permits
- Design Ideas to Maximize the New Space
- How Long the Project Takes
- DIY vs. Hiring a Contractor
The “Before”: What a Problem Slope Looks Like
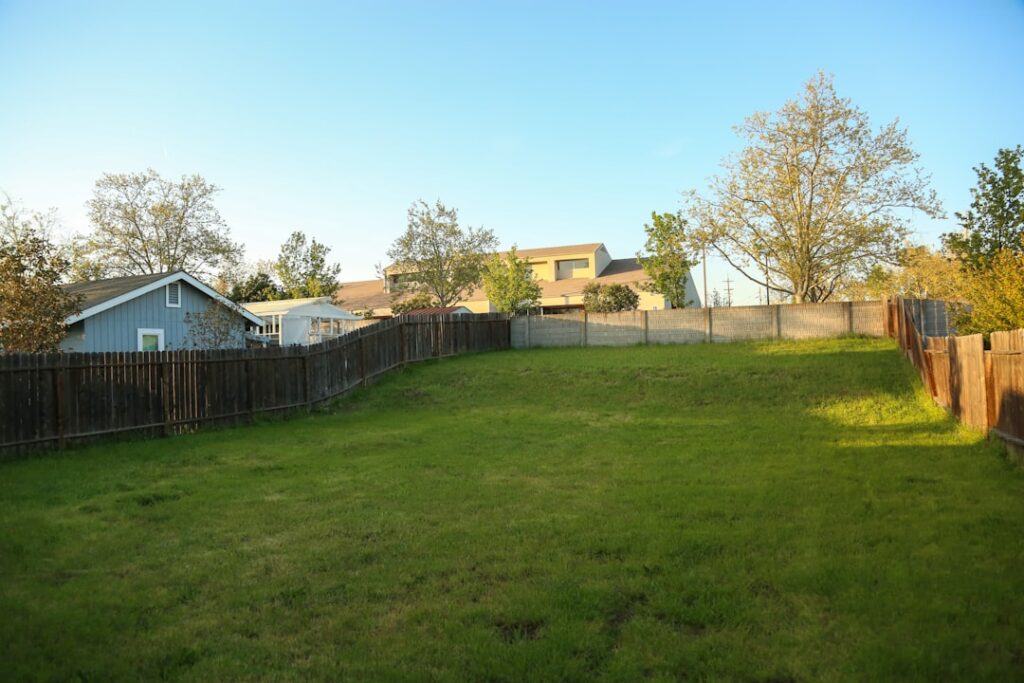
Most problem slopes share the same symptoms. The ground falls away too fast to mow safely. Rain carves channels and washes bark and soil downhill, leaving bare, eroded patches. Water sheets toward the foundation instead of away from it. There is no level spot big enough for a table, a grill, or a swing set, so an entire portion of the lot goes unused.
On a typical suburban lot, a “before” slope might drop 4 to 8 feet over a 30-foot run, roughly a 15 to 25 percent grade. That is too steep to build on and too steep to enjoy. The land is technically yours, but functionally it is wasted. That is the starting point a retaining wall solves.
The “After”: Level, Usable Terraces
The finished project converts that falling grade into one or more flat terraces held in place by retaining walls. Suddenly there is a level pad for a paver patio, a lawn area the kids can run on, a raised planting bed, or all three stacked up the hillside. Erosion stops because the soil is locked behind the wall. Water is captured and directed instead of running wild.
The visual change is striking, but the functional change is bigger. A yard that was purely decorative becomes an outdoor room. Homeowners routinely tell me the terraced space becomes their most-used part of the property, and appraisers recognize it too, well-built hardscaping commonly returns 50 to 80 percent of its cost in added home value.
Single Wall vs. Terraced Walls
How you tackle the slope depends on how much it drops. There are two basic approaches.
- Single retaining wall: Best for shorter drops. One wall at the base of the slope holds back the hill and creates a flat area above or below it. Simple and cost-effective for grades that only need 2 to 4 feet of retention.
- Terraced (tiered) walls: For tall or long slopes, a series of shorter walls stepped up the hillside creates multiple level “steps.” Terracing is safer and often better looking than one towering wall, and it lets you plant or pave each level differently. Space the tiers so each wall carries only its own load rather than stacking pressure.
As a rule, keep any single DIY wall under 3 to 4 feet. Anything taller, or terraces set close together where the upper wall loads the lower one, should be engineered.
Materials and What They Cost
The material you pick sets both the look and the budget. Here is what you will typically pay installed, per square face foot of wall.
- Interlocking concrete block (segmental retaining wall): $20 to $40 per sq ft installed. The most popular DIY-friendly option, no mortar needed, and rated for real structural loads.
- Natural stone: $25 to $75 per sq ft installed. Beautiful and durable, but heavy and labor-intensive.
- Poured concrete: $25 to $55 per sq ft. Strong and clean-looking, usually needs a contractor and forms.
- Pressure-treated timber: $15 to $30 per sq ft. Cheapest up front, but a 15- to 20-year lifespan versus 50-plus for block or stone.
For a full backyard transformation with terracing, most homeowners spend $5,000 to $20,000 depending on wall height, length, and material. A DIY block wall can cut labor costs substantially if you are fit and patient.
How the Transformation Happens: The Build
Watching the “before” become the “after” follows a predictable sequence. Understanding it helps you plan and budget.
- Design and layout. Mark wall locations, decide on single wall vs. terraces, and calculate cut-and-fill so you balance the soil you remove against the soil you need.
- Excavation. Cut into the slope and dig the base trench, typically 6 inches deep plus 1 inch for every 8 inches of wall height.
- Base preparation. Compact a 4- to 6-inch leveling pad of crushed stone. A level, well-compacted base is what keeps the wall straight for decades.
- Building courses. Set and level the first course meticulously, then stack subsequent courses with the built-in setback that leans the wall slightly into the hill.
- Drainage. Install a perforated drainage pipe and gravel backfill behind the wall. On a slope this is critical, water is the number one killer of retaining walls.
- Backfill and grade. Fill and compact behind the wall in lifts, then level the new terrace on top.
- Finishing. Cap the wall, add the patio, sod, or planting beds, and blend the edges into the surrounding yard.
Don’t Skip Drainage and Permits
Two things separate a transformation that lasts from one that fails. First is drainage: gravel backfill and a perforated pipe behind every wall, sloped to daylight, so water pressure never builds up. Skip it on a slope and the wall will bulge within a few years. Second is permits and engineering. Most jurisdictions require a permit for walls over 3 to 4 feet, and terraced walls close together must be engineered as a system. Building tall unpermitted walls risks failure, fines, and liability if a wall collapses.
Design Ideas to Maximize the New Space
Once you have flat terraces, the design possibilities open up. Turn the largest level into a paver patio with a dining set and a fire pit. Use a mid-level terrace as a raised vegetable or flower garden with built-in seating on the wall caps. Add integrated steps between tiers and low-voltage lighting along the caps for evening use. Cascading plants spilling over the wall edges soften the hard lines and blend the structure into the landscape.
The before and after sloped backyard retaining wall project is a real investment of money and effort, but few upgrades change how you live in your yard so completely. A hillside you used to avoid becomes the spot everyone gathers. Plan the drainage, respect the height limits, and terrace where the slope demands it, and your “after” will hold its shape and its value for decades.
How Long the Project Takes
Homeowners always want a timeline, and it varies with scope. A single modest wall, say 30 feet long and 3 feet tall on a manageable slope, is a two- to four-day project for a two-person DIY crew, longer if you are new to it and doing all the excavation by hand. A professional crew with an excavator often knocks out the same wall in one to two days.
A full backyard transformation with terracing, multiple walls, drainage, and a finished patio on top is a different animal, plan for one to three weeks depending on square footage, material, and weather. Excavation and base prep eat up more time than people expect; rushing them is the most common cause of walls that lean later. Rain delays are real, since you cannot compact soggy soil properly. Building a realistic schedule, and not trying to cram it into a single weekend, is part of doing the job right.
DIY vs. Hiring a Contractor
Whether to tackle this yourself hinges on wall height and your appetite for heavy labor. Short walls under 3 feet on a mild slope, built from interlocking concrete block, are within reach of a determined DIYer, and doing the work yourself can cut the cost of a transformation roughly in half by eliminating labor charges. Block systems are designed to be stacked without mortar, which keeps the skill barrier low.
Bring in a professional once the walls get tall, the slope gets steep, or terracing stacks loads on top of each other. Those situations require engineering, permits, and equipment most homeowners do not have, and a failed retaining wall is dangerous and expensive to fix. A licensed contractor also handles the permitting, sizes the drainage correctly, and warranties the work. For a big, structural transformation, the peace of mind is usually worth the added cost. Whichever route you choose, the payoff is the same, that discouraging “before” slope becomes an “after” you actually live in, and few home projects deliver a more satisfying transformation.