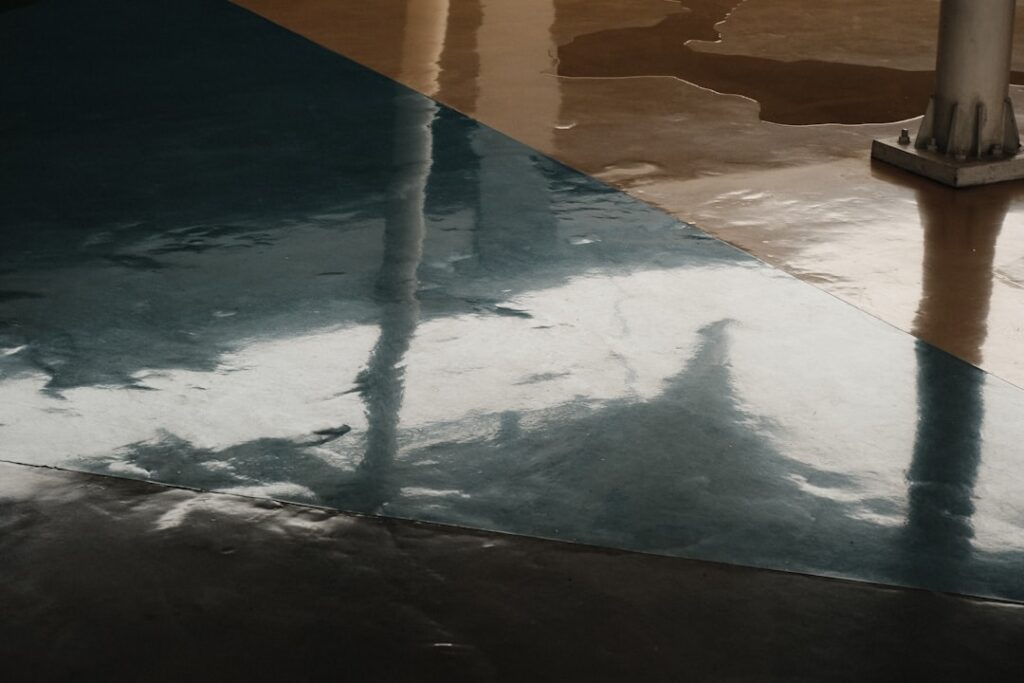
Behr concrete epoxy is one of the most popular DIY floor coatings for garages, basements, and workshops, sold through The Home Depot as part of Behr’s Premium line. Homeowners reach for Behr concrete epoxy because it promises a durable, chemical-resistant, showroom-style floor at a fraction of what a professional coating costs, and it can be applied over a weekend with common tools.
This guide covers what the product actually is, how to prep and apply it correctly, realistic coverage and cure times, durability expectations, and the costs involved so you can decide whether it is the right choice for your slab.
What Behr Concrete Epoxy Actually Is
Behr markets a two-part, water-based epoxy garage floor coating rather than a true 100 percent solids industrial epoxy. The kit combines a resin and a hardener that you mix on site, triggering a chemical reaction that cures into a hard, bonded film. Because it is water-based, cleanup is easier and the odor is far milder than solvent-based systems.
The product is designed specifically for interior concrete floors like garages and basements, and it typically ships as a kit that includes the two-part epoxy, decorative color flakes, and sometimes an etching or cleaning solution. It is not the same as a simple concrete paint or a single-part latex coating; the two-part chemistry is what gives it hardness and adhesion.
Coverage and What Is in the Kit
A single Behr epoxy kit generally covers around 200 to 250 sq ft on a smooth slab in one coat, which is roughly enough for a one-car garage. A standard two-car garage of 400 to 500 sq ft usually needs two kits, and porous or rough concrete drinks up more product, reducing coverage.
- Part A epoxy resin and Part B hardener to be mixed together
- Decorative color or paint flakes to broadcast into the wet coating
- Coverage near 200 to 250 sq ft per kit on prepared concrete
- Available in a limited palette, commonly gray and tan tones
Always buy enough kits to complete the floor in one session from the same batch, because color and sheen can vary slightly between purchases and a mid-floor seam is nearly impossible to hide.
Surface Preparation Is Everything
The single biggest factor in whether Behr concrete epoxy succeeds or peels is preparation. Epoxy bonds to the concrete’s open pores, so the surface must be clean, degreased, etched, and completely dry before the resin goes down. Skipping prep is the number one reason coatings fail.
- Clear the floor and sweep, then scrub off all oil and grease with a degreaser
- Repair cracks and spalls with a concrete patch and let them cure
- Etch the surface with the included acid or citric etch to open the pores
- Rinse thoroughly and let the slab dry fully, usually 24 hours
- Run a moisture test by taping a plastic sheet down overnight; condensation means the slab is too wet to coat
Do not apply epoxy over a previously sealed floor or one with efflorescence still present, and never coat a slab with an active moisture problem, because hydrostatic pressure will lift the coating no matter how well you prepped the surface.
Application Step by Step
Application is straightforward but time-sensitive because water-based epoxy has a limited pot life once mixed, often 1 to 2 hours depending on temperature. Work when the floor and air are between 50°F and 90°F for proper curing.
Mix Part A and Part B thoroughly for the full time stated on the label, then cut in the edges with a brush and roll the field with a 3/8-inch nap roller in overlapping strips. While the coating is still wet, broadcast the decorative flakes by tossing them upward so they float down evenly. Maintain a wet edge and do not go back over areas that have started to set, or you will leave roller marks.
Cure Time and Adding a Topcoat
Behr’s water-based epoxy is typically walkable in about 24 hours, ready for light foot traffic, and safe to park a vehicle on after roughly 3 to 7 days depending on humidity and temperature. Rushing the vehicle timeline is a common mistake that leaves tire prints in the still-soft film.
For meaningfully better durability, many homeowners add a separate clear topcoat over the epoxy. A polyurethane or clear sealer topcoat improves abrasion resistance, adds gloss, and protects against hot-tire pickup, which is when hot tires soften and peel a thin coating. If you plan heavy use, budget for that extra topcoat rather than relying on the base epoxy alone.
Durability and Realistic Expectations
As a water-based, thin-film product, Behr concrete epoxy performs well for light to moderate residential use, but it is not the same as a thick professional 100 percent solids system that can run several times thicker. Set expectations accordingly: it resists many household chemicals, hides minor imperfections under the flakes, and cleans up easily.
With good prep and a clear topcoat, homeowners commonly get several years of solid performance in a typical garage. Without proper prep, or under heavy hot-tire traffic and dragging tools, thin coatings can show wear, peeling, or hot-tire pickup sooner. Managing expectations up front is the key to satisfaction with any DIY kit.
Cost Compared to Alternatives
A Behr epoxy kit generally runs around $80 to $150 depending on the specific product and any promotions, so coating a two-car garage in materials lands near $160 to $300 plus a topcoat and prep supplies. That is dramatically cheaper than a professional polyaspartic or 100 percent solids installation, which often costs $3 to $12 per sq ft installed, or $1,200 to $6,000 for the same garage.
- DIY Behr epoxy kit: roughly $160 to $300 in materials for a two-car garage
- Professional polyaspartic coating: often $3 to $12 per sq ft installed
- Basic concrete paint: cheapest but least durable, not a true epoxy
The tradeoff is clear: you trade some thickness and longevity for a large upfront savings and the ability to do the job yourself.
Final Thoughts
Behr concrete epoxy is a solid value for homeowners who want a cleaner, more durable garage or basement floor without hiring a contractor. Success hinges almost entirely on preparation, correct temperatures, patient cure times, and ideally a clear topcoat for high-traffic slabs. Prep the concrete properly and set realistic expectations for a thin-film DIY product, and it delivers a sharp-looking, functional floor at a genuinely accessible price.
Before you start, block out a full weekend and check the forecast, since water-based epoxy needs stable temperatures and low humidity through the entire cure window, not just during application. Have every tool staged in advance: a stiff brush, the correct nap roller, an extension pole, painter’s tape, and a spiked shoe or clean-edge plan for exiting a wet floor. Because pot life is short once the two parts are combined, mix only what you can spread before it thickens, and enlist a helper so one person rolls while the other broadcasts flakes. That coordination is the difference between an even, professional-looking result and a patchy floor with visible lap lines.