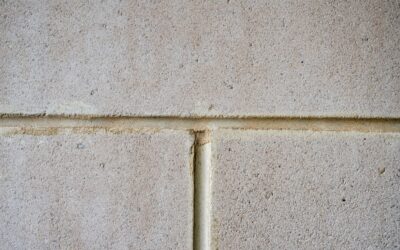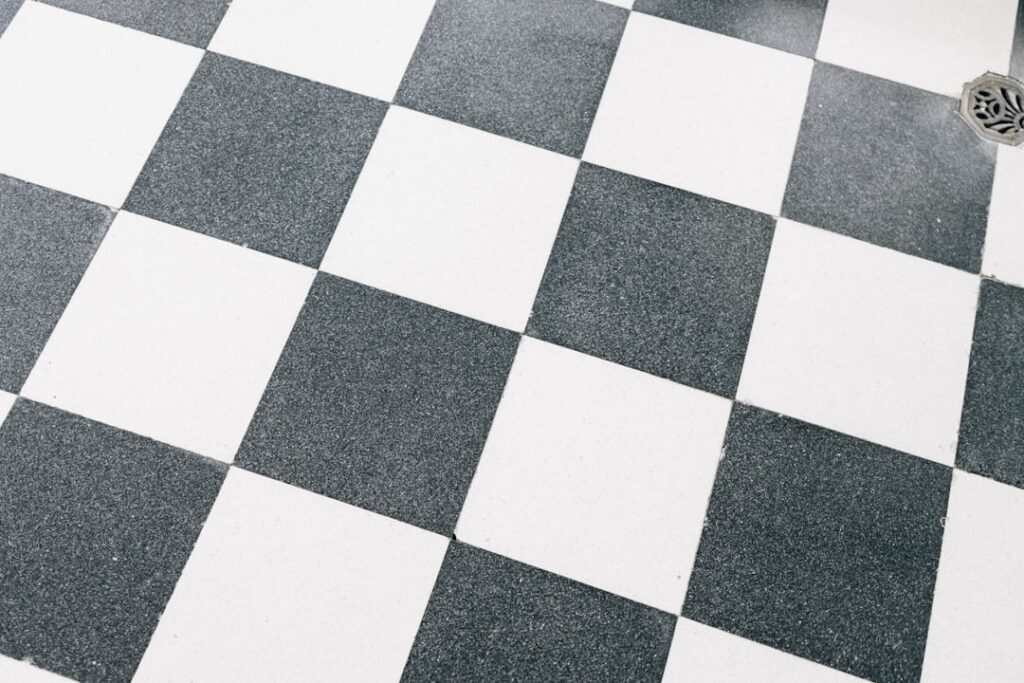
Tile can look brand new for decades, but the grout lines between the tiles tell a different story, collecting dirt, grease, and mildew until once-bright white lines turn a grim shade of gray. Finding the best grout cleaner for tile floors can restore that fresh, clean look without the expense of regrouting. This guide compares the most effective cleaners, from cheap homemade mixtures to heavy-duty commercial products, and shares the techniques and sealing tips that keep grout looking good far longer.
Part of our Tile & Grout guide — explore the full guide →
Grout is porous, which is exactly why it stains so easily and why choosing the right cleaner and method matters. Here is how to get your grout looking its best and keep it that way.
- Why Grout Gets Dirty in the First Place
- DIY Grout Cleaners That Actually Work
- Commercial Grout Cleaners
- How to Choose the Right Cleaner for Your Grout
- Step-by-Step Grout Cleaning
- Seal Your Grout to Keep It Clean
- Preventing Grout Stains Going Forward
- When Cleaning Is Not Enough: Regrouting and Colorsealing
- Tools That Make Grout Cleaning Easier
- The Bottom Line
Why Grout Gets Dirty in the First Place
Cement-based grout is essentially a porous, slightly rough material that acts like a sponge for anything on your floor. Foot traffic grinds dirt into the pores, kitchen spills leave grease, and bathroom moisture breeds mildew and mold. Because grout sits slightly lower than the tile surface, debris naturally collects there, and once it soaks in, a quick mop will not touch it. Effective grout cleaning combines the right cleaning agent with mechanical scrubbing to lift embedded grime out of those pores.
DIY Grout Cleaners That Actually Work
Before buying anything, you may already have excellent grout cleaners in your pantry. These homemade options are cheap, effective, and safe for most grout:
- Baking soda and water paste — Mix into a thick paste, scrub into grout lines with a brush, and rinse. A mild abrasive that lifts everyday dirt without harsh chemicals.
- Baking soda plus vinegar — Apply the paste, spray with white vinegar, let it fizz for a few minutes, then scrub. Effective on moderate stains. Avoid on natural stone and unsealed grout, since vinegar’s acidity can etch and erode.
- Hydrogen peroxide — Excellent for whitening. Apply directly or mix with baking soda into a paste for tougher stains. Gentle enough for most grout.
- Oxygen bleach powder (sodium percarbonate) — Dissolved in warm water and poured on the grout, this releases oxygen bubbles that lift stains from deep in the pores. One of the most effective and grout-safe options.
For general maintenance, baking soda and peroxide handle most household grime. Oxygen bleach is the DIY heavyweight for badly stained floors.
Commercial Grout Cleaners
When homemade mixtures cannot keep up, commercial cleaners bring more power. They fall into a few categories:
- Alkaline grout cleaners — Formulated to cut through grease and organic grime, these are the workhorses for kitchen and high-traffic floors. Safe on most sealed grout.
- Oxygen-based commercial cleaners — Pre-mixed versions of the oxygen bleach approach, convenient and grout-safe.
- Acidic cleaners — Powerful on mineral deposits and hard-water stains, but they can damage grout and stone with repeated use. Reserve for tough mineral buildup and follow directions carefully.
- Steam cleaning — Not a chemical at all, but a steam machine loosens grime with heat and pressure, and it sanitizes without any cleaning solution. Excellent for chemical-free deep cleaning.
How to Choose the Right Cleaner for Your Grout
The best cleaner depends on your grout type and the stain. Cement grout tolerates most cleaners, but always avoid acidic products on natural stone tile like marble or travertine, and on unsealed grout, because acid etches stone and erodes grout. For everyday maintenance, a mild alkaline or oxygen cleaner is ideal. For deep, set-in stains, oxygen bleach or a dedicated commercial grout cleaner works best. For mildew in bathrooms, hydrogen peroxide or an oxygen cleaner tackles both the stain and the organic growth. When in doubt, test any cleaner in an inconspicuous corner first.
Step-by-Step Grout Cleaning
Technique matters as much as product. For the best results:
- Sweep or vacuum the floor to remove loose dirt so you are not grinding grit into the grout.
- Apply your chosen cleaner directly to the grout lines and let it dwell for 5 to 10 minutes so it can penetrate the pores. Do not let it dry out.
- Scrub with a stiff nylon grout brush or an old toothbrush for detail work. A grout brush that fits the line width gives the most leverage. Avoid metal brushes, which can gouge grout.
- Work in small sections so the cleaner stays wet and active.
- Rinse thoroughly with clean water and wipe up the dirty residue, or the loosened grime will resettle.
- Dry the floor and inspect. Repeat on stubborn spots.
For large floors, an oscillating power scrubber or a drill-mounted brush attachment saves your knees and dramatically speeds the work.
Seal Your Grout to Keep It Clean
The single best way to reduce future grout cleaning is to seal the grout after it is clean and fully dry. A penetrating grout sealer fills the pores so dirt, grease, and moisture cannot soak in, making everyday cleaning far easier. Reseal cement grout every one to two years in high-traffic areas, or when water no longer beads on the surface. Sealing does not make grout stainproof, but it buys you time to wipe up spills before they set. This step is especially valuable in kitchens and bathrooms.
Preventing Grout Stains Going Forward
A little maintenance prevents the deep-cleaning marathons. Sweep regularly to keep abrasive grit off the floor, wipe spills promptly before they soak in, and use a doormat to trap tracked-in dirt. A weekly mop with a pH-neutral cleaner keeps grout from building up grime. In bathrooms, run a fan and squeegee or wipe surfaces to discourage mildew. Avoid oil-based soaps and waxy cleaners that leave a film grout loves to grab onto.
When Cleaning Is Not Enough: Regrouting and Colorsealing
Sometimes grout is beyond cleaning. If the grout is cracked, crumbling, missing chunks, or so deeply stained that even oxygen bleach leaves it gray, cleaning will not restore it. In that case you have two options. Colorsealing applies a pigmented sealer over the existing grout, uniformly recoloring it and sealing it in one step, which is a popular way to make dingy grout look brand new without removing it. Regrouting, the more involved fix, means grinding out the old grout with an oscillating tool and applying fresh grout, which is the right call when the grout is structurally failing. Both go beyond routine cleaning, but knowing they exist saves you from endless scrubbing on grout that simply cannot be saved.
Tools That Make Grout Cleaning Easier
The right tools turn a miserable chore into a manageable one. A stiff nylon grout brush with a narrow head fits into the lines and gives real scrubbing leverage, far better than a flat sponge. For large floors, a rotary or oscillating power scrubber, or a drill-mounted brush attachment, saves your knees and multiplies your effort. A grout cleaning machine or a steam cleaner deep-cleans without chemicals and sanitizes at the same time. Keep a spray bottle of your cleaning solution, a bucket of clean rinse water, and plenty of microfiber cloths on hand to wipe away the loosened grime before it resettles. Knee pads and gloves protect you during the inevitable close-up work. Investing in a decent grout brush and a power scrubber pays for itself the first time you clean a whole floor.
The Bottom Line
You do not need to regrout to get bright, clean lines. For most homeowners, the best grout cleaner for tile floors is a combination of oxygen bleach for deep stains and a mild alkaline or peroxide cleaner for regular upkeep, paired with a good grout brush and a fresh coat of sealer. Start with the gentlest effective option, protect natural stone from acids, and seal your grout once it is clean. With the right product and a little elbow grease, your tile floors can look freshly installed again, and stay that way with far less effort.
Prefer to explore on your own?
See how new flooring looks in your actual room in seconds — free, no signup.
Try the free Floor Studio →