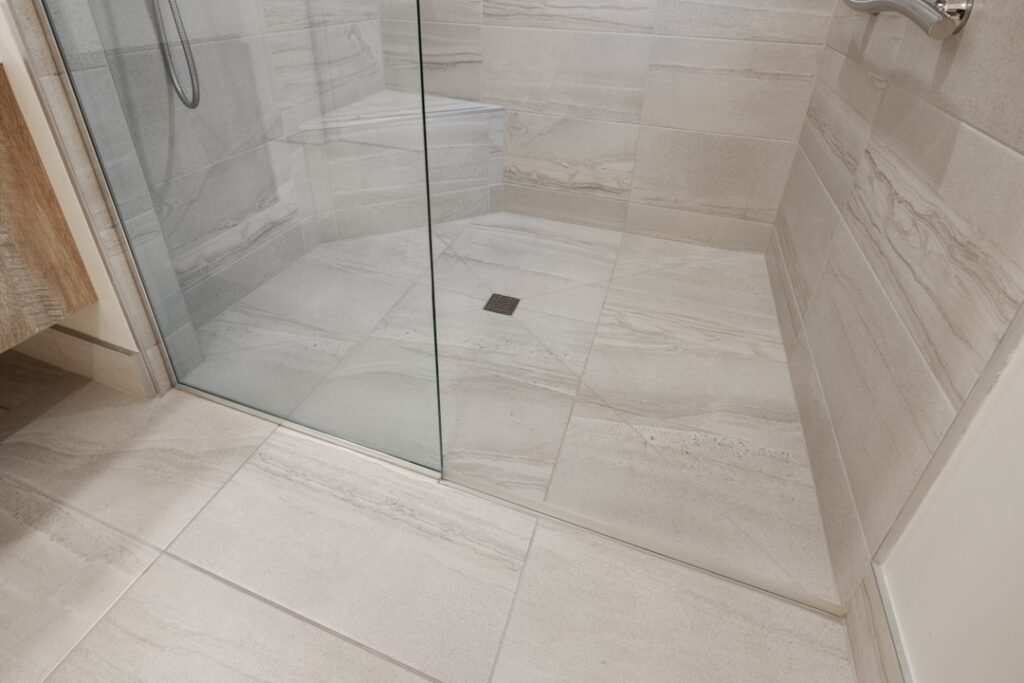
Effective tile and grout cleaning is the key to maintaining beautiful, hygienic floors and walls throughout your home. Over time, grout absorbs dirt, mold, and stains that regular mopping cannot remove. This 2026 guide covers proven DIY methods, the best commercial cleaners, professional cleaning options, and a maintenance schedule that keeps your tile looking new for years.
- Why Grout Gets Dirty
- Essential Cleaning Supplies
- DIY Cleaning Methods
- Baking Soda & Vinegar Method
- Hydrogen Peroxide & Baking Soda Method
- Oxygen Bleach Method
- Chlorine Bleach Method (White Grout Only)
- Best Commercial Tile & Grout Cleaners
- Room-by-Room Cleaning Tips
- Steam Cleaning for Tile & Grout
- Professional Cleaning Services
- Sealing Grout After Cleaning
- Maintenance Schedule
- Frequently Asked Questions
Why Grout Gets Dirty
Grout is a porous cementitious material that absorbs liquids, dirt, and bacteria like a sponge. Understanding why grout discolors helps you prevent and treat staining more effectively.
- Porosity: Unsealed grout has microscopic pores that trap dirt, soap residue, and moisture deep within the surface.
- Foot Traffic: Shoes track in soil, oil, and grime that settle into grout lines, especially in entryways and kitchens.
- Mold & Mildew: Bathrooms and other humid areas promote mold and mildew growth in grout, creating dark spots and discoloration.
- Soap Scum: In showers and bathtubs, soap residue builds up on grout surfaces and traps additional dirt.
- Cooking Spills: Kitchen grout absorbs grease, sauce stains, and food particles that darken over time.
- Improper Cleaning: Using dirty mop water or the wrong cleaning products can actually push more dirt into grout rather than removing it.
Essential Cleaning Supplies
Before you start any tile and grout cleaning project, gather these essential supplies.
- Grout Brush: A stiff-bristled brush designed specifically for grout lines. Avoid metal brushes that can scratch tile and damage grout.
- Spray Bottle: For applying cleaning solutions evenly.
- Microfiber Cloths: For wiping and drying tile surfaces without leaving lint.
- Bucket: For mixing solutions and clean rinse water.
- Knee Pads: Essential for floor-level scrubbing comfort.
- Rubber Gloves: Protect your hands from cleaning chemicals.
- Old Toothbrush: For detailed work in corners and tight spaces.
DIY Cleaning Methods
Baking Soda & Vinegar Method
This is the most popular natural cleaning method for light to moderate grout staining.
- Make a paste of baking soda and water (3:1 ratio).
- Apply the paste directly to grout lines using your fingers or an old toothbrush.
- Spray white vinegar over the paste. It will fizz as it reacts.
- Let the solution sit for 5 to 10 minutes.
- Scrub grout lines with a grout brush using firm, circular motions.
- Rinse thoroughly with clean water and dry with a microfiber cloth.
Hydrogen Peroxide & Baking Soda Method
For moderate to heavy staining, hydrogen peroxide provides stronger cleaning and whitening power.
- Mix 1/2 cup baking soda with 1/4 cup hydrogen peroxide (3% concentration).
- Add 1 teaspoon of liquid dish soap and stir into a paste.
- Apply to grout lines and let sit for 10 to 15 minutes.
- Scrub with a grout brush and rinse with clean water.
Oxygen Bleach Method
Oxygen bleach (sodium percarbonate) is a powerful, color-safe option for deep cleaning.
- Dissolve oxygen bleach powder in warm water according to package directions.
- Apply the solution to grout lines generously.
- Allow it to soak for 15 to 30 minutes (do not let it dry).
- Scrub and rinse thoroughly.
Chlorine Bleach Method (White Grout Only)
Use diluted chlorine bleach only on white grout. It will discolor colored grout.
- Mix 1 part bleach with 10 parts water.
- Apply to white grout lines only.
- Let sit for 5 minutes maximum.
- Scrub, rinse thoroughly, and ventilate the area.
Best Commercial Tile & Grout Cleaners
| Product | Type | Best For | Price | Safety Rating |
|---|---|---|---|---|
| Black Diamond Stoneworks | Ready-to-use spray | General maintenance | $12 | Low toxicity |
| Zep Grout Cleaner | Ready-to-use spray | Heavy stains, whitening | $8 | Moderate (acidic) |
| Bar Keepers Friend Soft Cleanser | Cream/paste | Tough stains, hard water | $6 | Low toxicity |
| Rejuvenate Grout Deep Cleaner | Ready-to-use spray | Mold & mildew | $10 | Low toxicity |
| Aqua Mix Heavy Duty Tile Cleaner | Concentrate | Professional-grade cleaning | $18 | Moderate (alkaline) |
Always test any commercial cleaner on a small, inconspicuous area first. Some acidic cleaners can etch natural stone tile surfaces like marble or travertine.
Room-by-Room Cleaning Tips
Kitchen Floor & Backsplash
Kitchen grout faces grease, food stains, and heavy foot traffic. Use a degreasing cleaner or the baking soda and dish soap method. Pay extra attention to grout near the stove and sink where splash damage occurs. A quality kitchen faucet with a spray feature makes rinsing tile backsplashes easier.
Bathroom Floor & Shower
Bathroom grout battles mold, mildew, and soap scum. Spray a mold-killing cleaner on shower grout and let it sit for 15 minutes before scrubbing. Improve ventilation by running the exhaust fan during and 30 minutes after every shower. Keep plush Turkish cotton towels for drying rather than letting water sit on tile surfaces.
Entryway & Mudroom
High-traffic entryway tile gets the dirtiest grout in the house. Clean weekly during rainy and snowy seasons. Place doormats inside and outside the door to reduce tracked-in dirt. Consider darker grout colors for entryway tile to disguise inevitable soiling.
Outdoor Tile
Patio and pool deck tile grout faces UV exposure, algae, and weathering. Use a pressure washer on a low setting or scrub with oxygen bleach. Apply a penetrating outdoor sealer annually. A garden sprayer can be used to apply cleaning solutions to large outdoor tile areas.
Steam Cleaning for Tile & Grout
Steam cleaning is one of the most effective and chemical-free methods for tile and grout cleaning.
How It Works
Steam cleaners heat water to over 200 degrees Fahrenheit, producing pressurized steam that penetrates grout pores, dissolves dirt, and kills 99.9% of bacteria and mold without any chemicals.
Best Steam Cleaners for Tile
| Model | Type | Steam Time | Price | Rating |
|---|---|---|---|---|
| Bissell PowerFresh Slim | Mop | 18 min | $80 | 4.3/5 |
| McCulloch MC1275 | Canister | 45 min | $120 | 4.5/5 |
| Dupray Neat Steam Cleaner | Canister | 50 min | $150 | 4.6/5 |
| Shark Steam Pocket Mop | Mop | 15 min | $70 | 4.2/5 |
Steam Cleaning Tips
- Use the grout brush attachment for targeted steam cleaning of grout lines.
- Move slowly to allow steam to penetrate and loosen embedded dirt.
- Wipe up dissolved grime with a microfiber cloth immediately after steaming.
- Allow tile to dry completely before walking on it to prevent re-soiling.
Professional Cleaning Services
Sometimes professional tile and grout cleaning is the best option, especially for severely stained or neglected grout.
What Professionals Do Differently
Professional tile cleaners use truck-mounted or portable hot water extraction systems that apply cleaning solution under high pressure (500-1,200 PSI) and immediately extract dirty water via vacuum. This deep-cleans grout more thoroughly than any DIY method.
Cost of Professional Cleaning
| Service | Average Cost | Coverage |
|---|---|---|
| Basic tile & grout cleaning | $0.50-$1.50/sq ft | Kitchen or bathroom |
| Deep cleaning with sealing | $1.00-$2.50/sq ft | Kitchen or bathroom |
| Whole house (500-1,000 sq ft) | $400-$1,200 | All tiled areas |
| Color sealing (grout recoloring) | $2.00-$5.00/sq ft | Custom color application |
When to Hire a Professional
- DIY methods have not improved grout appearance.
- Grout shows signs of mold that keeps returning.
- You have natural stone tile that requires specialized care.
- Large areas need cleaning efficiently.
- You want grout sealing or color sealing after cleaning.
Sealing Grout After Cleaning
Sealing grout after a deep clean is the single most important step for long-term maintenance. Sealed grout resists staining, moisture, and mold growth far better than unsealed grout.
Types of Grout Sealers
- Penetrating Sealers: Soak into grout pores and create an invisible barrier. They do not change the grout’s appearance and allow moisture vapor to escape. Best for most applications.
- Topical Sealers: Create a coating on the grout surface that provides a slight sheen. More protective but can peel over time and trap moisture.
- Color Sealers: Penetrating sealers with added pigment that can change or refresh grout color while sealing. Great for restoring discolored grout to a uniform appearance.
How to Seal Grout
- Ensure grout is completely clean and dry (wait 24 to 48 hours after cleaning).
- Apply sealer along grout lines using an applicator bottle or small brush.
- Allow sealer to penetrate for 5 to 10 minutes.
- Wipe excess sealer off tile surfaces with a clean cloth.
- Apply a second coat for maximum protection.
- Allow 24 hours to cure before exposing to water.
Maintenance Schedule
Follow this schedule to keep your tile and grout looking great year-round.
| Frequency | Task | Method |
|---|---|---|
| Daily | Sweep or vacuum tile floors | Dry mop or vacuum (no beater bar) |
| Weekly | Mop tile floors | Warm water with mild pH-neutral cleaner |
| Monthly | Scrub grout in high-traffic areas | Baking soda paste and grout brush |
| Quarterly | Deep clean all grout lines | Hydrogen peroxide method or steam clean |
| Annually | Inspect & reseal grout | Penetrating grout sealer |
| Every 3-5 years | Professional deep cleaning | Hot water extraction |
Frequently Asked Questions
What is the best homemade grout cleaner?
A paste made from baking soda and hydrogen peroxide with a drop of dish soap is the most effective homemade grout cleaner. Apply it to grout lines, let it sit for 10 to 15 minutes, scrub with a stiff brush, and rinse. For light stains, baking soda and white vinegar also work well.
How often should I clean grout?
Scrub grout in high-traffic areas monthly and perform a deep cleaning of all grout lines quarterly. Daily sweeping and weekly mopping prevent buildup between deeper cleanings. Kitchens and bathrooms may need more frequent attention than other areas.
Can I use bleach on colored grout?
No. Chlorine bleach can lighten or discolor colored grout permanently. Use oxygen bleach (sodium percarbonate) instead, which is color-safe and effective. Always test any cleaner on an inconspicuous area first when working with colored grout.
Why does my grout keep getting moldy?
Persistent mold indicates a moisture problem. Improve ventilation by running exhaust fans, fixing leaks, and ensuring grout is properly sealed. After cleaning mold, apply a penetrating grout sealer to prevent moisture from re-entering the pores where mold grows.
Is professional grout cleaning worth the cost?
Professional cleaning is worth it for severely stained grout, large areas, and natural stone tile that requires specialized care. The equipment professionals use cleans more deeply than any DIY method. Combining professional cleaning with grout sealing provides the best long-term results.
Does sealing grout really help?
Yes. Sealing grout is the single most effective step you can take to prevent staining and mold. Sealed grout repels liquids, resists discoloration, and is dramatically easier to clean. Most penetrating sealers last 1 to 3 years before needing reapplication.
Last updated: March 2026
Prefer to explore on your own?
See how new flooring looks in your actual room in seconds — free, no signup.
Try the free Floor Studio →