Bifold doors are a smart choice for closets, laundry nooks, and tight spaces because they fold compactly instead of swinging wide. The good news is that bi-fold door installation is a very approachable DIY project, most kits go in with basic tools in an afternoon. The whole job comes down to mounting the track, setting the pivots and rollers, hanging the panels, and then taking time to adjust everything for smooth operation and a clean, even gap. Here is exactly how it works.
- How Bifold Doors Work
- Tools and Materials
- Step 1: Measure and Prep the Opening
- Step 2: Install the Top Track
- Step 3: Set the Bottom Pivot Bracket
- Step 4: Install the Pivots and Roller Guides on the Door
- Step 5: Hang the Doors
- Step 6: Adjust for Alignment
- Step 7: Add Hardware and Stops
- Troubleshooting Common Issues
- Bypass Versus Bifold and Door Sizing
- Maintenance for Smooth Operation
- The Bottom Line
How Bifold Doors Work
A bifold unit is usually two hinged panels per opening, or four panels for a wide opening, that fold against each other as they slide. Each set rides on a track at the top and pivots at one side. A pivot pin anchors the door at the jamb, while a roller guide travels in the top track as the panels fold and unfold. Understanding those four contact points, the top track, top pivot, bottom pivot, and roller guide, makes the install and the later adjustments much clearer.
Tools and Materials
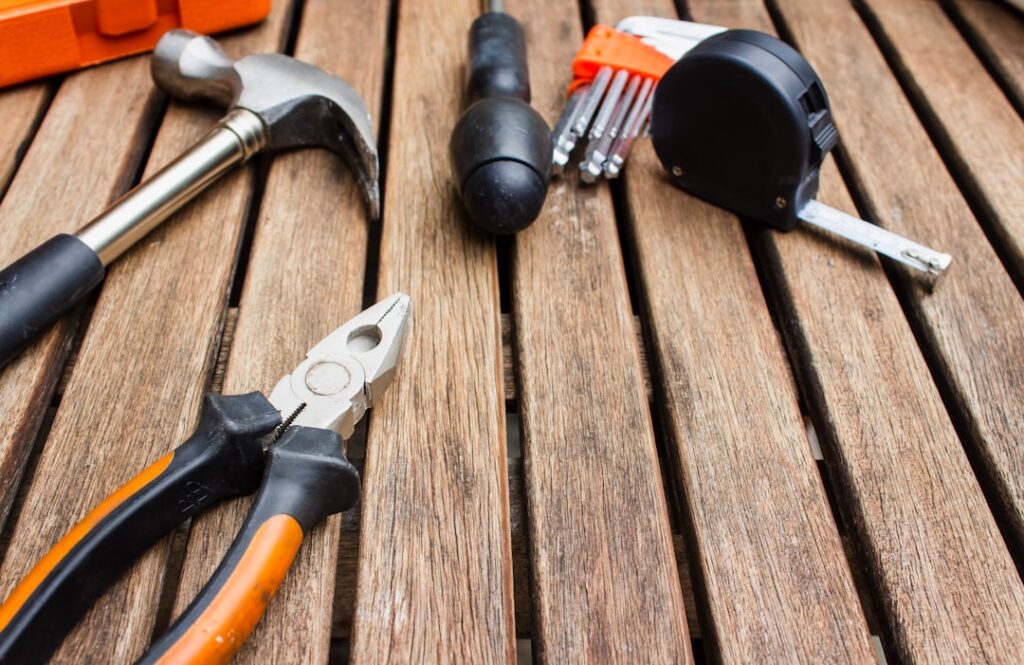
- Bifold door kit (panels, track, pivot brackets, pins, roller guides, knobs)
- Tape measure and pencil
- Level
- Drill and screwdriver
- Hacksaw, if the track needs trimming to width
- Stepladder
Most kits include all the hardware; just confirm your door size matches the finished opening before you start.
Step 1: Measure and Prep the Opening
Measure the width and height of the finished opening to confirm the doors will fit. Bifold doors need a little clearance to operate, so check your kit’s recommended opening size. Make sure the opening is reasonably square and the jambs are solid. If the floor or header is badly out of level, note it now, you will compensate during adjustment.
Step 2: Install the Top Track
The track is the backbone of the system:
- If the track is longer than the opening, cut it to width with a hacksaw.
- Hold the track inside the top of the opening, set back per the instructions, and level it.
- Mark the screw holes, then screw the track securely into the header.
A level track is critical. If the track tilts, the doors will swing open or closed on their own and the gaps will be uneven.
Step 3: Set the Bottom Pivot Bracket
The bottom pivot bracket anchors the door at floor level. Position it directly below the corresponding end of the top track, the two pivots must line up vertically. Use a plumb line or level to drop a reference from the top track’s pivot point down to the floor, then mark and fasten the bracket to the floor and jamb. Many brackets allow side-to-side adjustment, leave it loose enough to fine-tune later.
Step 4: Install the Pivots and Roller Guides on the Door
Prepare the door panels before hanging:
- Insert the top pivot pin into the top of the panel on the hinge side, the side that stays anchored.
- Insert the roller guide pin into the top of the panel on the opposite (leading) side, the part that travels in the track.
- Insert the bottom pivot pin into the bottom on the hinge side, to drop into the floor bracket.
Many top pivots and roller pins are spring-loaded so you can compress them to fit the door into place.
Step 5: Hang the Doors
Now mount the panels:
- Tip the folded panel up and insert the top pivot pin into its socket at the end of the track.
- Compress the spring-loaded bottom pivot and seat it into the floor bracket.
- Slide the roller guide pin into the top track channel.
- Repeat for the second set if you have a double opening.
Fold and unfold the doors a few times to confirm everything moves and the pins are seated.
Step 6: Adjust for Alignment
This adjustment step is what separates a quality install from a sloppy one, do not skip it. Most bifold hardware allows both vertical and horizontal adjustment:
- Height: Raise or lower the door using the bottom pivot bracket or the threaded top pivot so the panel clears the floor evenly and the top gap is consistent.
- Side-to-side: Shift the bottom pivot bracket left or right so the door’s outer edge sits flush and parallel with the jamb when closed.
- Even reveal: Aim for a uniform gap along the edges and a flat face when the doors are shut.
Adjust a little at a time, then open and close the doors to test. The goal is panels that fold smoothly, close flush, and show an even gap top to bottom and side to side.
Step 7: Add Hardware and Stops
Finish by installing the knobs, usually centered or at the meeting edge of the panels, and any included alignment guide or door stop near the bottom that keeps the closed doors aligned and prevents them from swinging past flush. Snap on any aligner clips between double doors so the two sets meet neatly in the middle.
Troubleshooting Common Issues
- Doors swing open on their own: The track is not level, recheck and shim or re-level.
- Doors rub the floor or jamb: Raise the panel at the pivot or shift the bottom bracket.
- Uneven gap when closed: Adjust the bottom pivot side-to-side.
- Doors bind when folding: Confirm the roller guide moves freely and the pivots are aligned vertically.
Bypass Versus Bifold and Door Sizing
Before you buy, confirm bifold is the right style for the opening. Bifold doors give you access to nearly the entire opening at once, which makes them ideal for reach-in closets and laundry areas where you want to see everything. Bypass (sliding) doors only ever open half the closet at a time but need no swing clearance at all. If full access matters, bifold wins. On sizing, bifold panels come in standard widths to suit common closet openings, and wide openings simply use two sets of folding panels meeting in the middle. Measure your finished opening and buy the unit sized for it rather than trimming, since cutting bifold panels much is limited and can affect fit and finish.
Maintenance for Smooth Operation
A little upkeep keeps bifold doors gliding for years. Periodically wipe out the top track so dust and debris do not impede the roller guide, and apply a small amount of dry lubricant or a silicone spray to the track and pivots if the doors start to drag. Check the pivot pins and roller occasionally to make sure they are seated, since a pin that works loose is the usual cause of a door that suddenly sticks or pops out. If a door begins to rub or close unevenly over time, revisit the same height and side-to-side adjustments from the install, hardware can shift slightly with use, and a quick tweak restores smooth, flush operation.
The Bottom Line
A successful bi-fold door installation follows a clear sequence: level the top track, align the bottom pivot directly beneath it, fit the pivot and roller pins, hang the panels, and then patiently adjust the height and side-to-side position until the doors fold smoothly and close flush with an even gap. The hardware does the heavy lifting; your care during the alignment step delivers the clean, professional result. With basic tools and an afternoon, you can have crisp, well-fitted bifold doors that operate smoothly for years.