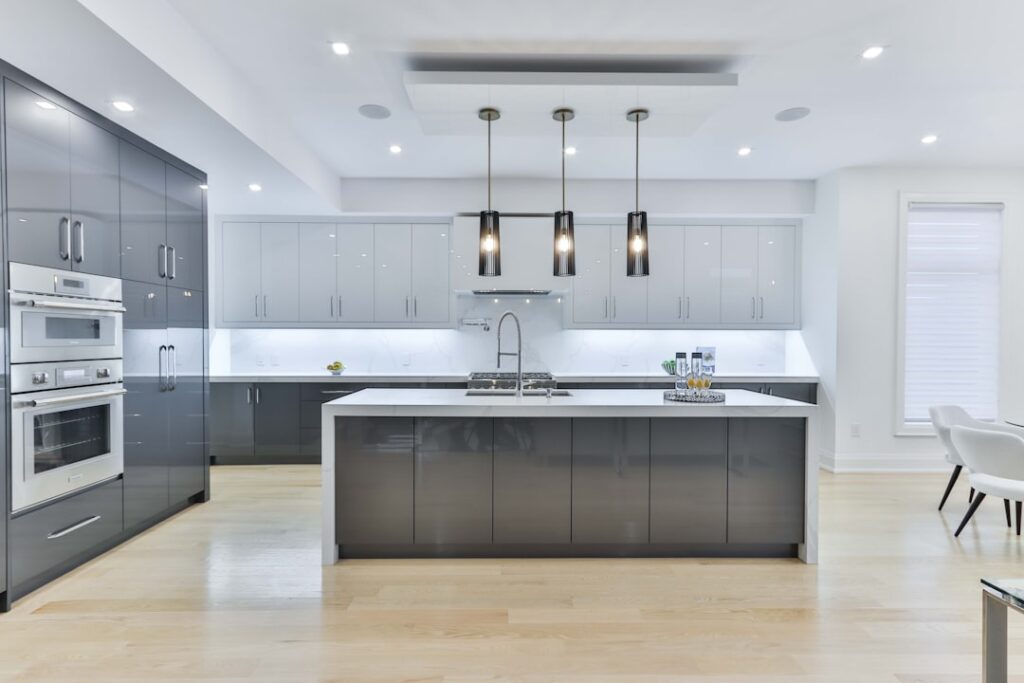
Black cabinet hardware has become the default upgrade for homeowners who want a fresh, modern kitchen without a full remodel. Swapping dated brass or brushed-nickel pulls for crisp matte black knobs and handles is one of the highest-impact changes you can make in an afternoon. It reads clean and contemporary against white shaker doors, adds warmth to gray cabinets, and anchors the look of a two-tone kitchen instantly.
Part of our Kitchen Remodeling guide — explore the full guide →
But not all black hardware is created equal. The finish, the mounting, the size, and the placement all affect how the final result looks and how well it holds up to daily kitchen use. This guide covers finishes, sizing, layout rules, realistic costs, and the mistakes that make a good idea look cheap.
Why Black Hardware Is So Popular
Black works with nearly every cabinet color and countertop, which is a big reason designers reach for it. It provides high contrast on light cabinets for a graphic, editorial look, and it blends subtly into dark cabinets for a monochrome, sophisticated feel. Because it is a neutral, it pairs with warm woods, cool grays, marble, butcher block, and quartz alike. That versatility makes it a safe long-term choice that will not feel dated as quickly as a trendy colored metal.
Understanding the Finishes
Black hardware comes in several distinct finishes, and the difference matters more than shoppers expect.
- Matte black: The most popular option, with a flat, non-reflective surface. It hides fingerprints reasonably well and suits modern and farmhouse styles.
- Oil-rubbed bronze: A near-black with warm brown undertones that show on high spots. It reads more traditional and slightly softer than true black.
- Flat black or powder-coated: A durable painted finish; quality varies, and cheap coatings can chip at the screw holes.
- Black stainless or gunmetal: A darker metallic with a slight sheen, good for a more industrial look.
For most kitchens, a quality matte-black powder-coated or solid-finish piece offers the best mix of looks and durability. Avoid the cheapest sprayed hardware, which tends to wear at contact points.
Knobs vs. Pulls
The classic rule is knobs on doors and pulls on drawers, but modern kitchens increasingly use pulls everywhere for a uniform, streamlined look. Knobs are simpler and cheaper, while bar and cup pulls give more to grip, which matters on heavy pot drawers. Many homeowners mix the two: knobs on upper doors, longer pulls on lower drawers. Whatever you choose, keep the finish consistent throughout the room so the hardware reads as intentional.
Sizing Your Hardware
Getting the scale right separates a professional result from a DIY miss. Hardware that is too small looks lost on a big drawer, while oversized pulls overwhelm small doors.
- Cabinet doors: Knobs of 1 to 1.5 inches, or pulls of 3 to 4 inches.
- Standard drawers: Pulls of 4 to 5 inches.
- Wide drawers (30 inches and up): Pulls of 8 to 12 inches, or two smaller pulls.
- Pantry and appliance panels: Long 12-to-18-inch pulls for proportion.
Pay attention to the center-to-center measurement, the distance between the two mounting screws, since that must match your drilled holes if you are replacing existing pulls.
Placement and Layout
Consistent placement is what makes hardware look installed by a pro. On upper cabinets with doors that open up top, place knobs on the lower corner of the door. On lower cabinets, place knobs on the upper corner. Drawer pulls are usually centered horizontally, mounted either dead-center vertically or slightly above center on tall drawers. A cabinet hardware jig, a cheap drilling template, keeps every hole identical and prevents the crooked, mismatched look that comes from eyeballing each one.
What Black Cabinet Hardware Costs
Prices span a wide range. Basic matte-black knobs run $2 to $4 each, and simple bar pulls are $3 to $8 each at home centers and online. Designer or solid-brass-core black hardware from specialty brands can hit $12 to $30 per piece. A typical kitchen has 25 to 40 pieces, so a budget refresh costs $75 to $200, while premium hardware can run $400 to $1,000. Even the high end is a fraction of the cost of new cabinets, which is why hardware is the best-value kitchen update available.
Installation Tips
Replacing hardware is a beginner-friendly project needing only a drill or screwdriver, a tape measure, and a template.
- Remove old hardware and note the existing hole spacing.
- If reusing holes, buy pulls with matching center-to-center spacing to avoid re-drilling.
- For new holes, use a hardware jig clamped to each door and drawer for identical placement.
- Back the hole with painter’s tape to prevent splintering the finish as the bit exits.
- Tighten by hand to avoid stripping the machine screws, which are usually 8-32 thread.
Common Mistakes to Avoid
The frequent errors are easy to sidestep once you know them. Buying pulls with the wrong center-to-center spacing forces ugly patched holes. Mixing matte black with oil-rubbed bronze creates a muddy, mismatched look because the undertones clash. Choosing hardware too small for large drawers throws off the room’s proportions. And skimping on the cheapest sprayed finish leads to chipping around the screws within a year of heavy use. Buy consistent, correctly sized, quality-finished pieces and the upgrade will look intentional and last.
Pairing Black Hardware With Your Kitchen Style
Black hardware reads differently depending on the cabinets and fixtures around it, so it pays to think about the whole room. On classic white shaker cabinets, matte black pulls create a crisp, high-contrast farmhouse or transitional look that photographs beautifully and never feels fussy. On deep navy or forest-green cabinets, black hardware blends for a moody, sophisticated effect. On natural wood or two-tone kitchens, black grounds the warmth and ties the palette together.
Coordinate the hardware with your other black or dark elements so it looks deliberate. A black faucet, black pendant lights, or black window frames turn the cabinet hardware into part of a cohesive scheme rather than a lone accent. If your fixtures are stainless or chrome, black hardware still works as a contrasting accent, but a matte-black faucet reinforces the choice. The goal is for the eye to read the black touches as an intentional thread running through the space.
Mixing Metals the Right Way
Designers no longer insist that every metal in a kitchen match, and black is one of the easiest finishes to mix. The common approach is to let black serve as the hardware while brass or gold appears in the lighting or faucet, a pairing that feels modern and warm. The key to mixing metals without looking chaotic is restraint: choose two finishes and repeat each at least twice so the combination looks planned. Keep all the cabinet hardware itself in one finish for consistency, then introduce the second metal elsewhere.
Avoid mixing several near-black finishes in the same sightline, because matte black next to oil-rubbed bronze reads as a mismatch rather than a deliberate contrast. If you want warmth, pair true black hardware with clearly different brass, not with a muddy bronze that only looks like a failed attempt at black.
Making It Last
Clean black hardware with a soft damp cloth and avoid abrasive scrubbers that dull the finish. Skip harsh chemicals near matte surfaces, which can leave shiny wear marks. With quality pieces and gentle care, black cabinet hardware holds its look for many years and continues to give a kitchen that crisp, modern edge. Because the finish is neutral and versatile, it also adapts gracefully as you refresh wall colors, backsplashes, or countertops down the road, so the hardware rarely needs replacing when the rest of the room evolves. For the money, few upgrades transform a space as quickly, as durably, or as affordably as a simple change of pulls and knobs.