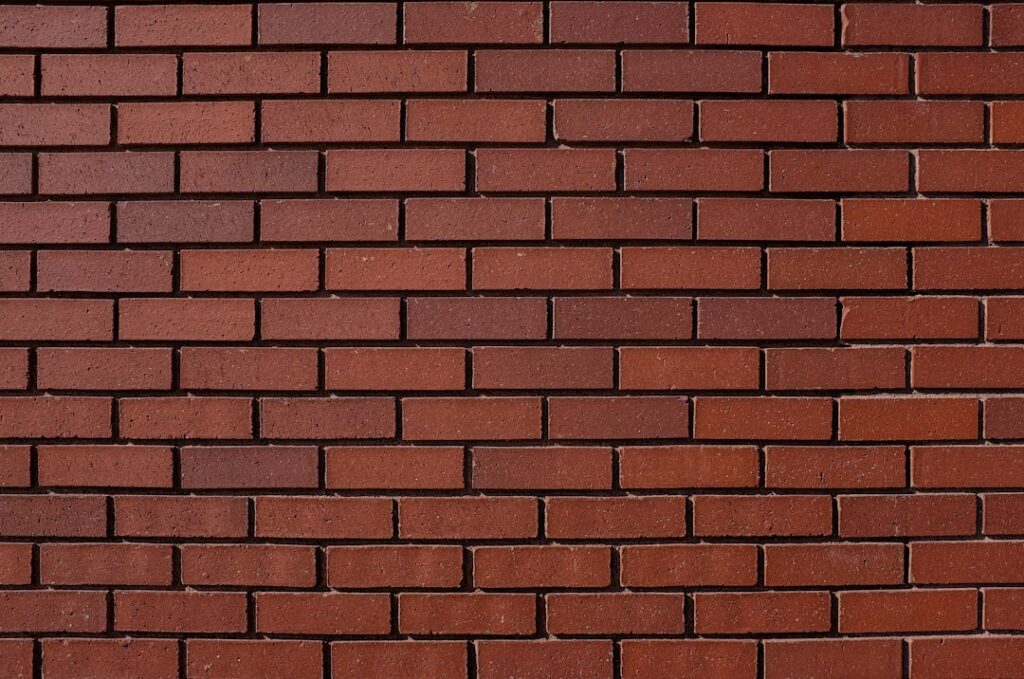
Homeowners ask me for brick grout all the time, and the first thing I do is gently fix the vocabulary, because buying the wrong bag is where these projects go sideways. The material between bricks is mortar, not tile grout — a blend of Portland cement, hydrated lime, and masonry sand that bonds units together and sheds water. Tile grout is a joint filler; mortar is structural. Squeeze sanded tile grout into a brick wall and it will crack out within a couple of seasons because it has the wrong flexibility, the wrong bond, and the wrong breathability for masonry. So this guide covers what you actually need: mortar types, joint profiles, repair technique, and the thin-brick veneer situations where the lines genuinely blur.
Part of our Tile & Grout guide — explore the full guide →
Mortar Types: The Letters That Matter
US mortar is classified by ASTM C270 into types you’ll see printed on every bag at the yard. The letters come from the word MASON WORK, alternating — a mnemonic older than anyone reading this — and they’re graded by compressive strength.
| Type | Compressive Strength | Where It Belongs |
|---|---|---|
| Type M | 2,500 psi | Below grade, foundations, heavy load |
| Type S | 1,800 psi | Below grade and at grade, retaining walls, chimneys in severe climates |
| Type N | 750 psi | Above-grade exterior walls, veneer, chimneys — the general-purpose choice |
| Type O | 350 psi | Interior, repointing soft historic brick |
Here’s the counterintuitive part that separates masons from weekend warriors: stronger is not better. Mortar should always be slightly weaker than the brick it joins. When the wall moves — and every wall moves with temperature and moisture — you want hairline cracking to happen in the sacrificial mortar joint, which is cheap to repair, rather than through the face of the brick, which is not. For 90 percent of residential above-grade work, Type N at roughly $8 to $12 per 80-pound bag is correct. Save Type S for retaining walls, below grade, and chimney crowns. And if you own a pre-1930s house with soft, salmon-colored brick, modern hard mortar will destroy it; those walls want Type O or a lime-rich custom mix, and honestly, they want a restoration mason.
Joint Profiles: The Detail That Defines the Wall
The shape you strike into a mortar joint changes both the look of the wall and how long it lasts, because the profile determines how water runs off.
- Concave. The default, tooled with a round jointer. Compresses the mortar surface, sheds water well, hides minor sloppiness. If you don’t have a reason to pick something else, pick this.
- V-joint. Crisp shadow line, good weather resistance, less forgiving to tool.
- Grapevine. A thin ridge line down the joint center — the colonial look. Common on reproduction work.
- Flush. Cut level with the brick. Standard under stucco or paint, and typical for interior thin-brick feature walls.
- Raked. Mortar recessed 1/4 inch for deep shadows. Looks fantastic, catches water on exterior walls. I only rake joints indoors or under generous roof overhangs.
- Weeping/extruded. Mortar left squeezed out and untooled, rustic style. Charming on a garden wall, a maintenance liability anywhere weather-exposed.
Standard joints run 3/8 inch wide. Timing the tooling matters more than the tool: you strike when the mortar is thumbprint hard — firm enough that a thumb pressed into it leaves an impression without wet mortar sticking. Tool too early and you drag smears down the brick face; too late and you’re burnishing concrete.
Repointing: Fixing Worn Brick Joints
The most common brick-joint job on an existing home isn’t laying new brick — it’s tuckpointing (properly, repointing): cutting out weathered mortar and packing in fresh. Done right, it buys a wall another 50 years. Here’s the sequence I follow.
- Cut out the old mortar to a depth of at least twice the joint width — 3/4 to 1 inch for a standard joint. A hammer and plugging chisel works for small areas; an angle grinder with a diamond tuckpointing wheel is the production tool, but keep it centered because one skip ruins a brick face. Never cut deeper than one-third of the brick depth.
- Clean the joints with a stiff brush and compressed air or a shop vac. Dust is a bond breaker in masonry just like everywhere else.
- Dampen the joint. Dry brick sucks water out of fresh mortar before it can hydrate, leaving weak, powdery joints. Misted, surface-damp, no standing water.
- Mix stiff. Pointing mortar is drier than laying mortar — it should hold a ball shape in your hand. Mix small batches; you have maybe 90 minutes of pot life in warm weather.
- Pack in lifts. Load mortar on a hawk or brick trowel, and push it off into the joint with a tuckpointing trowel in 1/4-inch layers, compacting each. Fill head joints (verticals) first, then beds.
- Tool to match the existing profile at thumbprint hardness, then brush off crumbs once the surface has stiffened.
Keep fresh work damp for a couple of days in hot weather — a light mist morning and evening. Mortar gains strength by hydration, not drying, and joints that dry too fast stay weak forever.
Thin-Brick Veneer: Where Mortar Meets the Grout Bag
Here’s where the “brick grout” search actually gets legitimate. Thin brick — half-inch to 3/4-inch fired clay slices installed like tile — has exploded in kitchens, fireplace surrounds, and accent walls. These systems are installed with tile methods: polymer-modified thinset or panelized tracks, then joints filled afterward. For that jointing step you have two real options.
Option one is Type N or S mortar (or a bagged “brick pointing mortar”) applied with a grout bag — the masonry piping bag that works like a cake decorator. Squeeze a bead into each joint, let it reach thumbprint stage, strike it. This gives the authentic look and authentic texture. Option two, for interior floors and backsplashes in thin brick, is actually sanded tile grout or a premium performance grout, which is more stain-resistant and easier to keep clean around cooking. On a thin-brick kitchen backsplash I’ll often spec sanded grout in a mortar-gray color and nobody can tell — and it wipes clean, which real mortar never will. That’s the one context where tile grout in a brick joint is the right call.
Color, Matching, and the Aging Problem
New mortar next to 40-year-old mortar sticks out like a scar, and it’s the number-one complaint on repointing work. Old joints have decades of grime, weathering, and often a different sand color — sand is the dominant color in mortar, not cement. When a match matters, I do test batches: mix small samples with different sand sources and pigment doses (iron-oxide mortar pigments run $10 to $20 a jar), let them cure a full week, because wet mortar is far darker than cured, and hold them against a cleaned section of the wall. Patience here is the difference between an invisible repair and a checkerboard.
Costs, Realistically
Materials are cheap; labor is not. A bag of Type N covers roughly 20 to 25 square feet of standard brickwork joints. DIY repointing a 100-square-foot wall section costs maybe $40 to $80 in mortar and blades — plus many hours of grinding, which is dusty, loud work that demands a respirator and eye protection. Hiring it out, US tuckpointing pricing runs about $5 to $25 per square foot depending on region, access, and joint condition, with chimney repointing commonly quoted at $500 to $2,500 as a package. Two stories up on scaffolding, those numbers climb fast, and honestly, that’s money well spent — grinding joints off a ladder is how DIYers get hurt.
The short version I give every homeowner: buy mortar, not tile grout, and buy it softer than you think — Type N for walls, Type O for old soft brick. Match the joint profile that’s already there, strike at thumbprint hardness, keep new work damp, and reserve actual grout for interior thin-brick veneer where cleanability wins. Brick forgives a lot, but it never forgives the wrong mortar.