
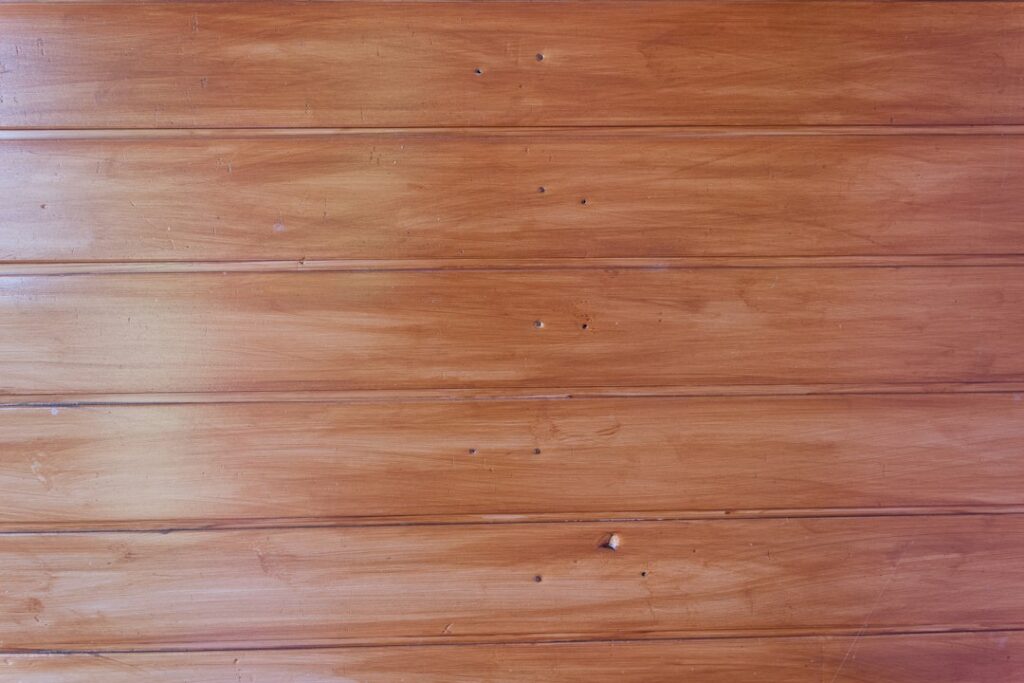
Dark stained trim and paneling date a room faster than almost anything else, and plenty of homeowners assume the only fix is stripping it all back to bare wood. That is rarely necessary. So, can you paint over stained wood? Yes, and it can last for decades, as long as you clean the surface, knock down the sheen, and seal the stain under a bonding, stain-blocking primer before any topcoat goes on.
Part of our Paint & Walls guide — explore the full guide →
Most paint failures on stained woodwork have nothing to do with the paint itself. They come from skipping the primer, painting over a slick polyurethane, or ignoring the oils and tannins that bleed up through light colors as yellow or pink blotches. Get those three things right and painting over stained wood is a weekend project rather than a month of scraping.
- Can You Paint Over Stained Wood Without Sanding?
- Oil-Based vs Water-Based Stain: Run a Quick Test
- Tools and Materials
- Step-by-Step: Painting Over Stained Wood
- Choosing the Right Primer and Paint
- Doors, Furniture and Paneling: What Changes
- Troubleshooting Common Problems
- Safety With Primers, Strippers and Deglossers
- Cost Ranges and When to Hire a Painter
- Frequently Asked Questions
The same basic process applies to doors, baseboards, window casings, built-ins, furniture and wall paneling. The details change a little based on whether the original stain was oil-based or water-based and whether it carries a clear topcoat, so the first job is figuring out what you are working with.
Can You Paint Over Stained Wood Without Sanding?
You can skip heavy sanding, but you cannot skip surface preparation. Paint needs something to grip. A stained piece with a glossy clear finish is closer to plastic than to raw wood, and latex paint brushed straight onto it will peel off in sheets the first time a vacuum bumps the baseboard.
There are two ways to create that grip. The first is a light scuff sanding with 120 to 220 grit paper, just enough to dull the shine. The second is a liquid deglosser (sometimes called liquid sandpaper), which chemically etches the finish so primer can bond. Deglossers work well on ornate trim, spindles and raised panel doors where sandpaper is slow and uneven. Many pros use both: a deglosser wipe for the detailed areas and a quick scuff on flat runs.
Either way, the surface should look uniformly matte when you finish. Any shiny spots are places where the primer will struggle.
Oil-Based vs Water-Based Stain: Run a Quick Test
Knowing what is under the surface helps you pick the right primer. Older homes, especially those built before the 1990s, often have oil-based stain covered by oil-based varnish. Newer work is more likely to be water-based stain under a water-based polyurethane.
The rubbing alcohol test
Dampen a cotton ball with denatured alcohol and rub a hidden spot for about 20 seconds. If the finish softens or color comes off on the cotton, you likely have a water-based or shellac finish. If nothing happens, the finish is probably oil-based or a cured polyurethane.
The water bead test
Drip a few drops of water on a flat area. Tight beads that sit on top mean an intact clear coat. Water that darkens the wood and soaks in means the finish is worn or the stain was never sealed, which is actually easier to prime.
When you cannot tell, or the test is inconclusive, use an oil-based or shellac-based bonding primer. Those bond to almost anything and stop tannin bleed better than standard latex primers.
Tools and Materials
- Mild degreasing cleaner or a trisodium phosphate substitute
- Liquid deglosser, lint-free rags and chemical-resistant gloves
- Sanding sponges in 120, 180 and 220 grit
- Wood filler and paintable acrylic caulk
- Stain-blocking bonding primer (oil-based, shellac-based or a high-adhesion water-based product)
- Interior acrylic enamel in satin or semi-gloss for trim and doors
- Angled sash brush (2 to 2.5 inches), small foam roller, painter’s tape and drop cloths
- Tack cloth or a microfiber cloth for dust removal
- Safety glasses and a respirator rated for organic vapors when using oil or shellac products
A paint sprayer is worth considering for large jobs such as a full house of six-panel doors, kitchen paneling or a set of louvered closet doors. Spraying lays down a thin, even film with no brush marks, though masking takes longer than the spraying itself.
Step-by-Step: Painting Over Stained Wood
- Remove hardware and protect the room. Take off knobs, hinges and strike plates when practical. Lay drop cloths and tape off floors and walls along trim edges.
- Clean thoroughly. Years of hand oils, cooking residue and furniture polish sit on stained woodwork. Wash with a degreasing cleaner, rinse with clean water and let everything dry for a few hours. Silicone polish in particular causes paint to crawl and fisheye, so clean twice on furniture.
- Repair damage. Fill nail holes, dents and gouges with wood filler. Caulk gaps where trim meets the wall. Let filler dry fully before sanding it flush.
- Degloss or scuff sand. Wipe on deglosser following the label, or scuff the surface with 180 grit until the sheen is gone. You are not trying to remove the stain, only to dull it.
- Remove all dust. Vacuum, then wipe with a tack cloth or slightly damp microfiber. Dust trapped under primer becomes permanent texture.
- Apply stain-blocking primer. Brush or roll one even coat, working with the grain. On red woods such as cherry stained mahogany or on knotty pine paneling, a second coat of primer often pays off.
- Light sand the primer. Once dry, hit it lightly with 220 grit to knock down raised grain and drips, then remove the dust again.
- Apply two topcoats. Use a quality acrylic enamel. Thin coats level better than thick ones. Respect the recoat time on the can, usually 4 hours for water-based enamel and much longer for oil.
- Let it cure before heavy use. Paint feels dry within hours but takes 2 to 4 weeks to harden fully. Reinstall hardware gently and avoid closing painted doors tightly for a few days to prevent sticking.
Choosing the Right Primer and Paint
Primer choice decides whether the project holds up. Shellac-based primers dry in under an hour, seal knots and tannins aggressively and stick to glossy surfaces, which makes them the go-to for dark stains under white paint. Their downside is a strong alcohol smell and thin consistency. Oil-based bonding primers are a reliable middle ground with excellent adhesion and stain blocking, though they take longer to dry and need mineral spirits for cleanup.
Modern high-adhesion water-based primers have closed much of the gap and are easier to live with indoors. They work well over scuffed water-based finishes and lighter stains. Over a dark oil stain going to bright white, many painters still reach for shellac or oil as insurance.
For the topcoat, a water-based acrylic or urethane-modified enamel gives a hard, washable finish that resists yellowing. Satin hides imperfections on older woodwork, while semi-gloss is easier to wipe clean on doors and baseboards that take abuse.
Doors, Furniture and Paneling: What Changes
Doors are easiest to paint flat. Pull them off the hinges, lay them across sawhorses and paint the panels first, then the rails and stiles. Painting over stained woodwork on doors also means checking the top and bottom edges, which should be sealed to slow moisture movement.
Furniture often carries a thicker, tougher factory lacquer. Scuff sanding plus a bonding primer is essential, and tabletops benefit from a final clear water-based topcoat for durability. Avoid oil-based polyurethane over white paint since it ambers over time.
Wall paneling has deep grooves that hold dust and polish. Clean the grooves carefully, prime with a roller and follow quickly with a brush to work primer into the seams. Real wood paneling takes paint well; thin printed paneling with a vinyl or paper face needs a primer specifically rated for slick surfaces.
Troubleshooting Common Problems
Yellow or brown spots bleeding through
Tannins and stain dyes are migrating through a water-based primer. Spot-prime the affected areas with shellac-based primer, let it dry and repaint. Do not keep adding coats of latex; the bleed will keep returning.
Paint peeling or scratching off easily
The surface was not deglossed enough or the paint has not cured. Test with a strip of painter’s tape after a week. If paint lifts with the tape, sand back the affected section, prime with a bonding primer and repaint.
Visible brush marks and ridges
Paint was applied too thick or worked too long. Sand smooth with 220 grit, then apply a thinner coat and leave it alone once it is laid off. A paint conditioner or extender can improve leveling in warm, dry rooms.
Wood grain still showing through
Open-grain woods like oak show texture through paint. If you want a glass-smooth look, apply a grain filler or a couple of coats of high-build primer, sanding between each.
Safety With Primers, Strippers and Deglossers
Deglossers, oil-based primers and shellac primers release solvent vapors. Open windows and run a box fan blowing out to create cross-ventilation. Wear nitrile gloves and eye protection, and use a respirator with organic vapor cartridges when the label calls for it. Never mix cleaning products or chemical strippers. Keep flammable products well away from pilot lights on furnaces, water heaters and gas ranges, and lay solvent-soaked rags flat outdoors to dry before disposal, since oily rags can heat up and ignite on their own.
If the woodwork dates from before 1978, the “stain” may sit over or under old paint layers. Test for lead before sanding, and follow lead-safe practices if the test is positive.
Cost Ranges and When to Hire a Painter
If you are still asking yourself can you paint over stained wood on a budget, the numbers are encouraging. A DIY job on trim for one average room usually runs in the range of about $60 to $150 for primer, paint and supplies. Hiring a painter to prime and paint stained trim typically costs a few dollars per linear foot, while interior doors often run in the range of roughly $100 to $250 each, depending on condition and whether they are sprayed. A full house of stained trim and doors can become a multi-thousand-dollar project.
Bringing in a professional makes sense when you have large volumes of doors, heavily detailed millwork, lead paint concerns or antique furniture where value matters. A pro with spray equipment and a dedicated finishing setup can deliver a factory-smooth finish faster than most DIYers working by brush.
Frequently Asked Questions
Can you paint on top of stain without primer?
It is not recommended. Without primer, paint has poor adhesion on sealed stain and tannins often bleed through. A bonding, stain-blocking primer is the step that makes paint last.
Can you paint over stained woodwork that has a glossy finish?
Yes. Degloss or scuff sand the finish until it is uniformly dull, then prime with a bonding primer before painting.
Do I need to remove all the stain before painting?
No. You only need to clean and dull the surface. The stain can stay in the wood as long as a good primer seals it.
Can I use latex paint over oil-based stain?
Yes, once the surface is deglossed and primed with an oil-based or shellac-based bonding primer. Latex applied directly over glossy oil finishes tends to peel.
How long should primer dry before painting?
Shellac primer is often ready in about 1 hour, water-based primer in 1 to 3 hours and oil-based primer in 6 to 24 hours. Follow the label for your product and conditions.
Will white paint cover dark stain in one coat?
Rarely. Plan on one or two coats of primer and two coats of paint for an even, solid white over dark walnut or espresso stain.


