
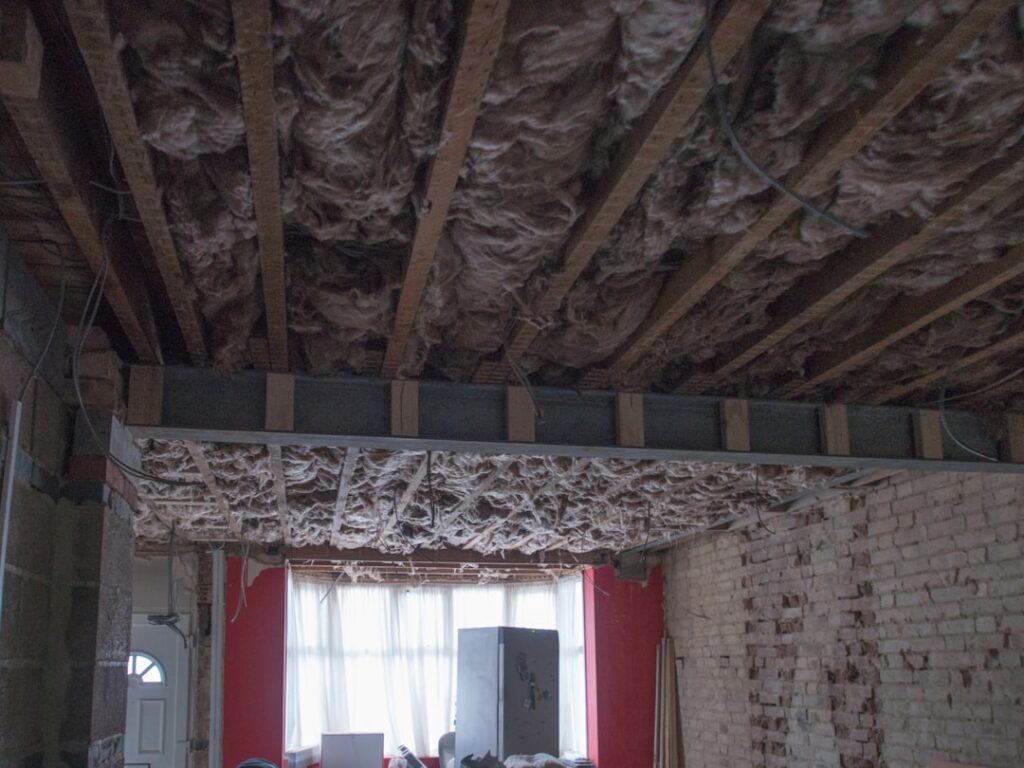
The ceiling insulation r value is the most important number in your attic, because the ceiling is where the largest share of a home’s heating and cooling escapes. Heat rises, and an underinsulated attic lets it pour out in winter and let summer heat radiate in, forcing your HVAC system to run constantly. R-value measures a material’s resistance to heat flow, so a higher number means better insulation. Getting your attic to the R-value recommended for your climate is one of the highest-return improvements a homeowner can make, often paying back in three to five years through lower energy bills.
- What R-Value Actually Measures
- Recommended R-Values by Climate Zone
- How to Tell What You Already Have
- Choosing an Insulation Material
- Air Sealing Comes First
- Don’t Block Ventilation
- Cost and Payback
- DIY vs Hiring a Pro
- Signs Your Attic Is Underinsulated
- Loose Fill vs Batts in the Attic
- Insulation and Home Value
What R-Value Actually Measures
R-value quantifies thermal resistance. The higher the R-value, the slower heat passes through the material. It is additive, so two layers of R-19 batts stacked together give you roughly R-38. Every insulation type has an R-value per inch: fiberglass batts deliver about R-3.1 to R-3.4 per inch, blown cellulose about R-3.2 to R-3.8, and closed-cell spray foam a high R-6 to R-7. That per-inch figure tells you how deep you must go to hit a target. To reach R-49 with blown fiberglass, for instance, you need well over a foot of loose fill.
Recommended R-Values by Climate Zone
The Department of Energy divides the country into climate zones and publishes attic recommendations for each. As a general guide for ceilings:
- Zones 1-2 (hot South, Gulf Coast, Florida): R-30 to R-49.
- Zone 3 (warm South, lower Southwest): R-30 to R-60.
- Zones 4-5 (mixed and cold, Mid-Atlantic through Midwest): R-49 to R-60.
- Zones 6-8 (cold and very cold, northern states, mountains): R-49 to R-60, with R-60 strongly favored.
When in doubt, more is better in the attic, since the ceiling is the cheapest place to add insulation and the returns keep coming. Most experts now recommend R-49 to R-60 for nearly all of the U.S., because energy codes have steadily raised the bar.
How to Tell What You Already Have
Before adding insulation, measure what is there. Grab a tape measure and check the depth of the existing material between the ceiling joists, then multiply by the R-per-inch of that material. Standard 2×10 joists are 9.25 inches deep, and older homes often have only 3 to 6 inches of settled insulation, which might be as low as R-11 to R-19, far short of modern targets. If you can see the tops of your ceiling joists poking above the insulation, you almost certainly need more.
Choosing an Insulation Material
Several materials will get you to a high R-value, each with tradeoffs.
- Blown-in cellulose: Recycled paper treated with fire retardant. Excellent coverage, fills gaps well, good value. Popular for topping up existing attics.
- Blown-in fiberglass: Loose fill that resists settling and does not absorb moisture. Slightly lower R per inch than cellulose but does not lose loft over time.
- Fiberglass batts: Pre-cut rolls that fit standard joist spacing. Easy DIY, but they leave gaps around wiring and obstructions if not fitted carefully.
- Spray foam: The highest R per inch and an air seal in one, but far more expensive and best left to pros. Often used to convert an attic into conditioned space.
Air Sealing Comes First
Adding R-value on top of a leaky ceiling wastes much of the benefit. Before insulating, seal the air leaks where warm indoor air escapes into the attic: gaps around recessed lights, plumbing and wiring penetrations, the attic hatch, and the top plates of interior walls. Use caulk for small gaps and expanding foam for larger ones, and choose IC-rated recessed lights or box over older non-rated cans so you can safely bury them. Air sealing plus insulation together deliver far more savings than insulation alone.
Don’t Block Ventilation
A common and damaging mistake is stuffing insulation into the eaves and blocking the soffit vents. Attics need airflow from soffit to ridge to carry away moisture and prevent ice dams and mold. Install rigid foam or cardboard baffles, called insulation stops or rafter vents, at each rafter bay near the eaves to keep an air channel open while you pile insulation over the rest of the attic floor. Also keep insulation clear of any non-IC-rated light fixtures and the exhaust flue of a gas water heater or furnace to avoid a fire hazard.
Cost and Payback
Topping up an attic is inexpensive per unit of comfort. Blown-in insulation runs roughly $1 to $2.50 per square foot installed to reach R-49, so a 1,000-square-foot attic might cost $1,000 to $2,500 professionally. DIY blown-in, using a rental blower that many home centers lend free with a bag purchase, can cut that in half. The Inflation Reduction Act and many utilities offer rebates and a federal tax credit covering a portion of insulation costs, improving the payback further. Most homeowners recoup the investment in three to five years through lower bills.
DIY vs Hiring a Pro
Blowing loose fill or laying batts over an accessible attic floor is a realistic weekend DIY project, especially with a rented blower and a helper feeding bags. Spray foam and any work involving knob-and-tube wiring, moisture problems, or a cramped, hard-to-access attic are better left to insulation contractors who can also perform a blower-door test and diagnose air leaks. Whichever route you take, wear a respirator, long sleeves, and eye protection, and lay down boards to walk on so you do not step through the ceiling.
Signs Your Attic Is Underinsulated
You do not always need a tape measure to know your ceiling needs help. Rooms that are hard to keep warm in winter or cool in summer, especially upstairs bedrooms, often point to an underinsulated attic. Ice dams forming at the eaves in cold climates are a classic symptom, caused by heat escaping through the ceiling, melting rooftop snow that refreezes at the cold overhang. High heating and cooling bills relative to similar homes, uneven temperatures from room to room, and an HVAC system that runs almost constantly are all clues. On a cold day, ceilings that feel cool to the touch or visible frost patterns on the roof that melt in stripes over the warm joist bays reveal exactly where insulation is missing.
Loose Fill vs Batts in the Attic
When topping up an attic floor, you can lay batts or blow in loose fill, and each has strengths. Blown-in loose fill, whether cellulose or fiberglass, flows into every gap and around obstructions, covering the irregular surface of an attic floor completely and burying the joists for a continuous blanket with few thermal bridges. It is the faster way to add high R-value over a large area and is what most professionals use for attic top-ups. Batts make sense in a small or very accessible attic, or when you want a neat, uniform layer laid perpendicular over existing insulation. Whichever you choose, cross-laying a second layer perpendicular to the first covers the joists and reduces heat loss through the wood framing.
Insulation and Home Value
Beyond monthly savings, adding attic insulation is one of the few home improvements that reliably returns much of its cost. Remodeling industry cost-versus-value studies routinely rank attic insulation among the top projects for recouped value at resale, often near or above 100 percent, because buyers and appraisers recognize lower operating costs and better comfort. Combined with available utility rebates and the federal energy-efficiency tax credit that can offset a meaningful share of the material cost, the effective payback shrinks further. Few upgrades deliver comfort, lower bills, and resale value simultaneously the way a properly insulated ceiling does, which is why energy auditors almost always recommend it first.
Hitting the right ceiling insulation R value for your climate, generally R-49 to R-60 across most of the country, is among the smartest and most affordable upgrades you can make. Measure what you have, air seal the leaks first, keep the soffit vents clear, and top up with blown-in or batts to the recommended depth. The result is a quieter, more comfortable home with heating and cooling bills that drop noticeably the very first season.


