Ceramic spray paint lets you refresh tiles, pottery, vases, light fixtures, and decorative pieces with a smooth, even, professional-looking finish that brushing rarely matches. Whether the label describes a paint formulated to adhere to glazed ceramic or an aerosol that mimics a hard ceramic-like coating, the appeal is the same: a fast, affordable way to change color without replacing the item.
Part of our Tile & Grout guide — explore the full guide →
This guide explains the types of ceramic spray paint, how to prepare and apply it for lasting results, the safety steps that matter with aerosols, and how curing works. Done carefully, the results can look factory-smooth; rushed, they can peel, so the process deserves attention.
What Ceramic Spray Paint Is
The phrase covers a couple of related products. Some are spray paints specifically formulated to bond to slick, non-porous ceramic and glazed surfaces, often requiring a compatible primer. Others are general-purpose or specialty aerosols marketed for a hard, durable, ceramic-like finish on a variety of materials.
The common thread is a sprayed application that lays down a thin, uniform coat without brush marks. Because ceramic surfaces are smooth and non-absorbent, adhesion is the central challenge, which is why surface preparation and the right primer matter far more here than when painting porous materials like wood.
Good Projects for Ceramic Spray Paint
Spray paint shines on small to medium decorative and low-contact items where a smooth finish is the goal. Match your expectations to how much wear the piece will see.
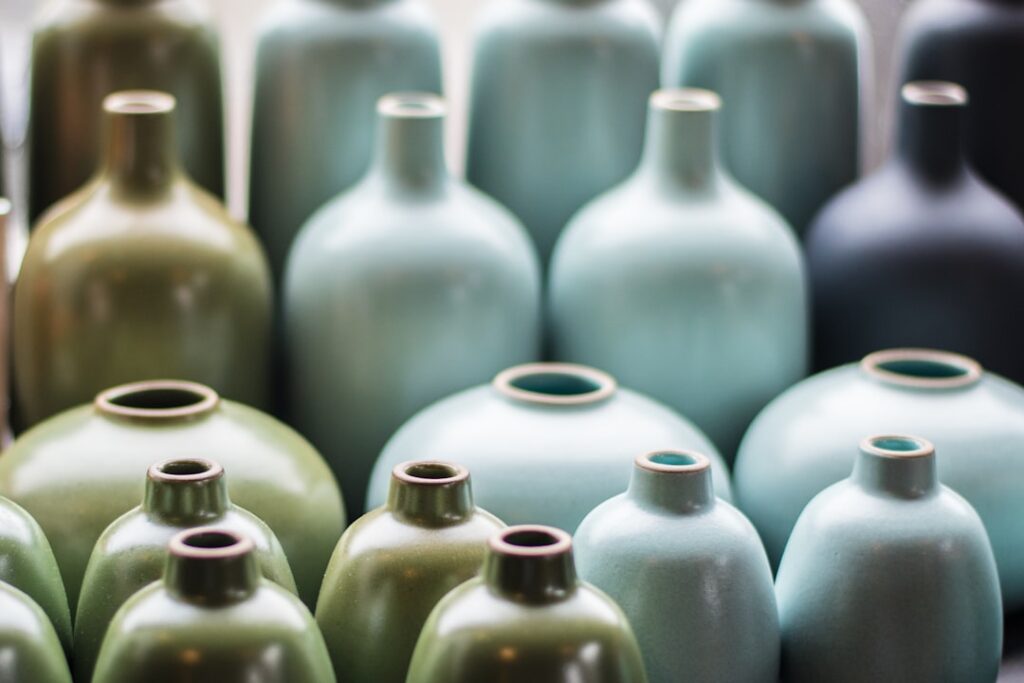
- Decorative pottery and vases: Easy updates that see little handling.
- Planters and ceramic accents: A quick way to coordinate a color scheme.
- Light fixtures and lamp bases: Refreshing dated finishes.
- Tile accents and backsplashes: Possible with the right product and prep, though high-moisture or high-wear surfaces are harder to keep looking good.
High-traffic floor tile, the inside of sinks and tubs, and food-contact surfaces are generally poor candidates unless you use a product specifically rated and labeled for that use.
Surface Preparation
Preparation determines whether the finish lasts or flakes within months. Skipping it is the single most common reason painted ceramic fails. Always follow your specific product’s instructions, but the general process looks like this.
- Clean the surface thoroughly to remove grease, dust, and soap film, then let it dry completely.
- Lightly scuff glossy glazes with fine sandpaper to give the paint something to grip, then wipe away the dust.
- Mask off any areas you do not want painted with painter’s tape and paper or drop cloths.
- Apply a primer compatible with both ceramic and your chosen paint if the product calls for one.
Proper cleaning and scuffing create the mechanical bond that lets the paint hold onto an otherwise slick surface.
Application Technique
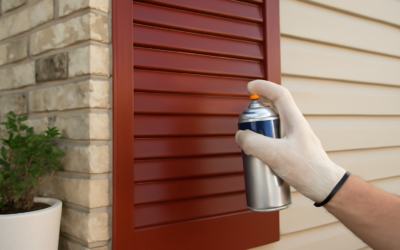
The secret to a smooth aerosol finish is patience and thin coats. Hold the can roughly 8 to 12 inches from the surface, or the distance your product specifies, and keep it moving in steady, overlapping passes rather than pausing in one spot, which causes drips and runs.
Apply several light coats instead of one heavy one, letting each coat flash off for the time the label recommends before the next. Spray in a sweeping motion that starts before the object and ends after it, so you never trigger a burst directly onto the surface. Build the color gradually; a finish made of multiple thin layers is far smoother and more durable than a single thick one.
Safety Precautions
Aerosol paints release fumes and fine overspray, so safety is essential. The propellants and solvents in spray paint are flammable and not meant to be inhaled, and overspray drifts farther than you expect.
- Work outdoors or in a very well-ventilated area, away from open flames, sparks, and pilot lights.
- Wear a respirator rated for paint vapors, not just a dust mask, plus eye protection and gloves.
- Protect surrounding surfaces from drifting overspray with drop cloths and masking.
- Keep the can away from heat and never puncture or incinerate it.
- Read and follow all label warnings, including any specific PPE and ventilation requirements.
Following the manufacturer’s safety instructions protects your lungs, your eyes, and your workspace.
Curing and Durability
There is an important difference between dry and cured. Spray paint may feel dry to the touch in under an hour, but full curing, when the coating reaches its maximum hardness and durability, often takes days or longer depending on the product and conditions. Handling or using a piece before it cures invites scratches, fingerprints, and adhesion failure.
Check the label for the recommended cure time and respect it, keeping the item in a clean, dust-free spot at the temperature and humidity the manufacturer suggests. Some products allow a clear protective topcoat for extra durability on items that will be handled; confirm it is compatible with your paint before applying. The more wear an item will see, the more the full cure time matters.
Temperature and humidity during application affect both the finish and the cure as much as the cure stage does. Most aerosols perform best in moderate conditions, and spraying in cold, hot, or very humid weather can cause problems like a rough texture, slow drying, or poor adhesion. Check the can for the recommended temperature range, shake it thoroughly for the time the label specifies so the paint mixes properly, and avoid spraying in direct sun, which can flash the surface too fast. Working within those conditions is the difference between a glassy, even coat and a gritty, uneven one.
Final Tips for Success
Used thoughtfully, ceramic spray paint is a budget-friendly way to transform tired ceramic pieces into fresh, coordinated décor. The recipe for success is consistent: clean and scuff the surface, prime when directed, apply several thin coats with steady passes, protect yourself with ventilation and a proper respirator, and let the finish cure fully before use. Match the project to the product’s intended use, test on an inconspicuous spot when possible, and your refreshed pieces will look smooth and hold up for the long haul.
Prefer to explore on your own?
See how new flooring looks in your actual room in seconds — free, no signup.
Try the free Floor Studio →