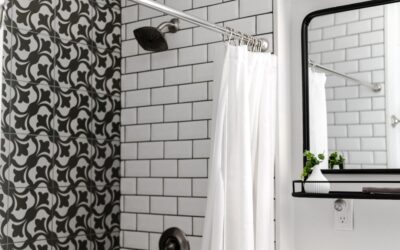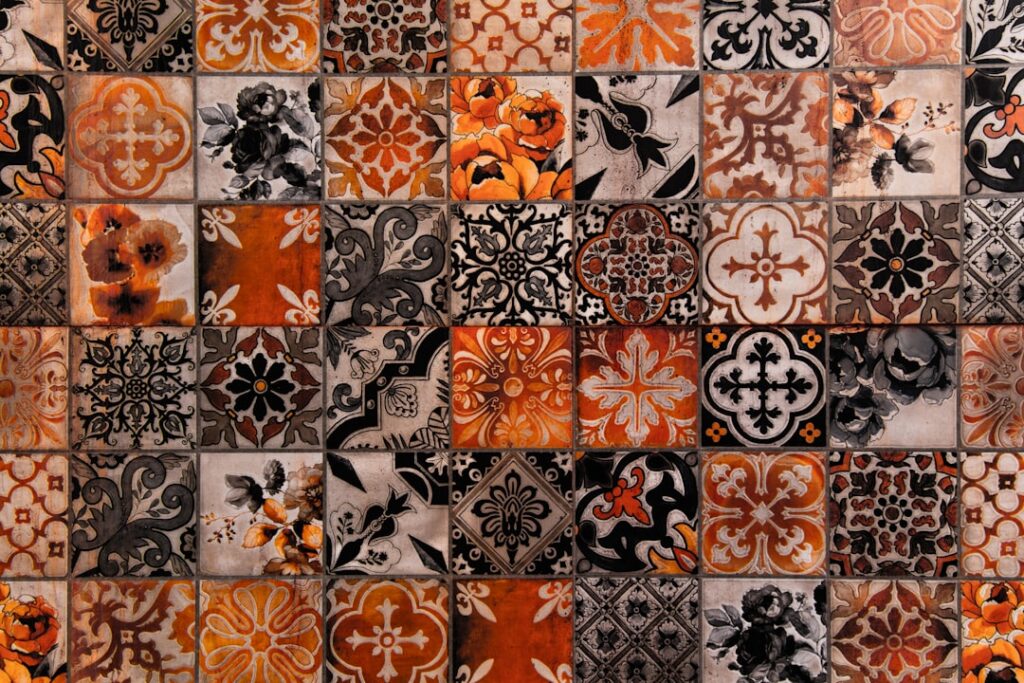
The tile you choose sets the palette, but the way you arrange it tells the story. Ceramic tile patterns can turn a plain rectangle into a herringbone showpiece, transform an ordinary backsplash into a focal point, or make a small bathroom feel twice its size. The same box of tile can read as traditional, contemporary, rustic, or bold depending entirely on how the pieces are laid. In this guide we explore the most inspiring patterns, where each one works best, and how to choose an arrangement that fits your space and style.
Part of our Tile & Grout guide — explore the full guide →
- Ceramic Tile Patterns: Why Pattern Choice Matters
- Classic Ceramic Tile Patterns
- Bold and Modern Layouts
- Patterns for Backsplashes and Feature Walls
- Using Color and Texture Within Patterns
- Matching Patterns to Your Room
- Planning and Installation Considerations
- Mixing Patterns and Avoiding Common Mistakes
- Bringing Your Vision Together
Ceramic Tile Patterns: Why Pattern Choice Matters
Pattern is where personality enters a tile installation. A straightforward grid feels calm and modern; a diagonal layout adds energy; a herringbone brings craftsmanship and warmth. Beyond aesthetics, pattern affects how a room is perceived. Running tiles the long way stretches a space visually, while diagonals can make a narrow room feel wider. Patterns also influence practicality: some generate more cuts and waste, some hide subfloor imperfections better than others, and some demand more skill to execute cleanly. Understanding these trade-offs lets you pick a pattern that is both beautiful and buildable.
Classic Ceramic Tile Patterns
These time-tested arrangements never go out of style and suit almost any home:
- Grid (straight lay): Tiles aligned edge to edge in clean rows. Simple, modern, and the least wasteful, ideal for large-format tile and minimalist spaces.
- Running bond (offset): Each row shifts by a third or half a tile, like a brick wall. Softens a grid and hides minor size variation.
- Diagonal: The grid rotated 45 degrees. Adds movement and can visually widen a room, though it increases cutting and waste.
- Herringbone: Rectangular tiles angled into an interlocking zigzag. Rich, classic, and full of texture, popular for floors and backsplashes alike.
- Basketweave: Pairs of tiles alternating horizontal and vertical to mimic woven fabric. A vintage favorite for bathroom floors.
Bold and Modern Layouts
For homeowners who want their tile to make a statement, several patterns push beyond the classics. A vertical stack, running rectangular tiles up and down rather than across, feels fresh and draws the eye upward on shower walls. Chevron, where tiles are cut at an angle to form continuous V-shaped rows, delivers a sleek, tailored version of herringbone. Pinwheel, or hopscotch, surrounds a small square with larger tiles for a playful geometric rhythm. And a windmill pattern arranges four rectangles around a central square for a subtle rotating effect. These patterns reward careful planning but pay off with rooms that feel custom-designed.
Patterns for Backsplashes and Feature Walls
Vertical surfaces invite experimentation because they see less wear and take less material. On a kitchen backsplash, a herringbone or vertical stack of subway tile instantly elevates the space beyond the expected horizontal running bond. Mixing tile shapes, such as combining hexagons with a straight field, creates a transition or border effect. A single accent band of mosaic ceramic set into a field of larger tile adds color without committing the whole wall. Because backsplashes are compact, they are the perfect place to try a bolder pattern you might hesitate to use across an entire floor.
Using Color and Texture Within Patterns
Pattern is not only about geometry. Playing with color multiplies your options. A checkerboard of two contrasting ceramic colors is a timeless choice for entryways and traditional kitchens. Gradient or ombre effects, fading from dark to light across a wall, feel contemporary and artistic. Mixing matte and glossy tiles of the same color creates subtle texture that catches the light differently through the day. Even within a single color, varying the grout, a contrasting dark grout against light tile, for instance, can emphasize the pattern’s geometry and make a simple grid feel deliberate and graphic. Texture can also come from the tiles themselves: three-dimensional, faceted, or handmade tiles catch light and cast subtle shadows that turn a flat pattern into a surface with real depth. Layering a decorative accent tile within a field of plain tile, or setting a single row of a bolder pattern as a border, adds interest without committing the entire installation to a busy look. These small moves let you personalize a classic pattern and make it feel uniquely yours.
Matching Patterns to Your Room
The right pattern depends on the space. Consider these guidelines:
- Small bathrooms: Large tiles in a simple grid or subtle offset reduce busy lines and expand the space.
- Entryways and mudrooms: Diagonal or checkerboard patterns add durability-friendly visual interest to high-traffic zones.
- Kitchens: Herringbone or basketweave floors bring warmth; subway backsplashes in a fresh layout keep things current.
- Open living areas: Straight-lay large-format tile keeps expansive floors calm and cohesive.
- Showers: Vertical stacks raise the ceiling visually, while mosaics handle the sloped floor.
Think about how much of the pattern you will actually see once furniture and fixtures are in place, and avoid busy layouts in rooms that already have a lot going on visually.
Planning and Installation Considerations
Beautiful ceramic tile patterns require thoughtful planning. Complex layouts like herringbone, chevron, and diagonal generate more cuts, so order 15 to 20 percent extra rather than the standard 10. Dry-lay a section before setting anything permanent to confirm the pattern centers well and does not leave awkward slivers at the walls. Establish accurate layout lines from the center of the room outward so the pattern stays square. For intricate patterns, a professional installer is often worth the cost, because a herringbone that drifts out of alignment is glaringly obvious. If you are doing it yourself, start with a simpler pattern in a smaller room to build confidence before tackling a statement floor.
Mixing Patterns and Avoiding Common Mistakes
Some of the most memorable tile installations combine more than one pattern, but mixing takes a careful hand. A reliable approach is to let one pattern dominate as the field and use a second as an accent or border, such as a running-bond field framed by a basketweave band, or a straight-lay floor with a herringbone inset at the entry. The key is contrast in scale or direction without competing for attention; two busy patterns side by side usually clash. Color discipline helps too, keeping a shared palette so the patterns feel intentional rather than accidental. Beyond mixing, several missteps trip up first-time tilers, and knowing them prevents disappointment:
- Underestimating waste: Complex patterns like herringbone and diagonal generate far more cutoffs, so order 15 to 20 percent extra.
- Skipping the dry-lay: Not testing the layout first leads to awkward slivers at walls and off-center focal points.
- Ignoring the room’s sightlines: A pattern should be centered on the most visible axis, not simply started from one wall.
- Choosing a busy pattern for a busy room: In spaces with lots of visual activity, a calmer layout usually looks better.
- Forgetting grout as a design tool: The wrong grout color can hide or overwhelm the pattern you worked to create.
Approach pattern mixing with restraint and plan carefully, and you can achieve a custom, layered look that feels designed rather than chaotic.
Bringing Your Vision Together
The beauty of ceramic tile patterns is that they let a modest, affordable material create genuinely custom, high-impact spaces. Whether you lean toward a timeless herringbone, a graphic checkerboard, a serene large-format grid, or a bold chevron feature wall, the arrangement you choose defines the room’s character as much as the tile itself. Match the pattern to the scale and function of the space, plan for extra material and careful layout, and do not be afraid to experiment on smaller surfaces like backsplashes. With the right pattern, your tile will do more than cover a surface; it will become the design centerpiece your home deserves.
Prefer to explore on your own?
See how new flooring looks in your actual room in seconds — free, no signup.
Try the free Floor Studio →