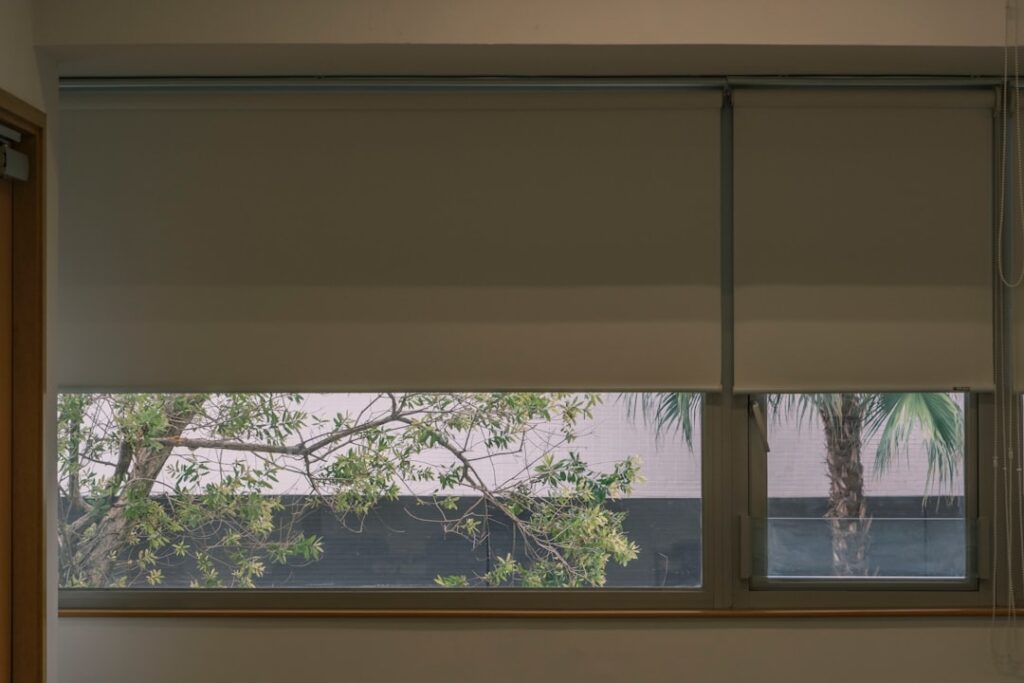
If you have ever tried to sleep past sunrise in a room with cheap shades that leak light around every edge, you already understand the appeal of classic vinyl blackout roller shades. These are the simple, tough, room-darkening shades that roll up neatly on a tube and pull down to a flat panel of light-blocking vinyl. They are inexpensive, they last for years, and when you measure and mount them correctly they turn a bright bedroom or media room genuinely dark.
I have installed dozens of these in bedrooms, nurseries, and home theaters, and the difference between a shade that merely dims a room and one that truly blacks it out comes down to the fabric, the mount, and how you handle the light gap at the edges. This guide covers what to look for when buying, how to measure, and how to install for the darkest, cleanest result.
How Blackout Vinyl Actually Works
A true blackout roller shade uses an opaque vinyl or vinyl-coated fabric that light cannot pass through. Hold a candidate material up to a bright window and you should see essentially no glow through the body of the shade. This is different from room-darkening or dim-out fabrics, which knock brightness down but still let a soft haze through. Classic vinyl shades are prized precisely because the material itself is completely opaque and cheap to produce.
The catch is that the fabric blocking light through its face is only half the equation. Most of the light that ruins a dark room sneaks in around the edges, at the top where the roller sits, and along the sides where the shade is narrower than the window. Understanding that the perimeter, not the panel, is your enemy will shape every decision you make about mounting these shades.
Choosing the Right Shade
When shopping, look at the vinyl weight and the surface finish. Heavier vinyl hangs flatter and resists curling at the edges, which matters for both looks and light control. Many classic shades offer a white or light face toward the room and a reflective or darker backing toward the glass, which helps with heat as well as light. A smooth or lightly textured face is easier to wipe clean than a heavily embossed one.
Consider the operating mechanism too. Traditional spring-roller shades snap up with a tug, which is nostalgic and cord-free but can be finicky to adjust. Continuous-cord clutch mechanisms give smoother, more controlled operation and stop at any height, and cordless spring-assist models are the safest choice in homes with children and pets. Whichever you choose, confirm the mounting hardware matches whether you plan an inside or outside mount, because that decision drives everything else.
Inside Mount Versus Outside Mount
An inside mount sits the shade within the window frame for a clean, built-in look that shows off the trim. It is attractive, but it is the harder path to true blackout because the shade must be cut narrower than the opening to clear the frame, leaving light gaps down both sides. If you want the tidy look of an inside mount, plan to add side channels or light-blocking tracks that the shade edges tuck into.
An outside mount, where the shade is fastened to the wall or trim above the window and extends several inches beyond the opening on all sides, is my recommendation whenever true darkness is the goal. By overlapping the window generously, the shade body covers the edge gaps that would otherwise leak light. For a bedroom or nursery, an outside mount with a few inches of overlap top, bottom, and sides is the single most effective way to get real blackout from a simple vinyl shade.
Measuring Correctly
For an inside mount, measure the width of the window opening at the top, middle, and bottom, and use the narrowest figure. Measure the height at both sides and the center. Check the depth of the frame to be sure there is room for the roller bracket to sit flush. Manufacturers typically deduct a small amount from your width so the shade clears the frame, so follow their instructions rather than subtracting yourself.
For an outside mount, decide how far past the opening you want the shade to extend. I like at least two inches beyond each side and above the top of the glass, and enough length that the bottom rests well below the sill. Measure the total width and height you want the shade to cover, and mount the brackets high enough above the window that the rolled-up tube does not block any glass when the shade is raised.
Installing the Shade
Start by marking your bracket locations with a level so the shade hangs square; a roller shade that is even slightly off-level will telescope, meaning it drifts to one side as it rolls and eventually rubs. For an outside mount into drywall, use anchors rated for the weight, and drive at least one screw per bracket into a stud or into solid trim wherever you can. For an inside mount, screw the brackets into the top or sides of the frame per the hardware design.
Snap the roller tube into the brackets, making sure the pin and the clutch or spring end seat fully. Test the operation before you walk away, rolling the shade up and down several times to confirm it tracks straight and stops where you want it. If it telescopes, a thin shim behind one bracket usually corrects the level. Tuck the fabric edges into any side channels you installed, and check the room at midday to see where light still sneaks in.
Closing the Light Gaps
Since the perimeter is where light sneaks past a roller shade, it is worth spelling out the fixes. Side channels, sometimes called light-blocking tracks, are aluminum or plastic strips mounted along each side of the window that the shade edges tuck into, sealing the vertical gaps almost completely. They are the single most effective upgrade for a nursery or a shift worker’s bedroom, and they pair well with an inside mount where the tidy look is worth the extra hardware.
At the top, the gap where light passes over the roller can be closed with a valance or a simple fabric-wrapped fascia that caps the roller and blocks the glow. At the bottom, a shade that stops short of the sill leaks a bright line, so extend the length until the bottom bar overlaps the sill generously. Layering these details, a generous outside mount for the sides and top plus enough length at the bottom, is how you turn a basic vinyl shade into genuine, sleep-in-late blackout rather than mere dimming.
Care and Longevity
One of the quiet joys of classic vinyl blackout roller shades is how easy they are to live with. The vinyl face wipes clean with a damp cloth and a little mild soap, so dust, fingerprints, and the occasional splatter come right off without special cleaners. Avoid harsh solvents that can dull or crack the vinyl, and never machine-wash the material. If a shade develops a stubborn curl at the bottom edge, gently warming and flattening it usually restores the shape.
It also pays to operate the shade gently and keep the roller free of dust so the mechanism rolls smoothly for years. Treated well, these shades give years of reliable service for a modest price, which is exactly why they remain a go-to for bedrooms, dorms, shift workers, and home theaters. Pair a generous outside mount with side channels, and a simple vinyl shade will out-darken fancier fabric shades that cost several times as much. For anyone who values sleep, blocking a home theater, or protecting a nursery nap schedule, they are one of the best value upgrades you can make to a room.
Prefer to explore on your own?
See how new flooring looks in your actual room in seconds — free, no signup.
Try the free Floor Studio →