Real tile demands mortar, grout, backer board, and a wet saw — a skill stack that keeps most homeowners writing checks to installers. Click lock vinyl tile flooring deletes that entire list: rigid vinyl tiles in stone and ceramic visuals that snap together and float over almost any existing floor, no adhesive anywhere. This is the tile-format sibling of the vinyl plank boom, and for bathrooms, kitchens, and laundry rooms it is often the smarter shape. Here is how the product works, where it beats both plank vinyl and real tile, and the specs that separate quality from bargain-bin regret.
What It Is — and How It Differs From Plank
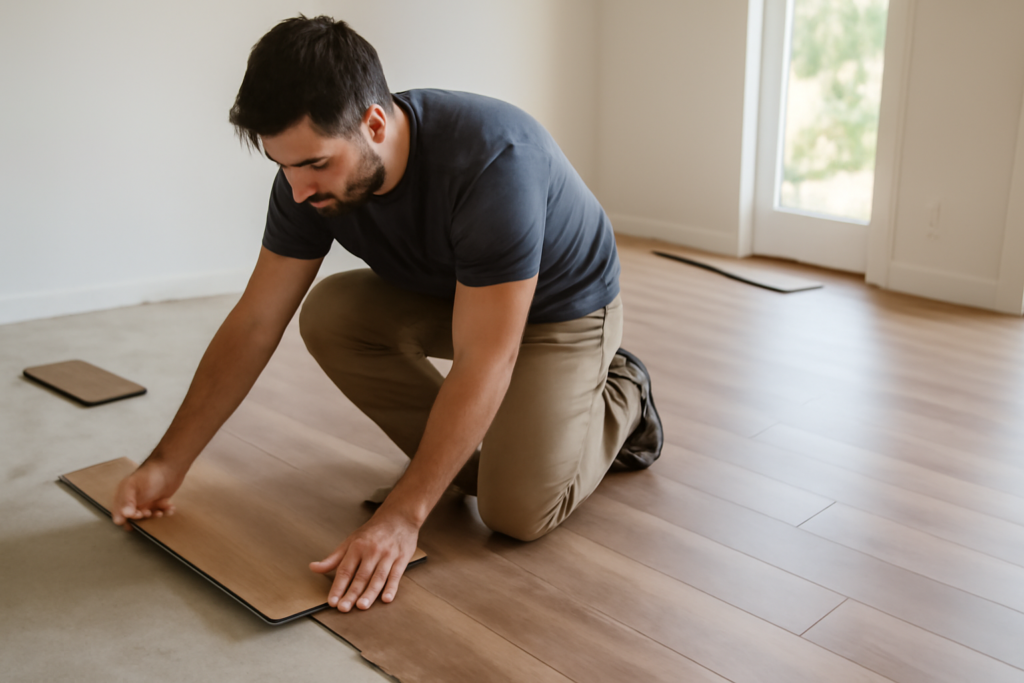
Click lock vinyl tile flooring is luxury vinyl tile (LVT) manufactured in tile proportions — commonly 12-by-12, 12-by-24, and 16-by-32 inches — with milled interlocking edges that snap together like laminate. Most modern versions ride on a rigid SPC (stone plastic composite) core, so each piece is stiff, dense, and dimensionally stable, topped with a photographic layer and a clear wear layer. The whole floor floats: nothing is glued or nailed, and the assembled surface locks itself flat under its own interlocked weight.
The difference from click plank is more than shape. Tile-format LVT carries stone, marble, travertine, concrete, and ceramic visuals rather than wood grain, and better lines feature grout-look edges — a beveled, grout-colored border printed and embossed into each tile so the assembled floor reads as grouted tile. Several products go further and are groutable: you leave a small gap and apply flexible urethane grout for a finish most guests cannot distinguish from ceramic. If you want a wood look, buy plank; if the room calls for slate, marble, or classic checkerboard, tile format is the honest match.
Why Choose It Over Real Tile
- Installation speed and skill. A competent DIYer floats a 100-square-foot bathroom in a weekend with a utility knife, tapping block, and spacers. No mortar cure times, no wet saw rental, no backer board.
- Comfort and warmth. Vinyl is warmer underfoot than porcelain and has slight give — friendlier to knees, backs, and dropped glasses.
- Weight and height. At 4 to 8 mm thick, it adds minimal floor height and no structural load, where tile plus backer board adds 3/4 inch and real weight.
- Goes over existing floors. Old vinyl, flat tile, wood, and concrete are all fair substrates — demolition often becomes optional.
- Waterproof core. SPC does not swell; a flooded laundry room is a mop-up, not a tear-out.
The honest trade-offs: it will never add resale value the way porcelain does, heavy appliances can dent it, sharp grit can scratch the wear layer, and dark tiles in direct sun can expand enough to stress joints (check the product’s temperature rating for sunrooms). Real tile still wins on absolute lifespan — 50 years versus 15 to 25.
Construction Specs That Matter
Quality varies enormously inside one product category, and the label tells you most of what you need:
- Wear layer: The clear top coating, in mils. 12 mil is the residential floor; 20 mil is the pet-and-heavy-traffic spec and the commercial entry point. Six-mil bargain tile in a kitchen will show traffic lanes within a few years.
- Core type: SPC rigid core is the default for tile formats — stiff enough to bridge minor subfloor flaws and stable in temperature swings. Flexible (non-rigid) click tiles exist but telegraph imperfections and feel flimsy in large formats.
- Total thickness: 5 to 6.5 mm with attached pad is the sweet spot. Thicker feels more solid and quiets footfall.
- Attached underlayment: A bonded cork or IXPE foam pad saves a step and softens acoustics; without one, buy an underlayment rated for rigid vinyl.
- Locking system: Angle-tap and fold-down (drop-lock) systems are both fine; drop-lock ends are faster for beginners in tight rooms.
What It Costs
Material runs $2 to $6 per square foot for the meat of the market — brands like Shaw, MSI Everlife, Mohawk, Lifeproof, and NuCore all sell stone-visual click tile in that band — with premium groutable and designer lines reaching $7. Professional installation adds $1.50 to $4 per square foot, well under the $6 to $12 charged for setting porcelain. A 100-square-foot bathroom therefore lands around $250 to $600 DIY, or $500 to $1,000 installed, versus $1,200 to $2,200 for real tile. Budget a few extra dollars for transition strips, quarter-round, and 10 percent material overage for cuts and future repairs.
Installation: The Short Course
- Flatten first. The subfloor must be within 3/16 inch over 10 feet. Rigid core forgives texture but not dips — hollow spots under a floating floor cause joint flex and eventual lock failure. Patch or self-level before starting.
- Acclimate per the manufacturer, typically 48 hours at room temperature for SPC.
- Leave the expansion gap — usually 1/4 inch at all walls and fixed objects, covered later by trim. Floating floors that are pinned tight buckle in summer.
- Plan the layout so cut tiles at opposite walls are balanced and no cut piece is under 2 inches. In tile formats, offset rows by half a tile or align grid-style depending on the visual — stone looks usually want a grid or third-offset.
- Undercut door jambs and slide tile beneath rather than scribing around them.
- Grout last, if applicable, using only the flexible urethane grout the manufacturer specifies — cementitious grout cracks on a floating floor.
Where It Shines and Where to Pass
Best rooms: bathrooms, laundry rooms, kitchens, mudrooms, basements, and rental units — anywhere the stone-and-tile look meets moisture and a budget. It is also the top choice for covering dated but flat existing tile without demolition dust. Think twice for rooms with 400-pound appliances rolled frequently, uncovered south-facing sunrooms in hot climates, and high-end living spaces where buyers will expect the real thing. And in a shower, never: floating vinyl tile is for floors and walls stay the province of real tile and proper waterproofing.
Care and Repair
Upkeep is minimal: sweep grit regularly, damp-mop with a neutral vinyl-safe cleaner, and skip wax, polish, and abrasive pads entirely — the wear layer is the finish. Use felt pads under furniture and hard-plastic caster cups under anything heavy, and lift rather than drag appliances during moves. Repair is one of floating vinyl’s quiet advantages over glue-down product: a damaged tile in the field can be swapped by disassembling back from the nearest wall, or by the cut-and-replace method with adhesive for a mid-room casualty. That is why the standard advice to keep a spare box from your original lot matters — visuals get discontinued within a few years, and a matching spare turns a deep gouge into a twenty-minute fix instead of a whole-floor problem.
Bottom Line
Click-together vinyl tile brings the last hard part of tile ownership — installation — down to weekend-DIY level while keeping a fully waterproof, warm, and quiet floor. Buy a rigid SPC product with a 20-mil wear layer for hardworking rooms, flatten the subfloor, respect the expansion gap, and choose a grout-look or groutable line for maximum realism. Do that and you get 15-plus years of convincing stone underfoot for a third of the cost of porcelain.
Prefer to explore on your own?
See how new flooring looks in your actual room in seconds — free, no signup.
Try the free Floor Studio →