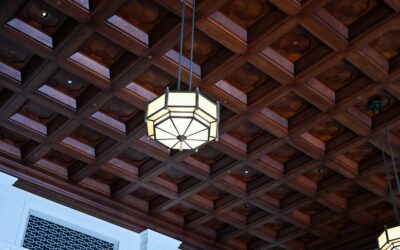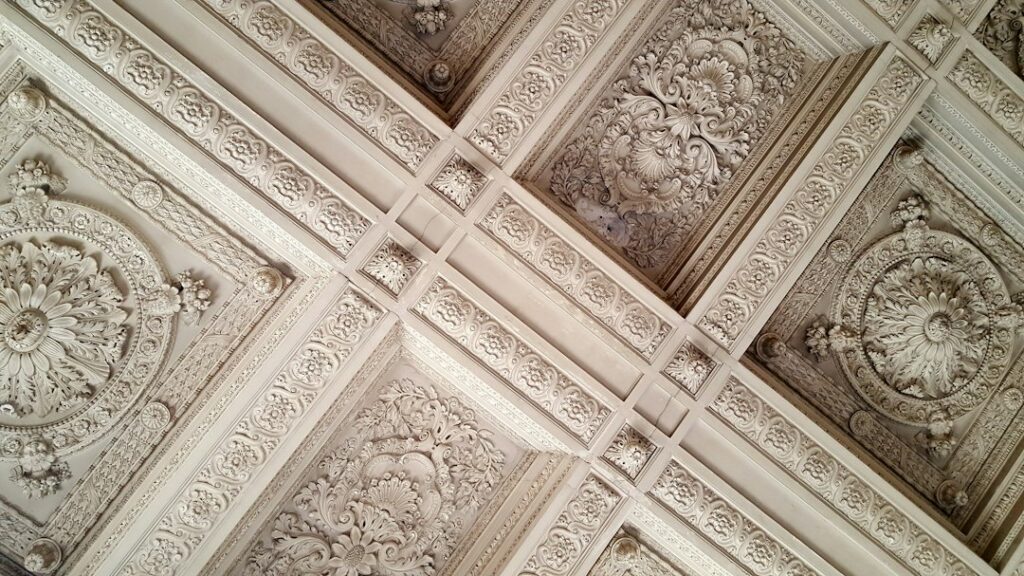
A custom coffered ceiling built by a finish carpenter can easily cost $30 to $50 per square foot, which puts a 16 by 20 foot living room north of $10,000. Coffered ceiling kits cut that cost dramatically by supplying pre-milled beams, crown moldings, and mounting hardware that fit together on site. Some go up in a weekend, and some are light enough to hang without extra framing. They are not all created equal, though, and ceiling height, material, and grid layout decide whether the result looks like architecture or like a drop ceiling in disguise.
- How Coffered Ceiling Kits Work
- Types of Kits and Materials
- Ceiling Height and Layout Rules
- Working Around Lights, Vents, and Fans
- Installing Coffered Ceiling Kits Step by Step
- Total Project Cost
- Design Tips for a Polished Result
- Checking Your Ceiling Before You Order
- Ordering Tips and Lead Times
- Are Coffered Ceiling Kits Worth It?
How Coffered Ceiling Kits Work
A coffered ceiling is a grid of recessed panels framed by beams, usually trimmed with crown or panel molding. Traditionally, carpenters built the beams from lumber and MDF in place. Kits replace that labor with prefabricated components that attach to the existing ceiling.
Most systems follow a similar pattern. First, you screw a series of mounting rails or cleats to the ceiling joists, laid out on a grid. Next, hollow U-shaped beam sections slide over those rails and fasten from the side. Finally, trim pieces such as crown molding, bead molding, or inset panels finish the recesses. Some premium kits include pre-finished panels that drop into the coffers, giving you wood, painted, or tin-look centers without separate finishing work.
Types of Kits and Materials
Polyurethane Foam Beam Kits
High-density polyurethane beams are the lightest option, often 1 to 3 lbs per linear foot. They are molded with crisp profiles, come primed or faux-wood finished, and glue and screw to rails without heavy framing. Expect $12 to $25 per sq ft of ceiling for materials.
MDF and Wood Kits
MDF kits take paint beautifully and have sharp, traditional detail. They weigh more, typically 3 to 6 lbs per linear foot, so blocking must hit joists. Solid wood kits in poplar, oak, or maple offer stain-grade beauty but carry the highest price at $25 to $45 per sq ft for materials.
Drop-In Grid Systems
Some manufacturers sell coffered systems that work like an upgraded suspended ceiling. Wrapped grid covers snap over a lightweight grid, and decorative panels drop into each square. These cost $8 to $20 per sq ft and are popular in basements because the panels lift out for access to plumbing and wiring above.
| Kit Type | Materials per Sq Ft | Best For |
|---|---|---|
| Polyurethane foam | $12 to $25 | DIY installs, painted or faux-wood looks |
| MDF | $15 to $30 | Crisp painted finishes, formal rooms |
| Solid wood | $25 to $45 | Stain-grade libraries and dining rooms |
| Drop-in grid | $8 to $20 | Basements, access to utilities |
Ceiling Height and Layout Rules
Coffers visually lower a ceiling by the depth of the beam, so height matters. On an 8 foot ceiling, keep beam depth to 3 to 4 inches, or choose a shallow grid system. With 9 foot ceilings you can go to 5 to 6 inches deep, and at 10 feet or higher, 7 to 10 inch beams look proportional.
Coffer size matters just as much. Most rooms look best with squares or rectangles between 3 and 5 feet across. Smaller coffers feel busy, and larger ones lose the architectural rhythm. Plan the grid so it is centered on the room, with equal partial coffers at each wall, and align at least one beam line with a major feature such as a fireplace, window, or kitchen island. Draw the layout on graph paper or in free design software before ordering; most kit makers will also generate a layout if you send room dimensions.
Working Around Lights, Vents, and Fans
Recessed lights, HVAC registers, smoke detectors, and ceiling fans all need to live either in the center of a coffer or inside a beam. Moving a light box a few inches to center it in a coffer is easy during a kit install, but it involves the electrical system. If you are relocating fixtures, adding new recessed cans, or running circuits into beams, have a licensed electrician do that work and pull any required permit. Ceiling fans need a fan-rated box fastened to framing, not to a kit rail.
Smoke detectors should stay at least 4 inches from the side of a beam and generally in the coffer center. HVAC supply registers usually can be reframed in the coffer, but ask your HVAC contractor if airflow will be affected.
Installing Coffered Ceiling Kits Step by Step
Two people with basic carpentry skills can usually install a kit in a 200 to 300 sq ft room in one to three days, depending on material and trim detail.
- Locate joists and snap chalk lines for the grid. Mark every joist crossing along the lines.
- Install the mounting rails with 3 inch screws into each joist. Where rails run parallel between joists, add 2×4 blocking in the attic or use toggle anchors rated for the kit weight.
- Check for level. Shim rails as needed; ceilings are rarely flat, and beams will show every dip.
- Cut and fit the main beams along the long direction first, then the cross beams. Most kits use butt joints hidden by trim or special intersection blocks.
- Fasten beams to the rails with brad nails or screws through the sides, per manufacturer instructions, plus construction adhesive for foam.
- Add crown and panel molding inside each coffer. Cope inside corners for tight joints.
- Fill, caulk, and paint. Fill nail holes, caulk every seam where the beam meets the ceiling, and finish with two coats of paint or stain.
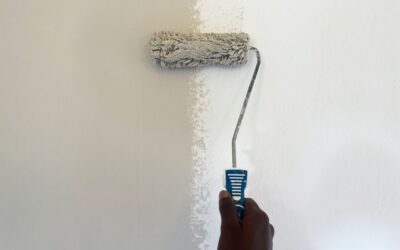
A tip from experienced installers: paint the ceiling field color before installing beams. It is far easier to cut a straight line on the beam edge than to roll ceiling paint between them.
Total Project Cost
For a 15 by 18 foot room (270 sq ft), expect these approximate totals:
- DIY polyurethane kit: $3,200 to $6,800 in materials and supplies
- DIY MDF kit: $4,000 to $8,000
- Professionally installed kit: add $8 to $15 per sq ft in labor, or roughly $2,200 to $4,000
- Fully custom coffered ceiling: $8,000 to $15,000 or more
Electrical relocation adds $150 to $300 per fixture. Finish carpentry or painting pros charge $50 to $90 an hour for touch-up and trim work.
Design Tips for a Polished Result
Treat the ceiling as the “fifth wall” and tie it to the rest of the room. In a room with rich walnut or hickory hardwood floors, stained coffers in a similar tone create a traditional library feel. With light oak or luxury vinyl plank flooring, painting beams white and the coffer centers a subtle shade darker adds depth without heaviness. In kitchens, align beams with cabinet runs and the island to connect vertical and horizontal lines.
Contrast works well, but keep it deliberate. A white beam grid with navy or charcoal coffers feels modern, while all-white coffers with a single paint sheen emphasize shadow lines. Integrated LED strip lighting tucked behind the crown molding adds a soft uplight that makes the recesses glow.
Checking Your Ceiling Before You Order
A quick inspection before you buy saves surprises halfway through installation. Start in the attic, if you have access. Confirm joist direction and spacing, which is usually 16 or 24 inches on center, and note any trusses, since you cannot notch or cut truss members to add blocking. Look for signs of roof leaks or water staining on the drywall below, and fix those first. Adding beams over a damp ceiling only hides the problem.
Next, check the ceiling for flatness. Stretch a string line or hold a long level across several points. Dips of more than 1/4 inch over 8 feet will show as uneven gaps between the beam and the drywall. Small variations can be shimmed out or hidden with caulk, but larger sags may point to undersized or overspanned joists, and those should be evaluated by a contractor before you add any weight. Finally, note the drywall condition. Popcorn or heavy textured ceilings need to be scraped or skim-coated first, otherwise the beams will not sit tight and the texture will look odd framed inside every coffer.
Ordering Tips and Lead Times
Most coffered kits are made to order, so lead times of two to six weeks are common, longer for stain-grade hardwood. Order 5 to 10 percent extra beam length to cover cutting mistakes and to allow grain or finish matching. Ask whether the kit ships primed, prefinished, or raw; prefinished parts save painting time but require careful handling and color-matched touch-up markers for nail holes. Confirm that the manufacturer includes mounting rails and fasteners, since some price only the beams. Finally, store the boxes flat in the room where they will be installed for at least 48 hours so MDF and wood components acclimate to the indoor temperature and humidity before you cut anything.
Are Coffered Ceiling Kits Worth It?
For most homeowners, yes, if the room has at least 8.5 feet of ceiling height and a layout that supports a balanced grid. Kits cost a fraction of custom millwork, go up faster, and look convincingly built in once caulked and painted. They are less suited to very low ceilings, rooms with heavily sloped or vaulted surfaces, or spaces with a dense web of existing fixtures. Measure carefully, plan fixture locations early, and coffered ceiling kits can turn a flat, forgettable ceiling into the most talked-about feature in the house.