Concrete has escaped the sidewalk and moved indoors, and the kitchen wall is one of its best stages. A concrete backsplash delivers a seamless, monolithic surface with the kind of understated, industrial-modern edge that tile grout lines break up. It can be poured in place, cast as panels, or created with a thin skim coat over an existing surface. It is durable, heat-resistant, and endlessly customizable in color and texture. But concrete is also porous and demands proper sealing. Here is everything you need to weigh before committing to this on-trend look.
Why Concrete Works on a Backsplash
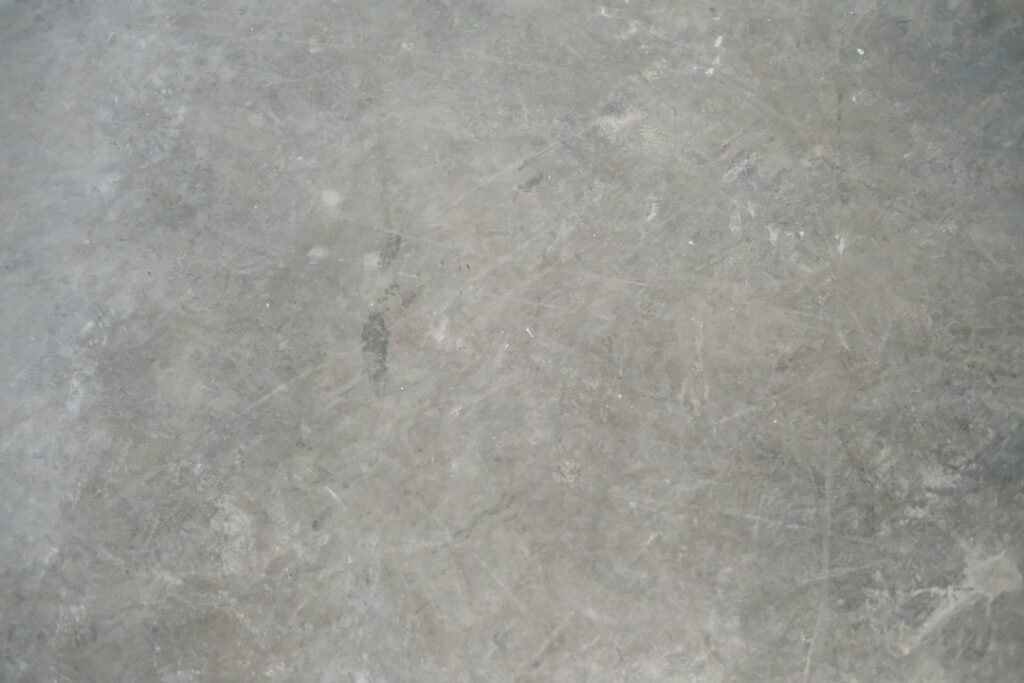
The appeal starts with the seamless look. Without dozens of grout joints to clean, a concrete surface reads as one continuous plane, which makes a small kitchen feel calmer and more open. Concrete also takes integral pigment beautifully, so you are not limited to gray—warm taupes, charcoals, soft whites, and even earthy greens are all achievable. Add the natural mottling and subtle variation of the cured surface and you get depth that flat paint or uniform tile cannot match.
Practically, concrete is heat-resistant, which makes it a natural fit behind a range, and it is tough enough to shrug off everyday kitchen abuse once it is sealed. It pairs especially well with butcher block, stainless steel, matte black fixtures, and open wood shelving.
Three Ways to Build One
How you create the surface depends on your skill level, budget, and how much of a project you want.
- Skim-coat (feather finish) over existing wall or tile: the most DIY-friendly method, troweling a thin concrete overlay onto a prepared surface
- Precast panels: concrete cast in a shop or your garage, cured, sealed, then mounted to the wall—cleaner and more controlled
- Poured-in-place: the most involved, building forms on the wall and pouring, usually left to professionals
For most homeowners, a skim-coat overlay is the sweet spot. It adds only about 1/8 inch of thickness, bonds over drywall or old tile, and needs no heavy formwork.
What a Concrete Backsplash Costs
Pricing swings widely based on method. A DIY skim coat is remarkably cheap, while custom precast or poured work from a specialist climbs into premium territory.
- DIY skim-coat materials: $2–$6 per sq ft (concrete overlay mix, sealer, tools)
- Precast panels, DIY: $8–$15 per sq ft in materials
- Professional installation: $20–$50 per sq ft depending on complexity and finish
For a typical 35-square-foot kitchen, a determined DIYer can finish a skim-coat backsplash for well under $250, while a professionally poured, hand-finished surface can run $1,500 to $2,500. That range is one reason concrete appeals to both budget renovators and high-end designers.
Sealing: The Make-or-Break Step
Understand this before you start: raw concrete is porous and will absorb water, oil, coffee, wine, and tomato acid, staining permanently if left unsealed. A quality sealer is what turns a rough slab into a wipeable, kitchen-ready surface. For a backsplash you have two main choices.
- Penetrating sealers soak into the concrete and preserve the natural matte look while resisting water and stains from within.
- Topical sealers (acrylic, epoxy, or polyurethane) form a protective film on the surface with more sheen and stronger stain resistance, though they can show wear over time.
Many pros use a penetrating sealer followed by a food-safe topcoat and a wax for extra protection near the range. Reseal or re-wax every one to three years, and always wipe acidic spills promptly to prevent etching. A well-sealed concrete backsplash handles daily kitchen life with ease; a poorly sealed one stains fast.
DIY Skim-Coat Method, Step by Step
If you want to tackle it yourself, the overlay approach is genuinely achievable in a weekend plus curing time.
- Clean and de-gloss the existing wall or tile; sand and prime so the overlay bonds.
- Mix a concrete feather-finish or overlay product to a smooth, spreadable consistency.
- Trowel on a thin first coat and let it dry, filling any grout lines from old tile.
- Apply two or three additional thin coats, sanding lightly between passes for a smooth, uniform surface.
- Once fully cured, sand to your desired texture and wipe away all dust.
- Apply pigment or stain if desired, then seal with your chosen sealer in multiple coats.
Patience is the whole game here. Thin coats and full drying time between them prevent cracking and give you the smooth, hand-finished look that makes concrete special.
Pros and Cons to Weigh
Concrete is not for everyone. Line up the trade-offs before you decide.
- Pros: seamless modern look, heat-resistant, customizable color and texture, durable, budget-friendly as a DIY overlay, adds contemporary appeal.
- Cons: requires diligent sealing, can crack or chip if mishandled, susceptible to acid etching if a spill sits, labor-intensive to install well, hard to change once installed.
Hairline cracks are part of concrete’s character and rarely structural on a backsplash, but if you want a flawless, uniform surface with zero variation, concrete’s organic nature may frustrate you. Embrace the imperfection and it becomes a feature.
Care and Maintenance
Day-to-day upkeep is simple. Wipe the surface with a soft cloth and a pH-neutral cleaner; skip vinegar, lemon, bleach, and abrasive scrubs that can etch or dull the sealer. Blot spills quickly, especially acidic ones. Watch for spots where water stops beading—that is your cue to reapply sealer or wax. With that light routine, a sealed concrete surface stays looking sharp for years.
Color, Texture, and Finish Options
One of concrete’s biggest strengths is how customizable the final surface can be. Integral pigment mixed into the batch produces consistent color all the way through, so a chip never reveals a different shade underneath. Acid stains and water-based dyes applied after curing create mottled, variegated tones with more depth and unpredictability—perfect for an artisan look.
- Smooth trowel finish: a sleek, contemporary surface that wipes clean easily
- Lightly textured: subtle trowel marks that add handmade character
- Board-formed: wood-grain impressions transferred from formwork for rustic-industrial appeal
- Polished: ground and sealed to a soft sheen that reads almost like stone
You can also embed materials into the surface—recycled glass, small stones, or metal flecks—for a terrazzo-like effect. Sampling on a scrap board is well worth the time, since color and texture behave differently once sealed and dry.
Common Mistakes to Avoid
Concrete rewards patience and punishes shortcuts. The most frequent DIY error is troweling coats on too thick, which traps moisture and leads to cracking as the material shrinks unevenly. Rushing the cure before sealing invites stains that set permanently. And using the wrong sealer—an interior wall paint sealer instead of a kitchen-rated product—leaves the surface vulnerable to grease and acid.
- Do not skip surface prep; a glossy old tile must be de-glossed or the overlay will not bond.
- Never seal concrete before it is fully cured and bone dry.
- Avoid harsh acidic cleaners that etch and dull both the concrete and its sealer.
- Do not expect zero cracks—accept fine hairlines as part of the material’s character.
Respect the drying times and match the sealer to kitchen duty, and the finished surface will perform beautifully.
Is Concrete Right for Your Kitchen?
If you love clean, industrial-modern design, want a seamless surface without grout lines, and do not mind resealing every couple of years, a concrete backsplash is a distinctive, durable choice that works on nearly any budget. Choose the skim-coat method to keep costs down, or hire a specialist for a flawless poured finish. Either way, you end up with a kitchen focal point that feels custom, handmade, and unmistakably yours.