
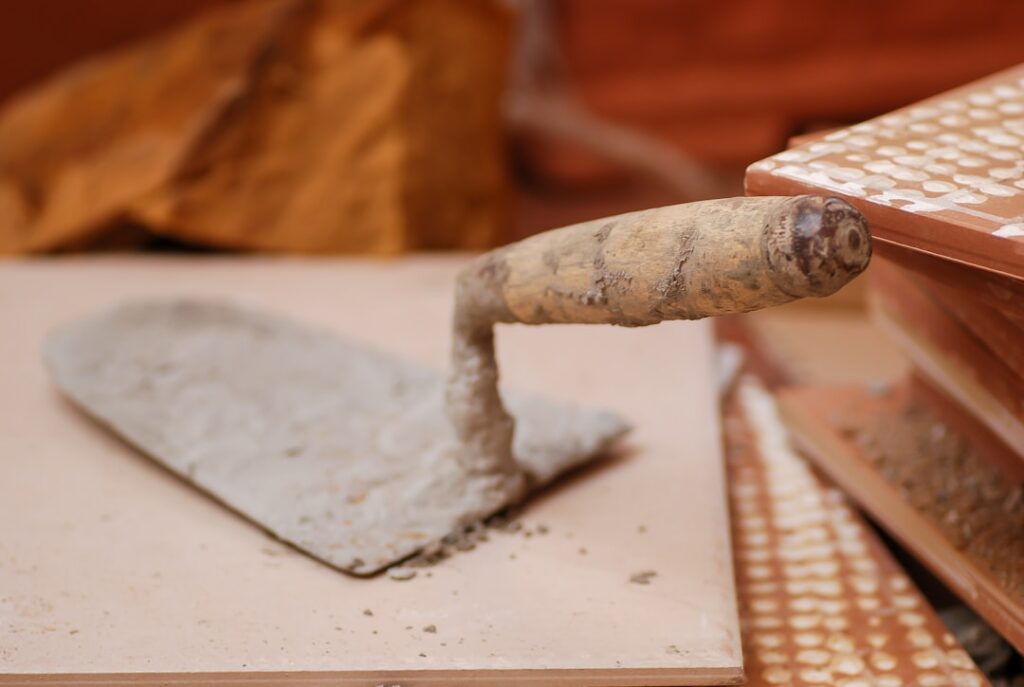
Concrete is the one building material that fires you if you show up unprepared — once water hits cement, you have roughly 90 minutes of workable time and zero opportunity to drive to the store. That’s why experienced finishers lay out every tool before the first bag is opened. The full set of concrete tools for a DIY slab costs less than most people expect — about $200–$350 buys everything a patio pour needs, and half of it you may already own. Here’s the complete toolkit organized by stage, with prices and honest rent-versus-buy calls.
Layout and Formwork Tools
Every good slab starts square and level before any concrete exists. You’ll need a 100-ft tape, mason line and stakes, a line level or a 4-ft box level ($20–$60), and a framing square for checking corners — or the 3-4-5 triangle method and no special tool at all. Formwork itself takes a circular saw, a drill, 2×4 or 2×6 lumber, wooden or steel stakes, and double-headed duplex nails or screws for easy stripping. Add a sledgehammer for stakes and a shovel and steel rake for base grading, plus a plate compactor rental ($70–$100 per day) to compact the gravel base — the single most skipped step in failed DIY slabs. For reinforcement work, bolt cutters or an angle grinder cut wire mesh and rebar, and a $15 bag of chairs keeps steel at mid-slab height.
Mixing and Placing Tools
Small pours mix in a wheelbarrow (get a real 6 cu ft contractor barrow, $90–$150) with a mortar hoe — the kind with two holes in the blade, $20. Anything over about ten bags deserves a powered concrete mixer, rentable for $50–$90 a day, and past a cubic yard you should be ordering ready-mix instead. For placement: square-point shovels move mud, a come-along rake (concrete placer, $30–$50) pulls it around without segregating the aggregate the way a garden rake does, and rubber boots let you get in the pour. Heavy rubber gloves are not optional — wet concrete is caustic enough to cause genuine chemical burns, and every seasoned finisher has the scar story to prove it.
Screeding and Bull Floating
The screed is glamorously low-tech: a straight 2×4 a couple feet longer than your form width, sawed back and forth across the form tops to strike the concrete flat. Check it for straightness before pour day; a crowned screed board builds a crowned patio. Screed in two passes when you can — a first rough strike to move the bulk, then a finishing pass with a slight sawing motion while a helper shovels mud into the low spots ahead of the board. Working the screed alone is possible on narrow forms, but on anything over 6 feet wide, the second pair of hands is worth more than any tool on this list. Immediately behind screeding comes the bull float — a wide magnesium blade on extension poles ($90–$150, or included with finishing-tool rental bundles) pushed and pulled across the surface to knock down ridges, fill voids, and float the aggregate just below the surface. Two or three passes, done before any bleed water appears, and then the most important tool of all takes over: patience. Finishing before bleed water evaporates traps it under the surface and guarantees scaling later.
Finishing Tools: Where the Surface Is Made
Once the sheen of bleed water leaves and a thumb pressed into the slab leaves only a 1/4-inch dent, finishing begins:
- Magnesium hand float ($20–$40): opens the surface and smooths after bull floating — the first tool on the cream
- Steel finishing trowel ($20–$50): progressive passes tighten and slick the surface; interior floors get multiple passes, exterior slabs get few or none (too slick = slippery when wet)
- Edger ($10–$25): rounds the slab perimeter so corners don’t chip
- Groover ($15–$30): cuts control joints at least a quarter of slab depth, spaced in feet about 2–3 times the slab thickness in inches — an 8 to 12 ft grid on a 4-inch slab
- Broom: a soft-bristle concrete broom dragged across the final surface adds the non-slip texture nearly all exterior flatwork should have
- Kneeboards (two scraps of 2-ft plywood): let you work the middle of a slab without sinking
Big floors change the equation: pours over about 600 sq ft justify renting a power trowel ($90–$160 per day), and long driveways benefit from a vibrating screed. That’s rental territory, not purchase.
Curing, Cutting, and Repair Tools
After finishing, curing tools take over: a garden sprayer applies curing compound ($20–$40 per gallon jug), or polyethylene sheeting and burlap keep the slab damp for the critical first week — concrete that cures moist finishes measurably stronger than concrete left to bake. If control joints didn’t get grooved in, a circular saw with a $20 diamond blade cuts them the next morning. And the longer-term kit for concrete you already own: a 3-lb hammer and cold chisel for chipping, wire brushes, a caulk gun for joint sealants and crack fillers, a margin trowel for patch mortars, and an angle grinder with a diamond cup wheel for dressing high spots. For serious surface prep across a whole floor, that grinding step scales up to a dedicated concrete grinder — a topic of its own.
Safety Gear Is Part of the Toolkit
Wet concrete injures more DIYers than any tool on this list. Its pH sits around 12 to 13 — comparable to oven cleaner — and prolonged skin contact causes alkaline burns that don’t hurt until the damage is done, which is exactly why they get so bad. Kneeling in fresh concrete through soaked jeans for an afternoon has sent people to burn units. The kit: chemical-resistant gloves (nitrile-dipped, not bare leather, which soaks through), rubber boots with pants over the tops, safety glasses for mixing and any grinding or cutting, and long sleeves on pour day. Keep a bucket of clean water and a jug of vinegar nearby — vinegar neutralizes alkaline splash on skin. Add an N95 respirator whenever dry mix is being dumped or old concrete is being cut; bagged cement dust and cutting dust both carry respirable silica, which is a cumulative, permanent lung hazard.
A Sample Shopping List for a First Pour
For a concrete-curious homeowner pouring a 10×12 patio, the checkout list looks like this: mag float ($25), steel trowel ($25), edger ($15), groover ($20), concrete broom head ($30), come-along rake ($40), mortar hoe ($20), two pairs of gloves ($20), duplex nails and stakes ($25), curing compound ($30) — about $250 at the register. Rentals: mixer and plate compactor for a combined $140 weekend. Lumber for forms and a screed board adds $60. Against a contractor price of $1,800–$2,500 for the same 120 sq ft slab, the tool investment repays itself before the first batch is mixed — and the hand tools are still in the bucket for the walkway next spring, the fence posts after that, and every repair the driveway ever needs.
Rent, Buy, or Improvise
Buy the cheap hand tools outright — floats, edger, groover, trowels, and gloves total under $150 and Marshalltown, Kraft, and Bon Tool sell pro quality at DIY prices; even Harbor Freight’s finishing tools survive several pours fine. Rent the machines: mixer, plate compactor, power trowel, and vibrating screed all rent for less per project than storage-space guilt costs per year. Improvise the rest — screed boards, kneeboards, and a water barrel need no SKU. The one splurge worth making is magnesium over wood for floats; wood floats drag and tear modern air-entrained mixes. Lay every tool out the night before, line up one helper per 20 bags, hose the tools the minute the broom finish is done — cured concrete does not come off a trowel — and the toolkit above will carry you from first stake to finished slab without a single mid-pour hardware run.


